Jillicious Desserts
Jill's Top 10 Dessert Recipes

Jill's Top 10 Dessert Recipes
This book is lovingly dedicated to everyone who took the time to stand beside me in the kitchen—flouring countertops, sneaking tastes, and turning simple ingredients into something unforgettable.
She didn’t just bake desserts… she created moments. No matter how busy life was with eight hungry kids (who could make a full tray of cookies disappear in minutes), she always found a way to fill our home with something warm from the oven—and even warmer memories.
Most of all, it’s for my mom, Emily Neilson—the heart behind it all. But what made her baking truly special wasn’t just what she made… it was how she made it.
The kitchen door was always open. To her sisters, her husband, her dad, neighbours, and really—anyone willing to pull up a chair, grab a spoon, and join in. Baking was never a chore. It was a gathering. A celebration. A little party that turned ordinary days into something we still carry with us.
Because in our home, recipes weren’t just passed down… They were shared in laughter, in stories, and in the simple joy of being together.

Neilson Family
Back: Bryan, Norma, Judy, Karen, Mark Front: Jane, Emily, Jill


After 30 years as Administrative Assistant to seven Windsor Fire Chiefs, Jill Kanwischer retired in 2021 and happily swapped office life for aprons, volunteer work, and a whole lot of fun.
A proud mom to Karl, Erik, and Alek, she’s now baking her way through her sunset years with her spouse, Daryl Hall, in Amherstburg, Ontario.
At the Amherstburg Food and Fellowship Mission, Jill helps however she can—office work, grant writing, coordinating volunteers, food prep, cleaning, and whatever else needs doing. For her, feeding people, caring for others, and strengthening her community is the perfect recipe for a meaningful life.


In the Neilson household, the kitchen was not typically Dad’s domain—except for a few cherished specialties that he made entirely his own. Among them, Ralph Neilson’s oatmeal crisp cookies stood out as a warm, familiar favourite that carried with it the quiet joy of his presence in the kitchen.
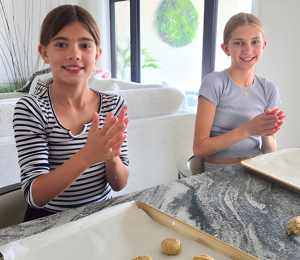
Years later, the recipe continues to ripple through the generations. Most recently, Dad’s legacy found new hands in the kitchen: his great-granddaughters. With ingredients lovingly prepared by their grandmother Karen, the little girls stirred, scooped, and shaped the very cookies their great-grandfather once made, this time as a surprise for their dad—Shawn Taylor—on Father’s Day.
It was a full-circle moment. The same recipe that once connected Ralph to his children was now connecting his great-grandchildren to theirs. Hands a little smaller, hearts just as big.
This oatmeal crisp cookie recipe is more than just a sweet treat. It’s a memory, a tradition, and a reminder that sometimes the simplest recipes are the ones that carry the most love.

45 mins

15 min + 20 min chill time

10 mins

24 cookies


This recipe always makes me smile because I can still picture my mom and dad making it together in the kitchen. Back then, mixing the dough by hand was a real workout, so they would take turns kneading.
The recipe came from our longtime Scottish neighbour (Mrs. McWhinnie) and quickly became a treasured family favourite. Every time I make it now—by hand, the right way—I think of those special kitchen moments and where it all began.
1 hr 20 min
1 hr
20 mins
Depends on your cookie cutter
You can make this recipe completely by hand kneading if you have the strength and patience. Just like the instructions above, start by kneading the sugar and butter until well creamed together before you start to gradually add in the flour. You will know it's done when the dough doesn't crack as you are kneading it. Good luck!
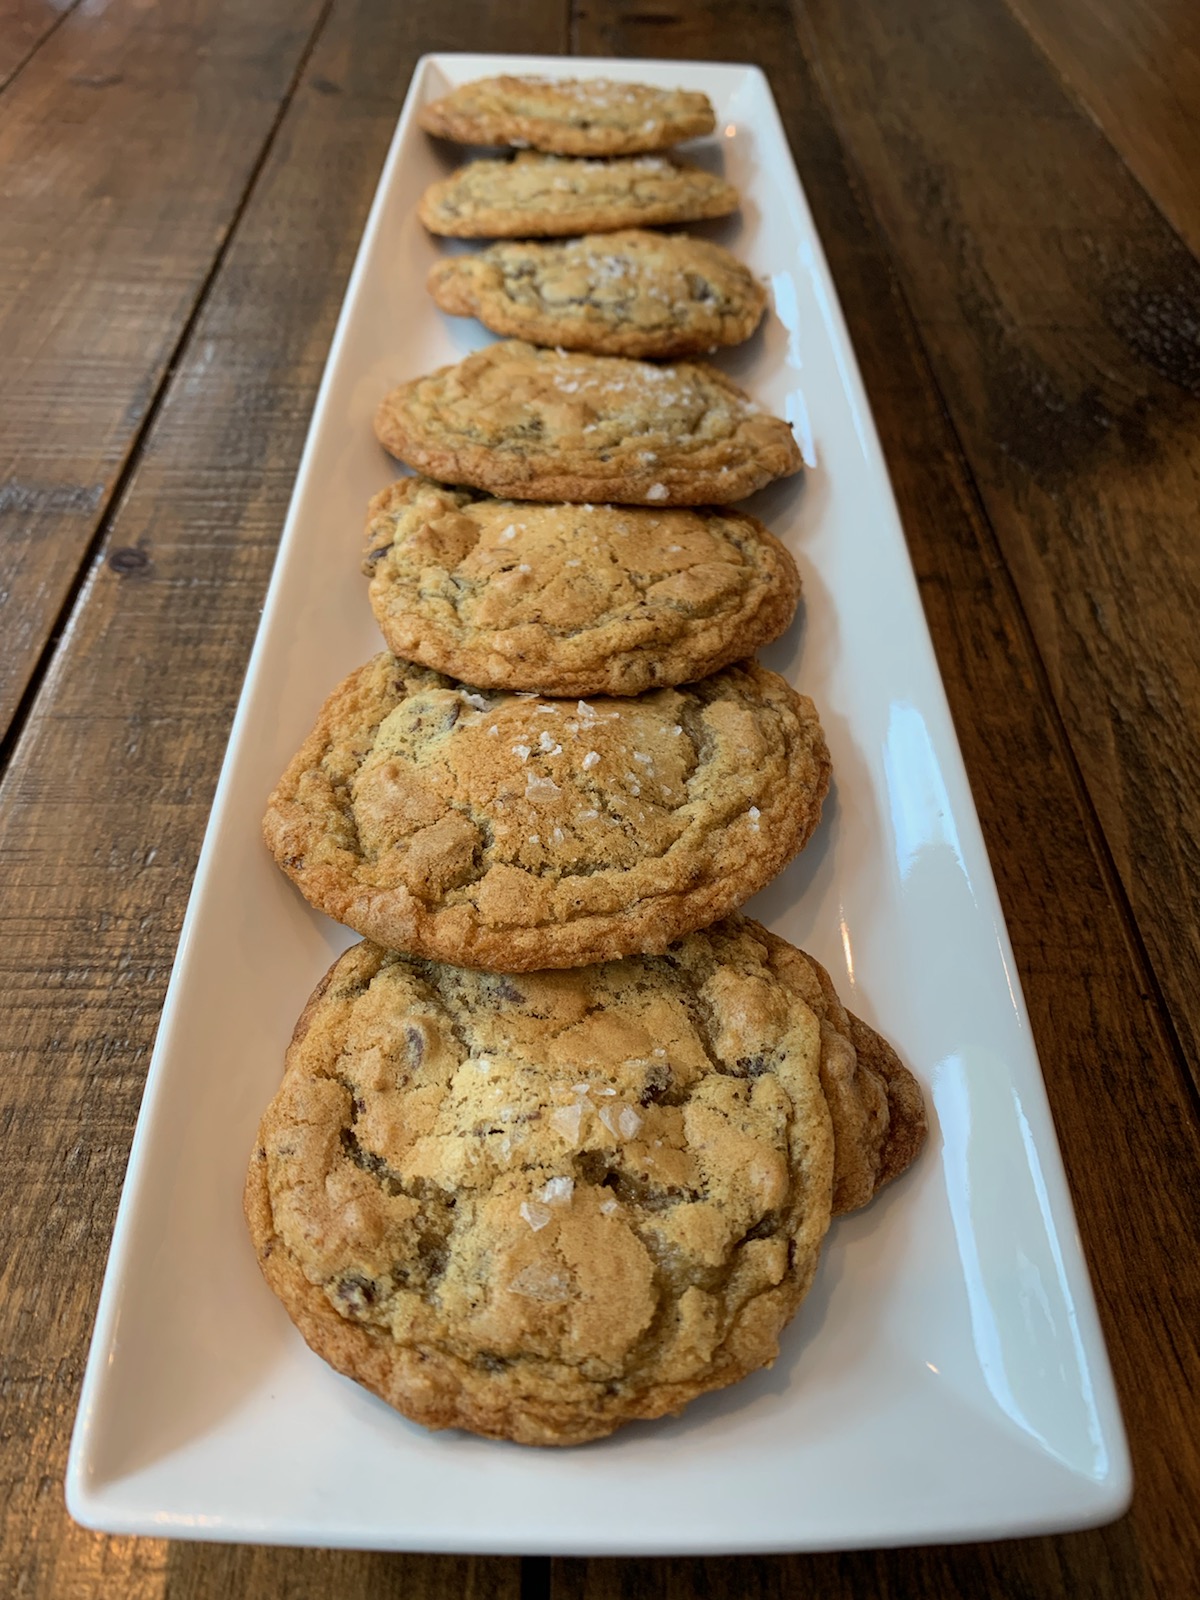


I went searching for a chocolate chip cookie recipe that could somehow outshine my mom’s—the ones that vanished from the freezer, leaving behind empty containers and a lot of quiet guilt because they were just that good.
It felt almost impossible to top something so loved, but then I found this salted chocolate chunk version online and decided to try. The first batch came out rich, gooey, with that perfect hint of salt—and just like that, they disappeared just as fast. Now, somehow, this is the recipe everyone asks me for, and I can’t help but smile and say, “Sorry, Mom.” This recipe matters because it carries on our family’s love of irresistible cookies with a new twist.
47 mins
20 mins + 20 mins chill
6 - 7 mins
24 cookies
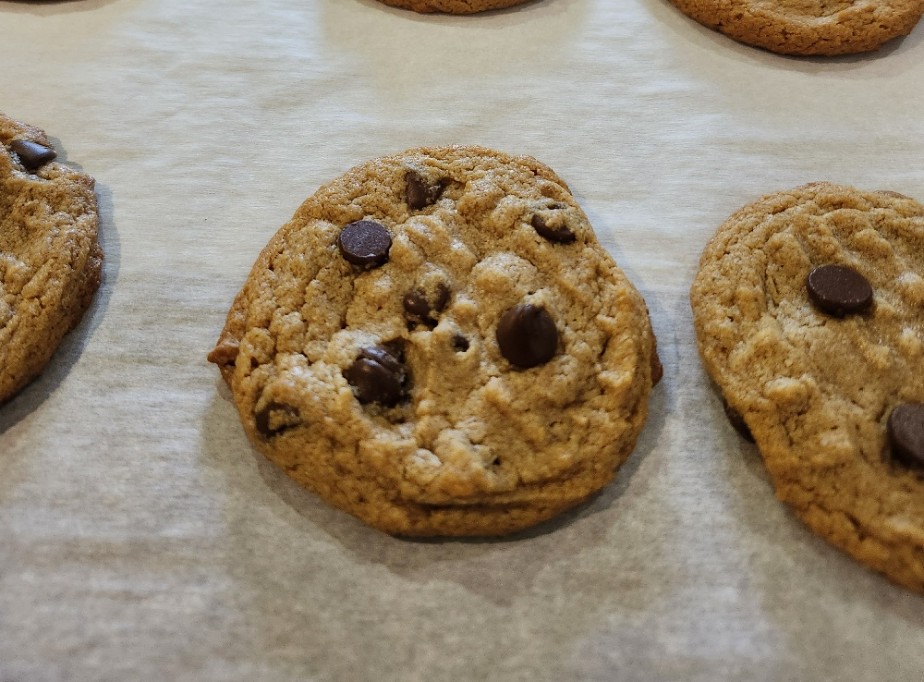
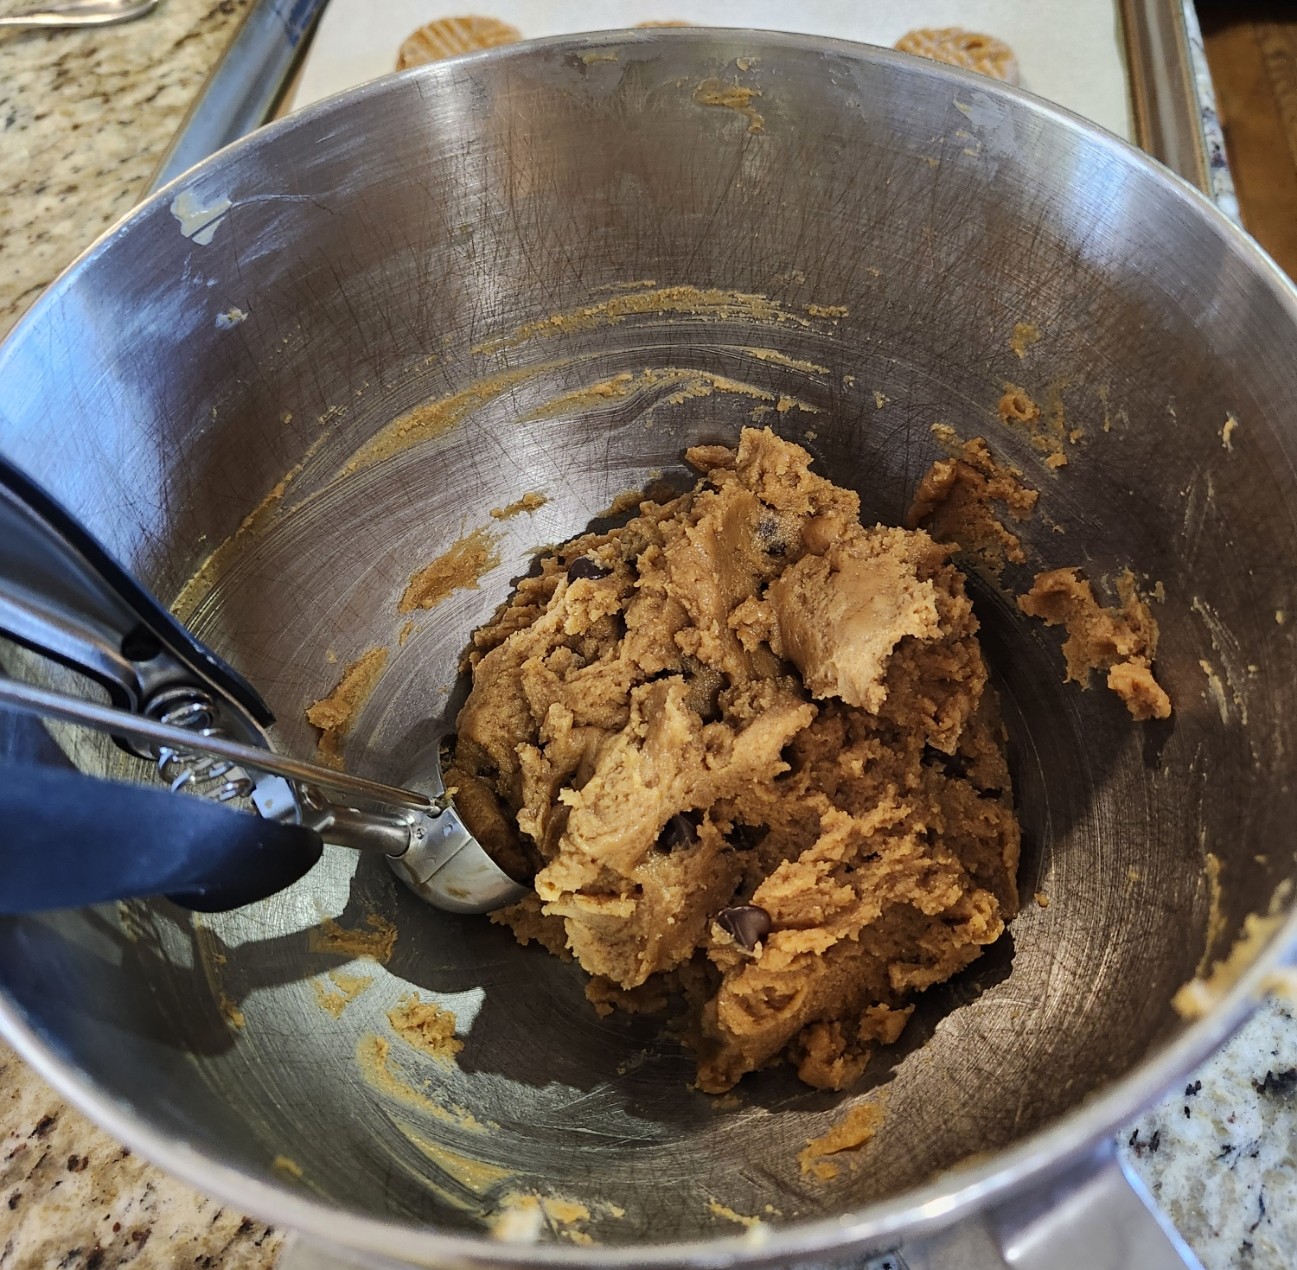
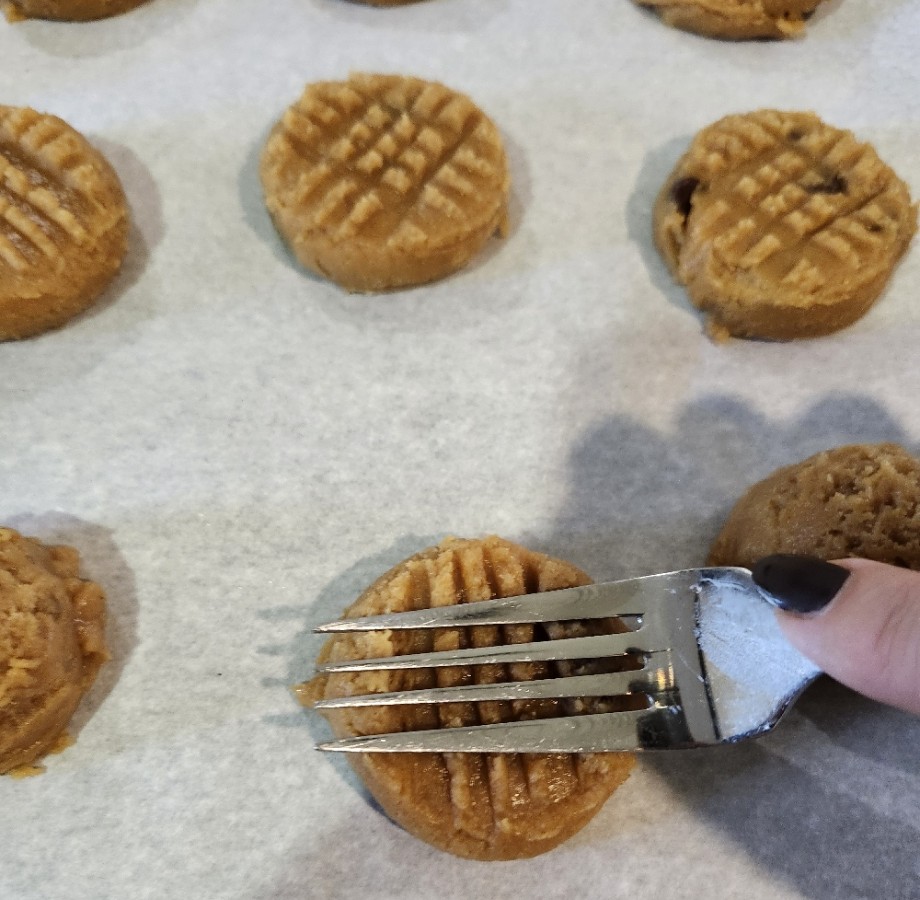
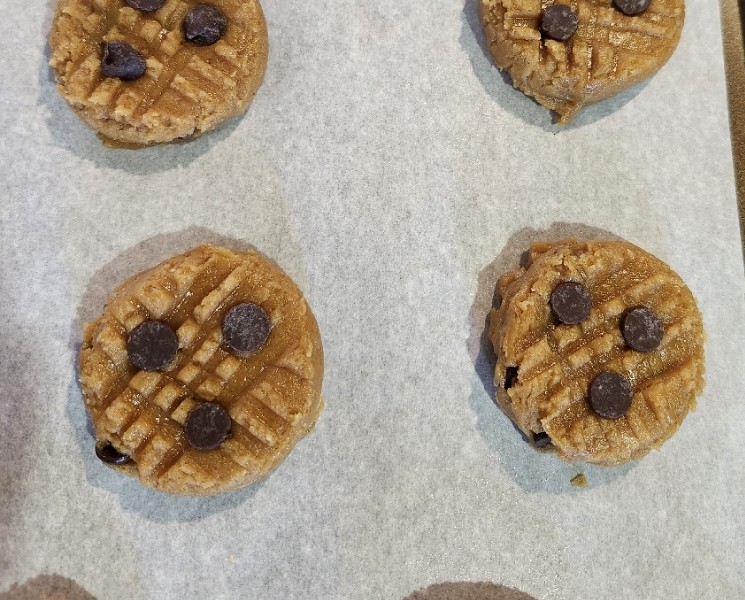
These cookies were born out of Mission magic. One day, faced with a mountain of peanut butter nearing its expiry, I turned to the internet and found this gem on the Big Man’s World site TheBigMansWorldSite. Just four ingredients—peanut butter, brown sugar, eggs, and chocolate chips—and no flour in sight! They're ridiculously easy, irresistibly tasty, and a huge hit with our gluten-free clients. Now they’re a go-to whenever we need a sweet treat that’s simple, satisfying, and made from whatever’s on hand. Proof that a little pantry problem can turn into a cookie triumph!
25 mins
13 mins
12 mins
12 cookies
To store - Keep in an airtight container at room temperature for 4-5 days or in the fridge for up to 2 weeks.
To Freeze - Place the cookies in a freezer bag and freeze for up to 6 months.


Some of my sisters have a very special talent: they love eating baked goods but somehow develop amnesia the moment an oven needs to be turned on. So instead, they send me recipes like I’m their personal bakery. I’ll get messages like, “You should make this,” which is sister-code for “I would like to eat this soon.”
This recipe came from my sister Norma, and she really outdid herself. I knew it was a hit the moment it came out of the oven—it disappeared instantly, and now everyone expects me to make it again.
1 hr 6 mins
20 mins
46 mins
24+ bars
Crust & Topping:
Filling:
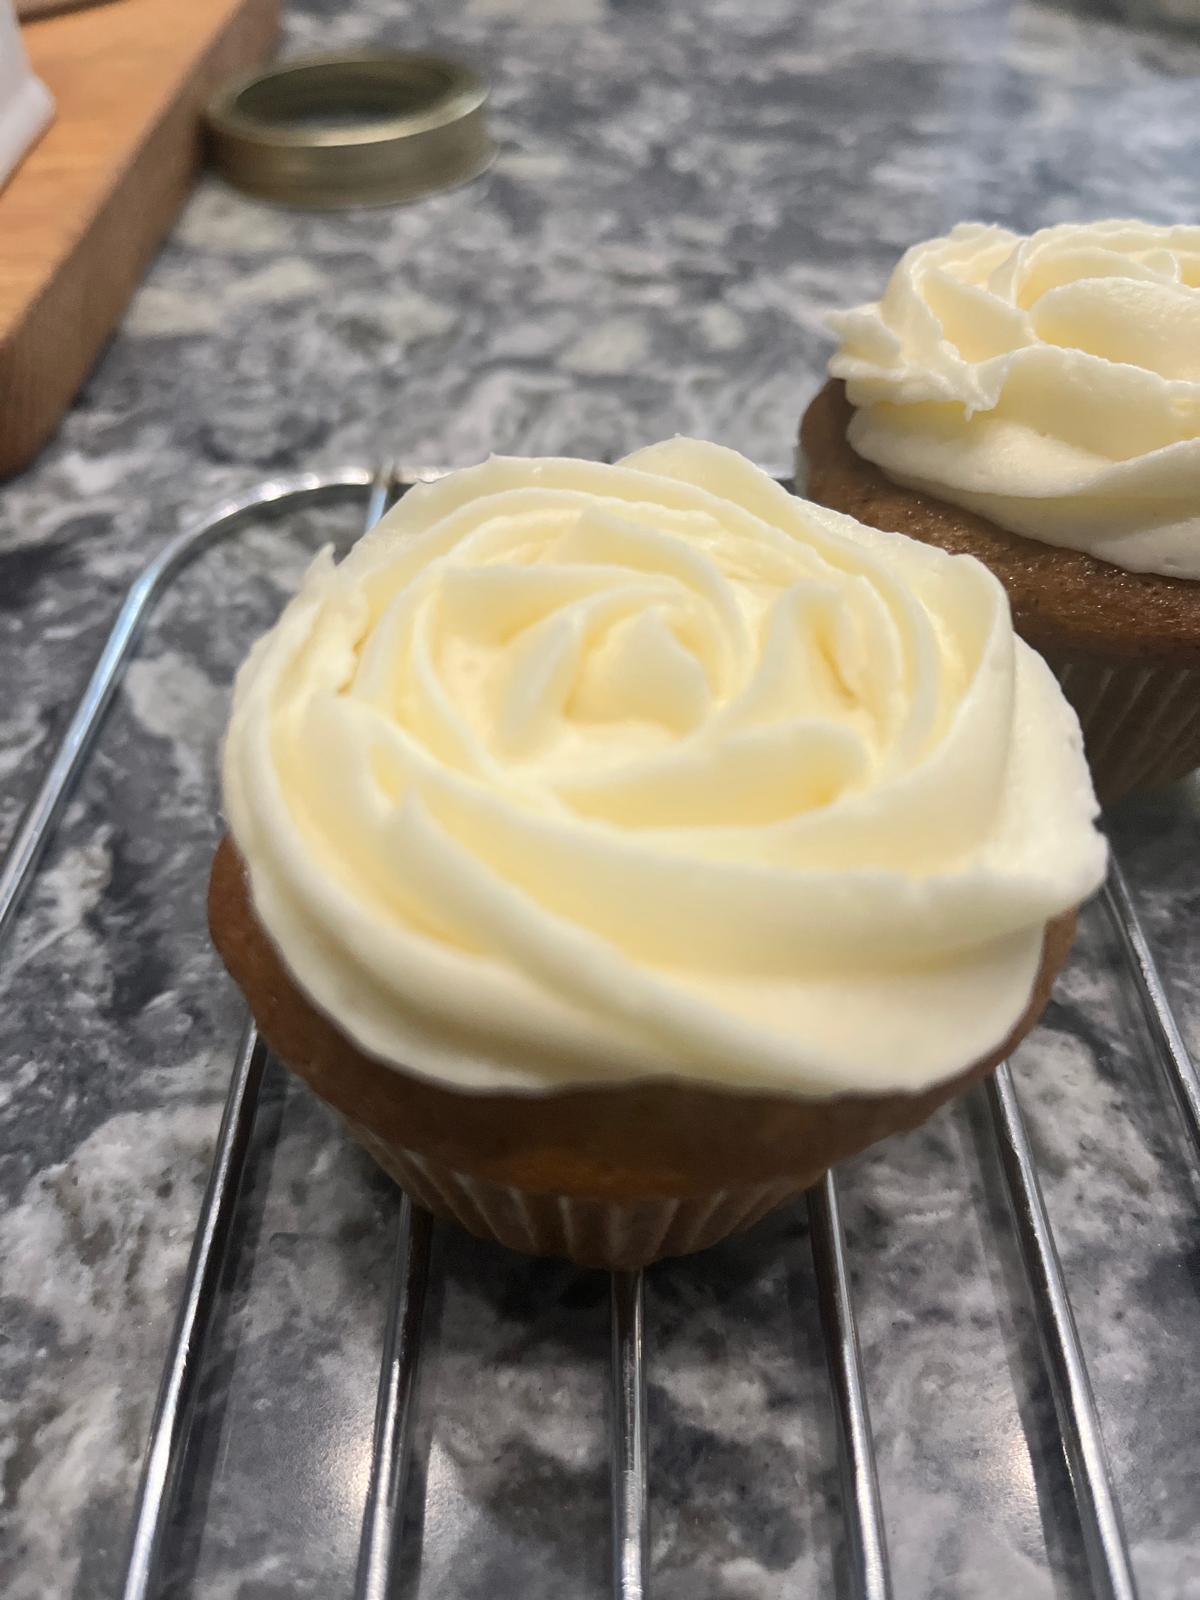


Easter is a time for celebration, and what better way to celebrate than with carrot cake cupcakes—perfect for the Easter Bunny, fun to make, and my kids’ absolute favourite! These cupcakes are a staple in our home during April, bringing joy and delicious flavour to the holiday.
Made without nuts (since my boys are allergic), these cupcakes are moist, spiced just right, and topped with a rich cream cheese frosting—because, let’s be honest, no self-respecting carrot cake should be without it!
Baking these treats has become a cherished Easter tradition in our family, filling our kitchen with warmth and the sweet scent of cinnamon and carrots. Whether you’re making them for kids, guests, or just for yourself, these cupcakes are sure to bring a little extra joy to your Easter celebrations. So preheat that oven, grab your whisk, and enjoy a festive treat that’s as fun to make as it is to eat!
1 hr 40 min
60 mins + 60 mins to cool
20 mins
12 - 16
Cupcakes:
Cupcakes:
Frosting:


I found this recipe while trying to use up the pumpkin puree my sister Jane made from the sugar pumpkins in her garden, and it instantly became a favourite.
I love thinking about Jane baking it when her granddaughter Delilah came to visit from Calgary, the two of them laughing in the kitchen and turning garden ingredients into something delicious together.
There’s something extra fun about knowing the pumpkin came straight from her backyard, making every bite feel homemade, and full of happy family memories.
2 hrs 45 mins
30 min + 1hr cool + 1hr chill
13-15 mins
10-12
Cake:
Filling:


This memory goes back to my days working at Windsor Fire & Rescue Services. One of my colleagues made a vegan chocolate cake for the birthday of Emily, our Emergency Planning Officer. I think the recipe came from the internet, but it didn’t matter — the cake was rich, chocolatey, and absolutely delicious.
Even non-vegans couldn’t resist sneaking a slice! Every bite reminds me of the camaraderie at the station and the little celebrations that brightened our busy days.
This chocolate cake remains one of my favourite treats and a sweet reminder of Emily’s birthday at the fire hall.
2 hrs
30 mins + 1 hr to cool
30 - 35 mins
12 - 24
Cake:
Chocolate Buttercream Frosting:
Cake:
Chocolate Buttercream Frosting:
For cupcakes, fill liners half full and bake for 20-25 minutes. The whole recipe will yield approximately 24 cupcakes. Double the recipe to make a 4 layer cake, or cut in half to make a 1 layer round cake. You can also make a bundt cake, simply bake for 45 minutes. Or a 9 x 13 inch cake, baking for about 35-40 minutes. Don't like a lot of frosting? Cut the frosting ingredients in half. The recipe as written makes enough for thick layers of frosting. Nut allergy? You may substitute soy milk or another milk for the almond milk, any non-dairy milk will work here. No applesauce? Substitute 2 flax eggs (2 tbs ground flax + 5 tbs water), whipped aquafaba or another egg replacer such as Bob's Red Mill (2 eggs worth).


This is one of my son Karl’s favourite desserts—and one of mine too. It’s not the quickest to make, and I sometimes wish I’d chosen something simpler, but the first bite always makes it worth it.
If you’re short on time, you can use a store-bought angel food cake and build from there—it still brings the same smiles.
One of my favourite memories with this recipe was making a pink version for a colour-themed Ladies Dinner night. Everything matched—from the food to the outfits—and it was an evening full of laughter, friendship, and delicious treats.
All damn day
loooong time
35 - 40 mins
8-10 slices
Cake:
Frosting:
Cake:
Filling:
Frosting:


This cheesecake started as a version of my mom’s recipe, and over the years I’ve made it my own. I love how easy and versatile it is—my favourite way is to use fresh fruit, but you can also top it with candy bars, lemon curd, ganache, or whatever suits the occasion.
It has become my go to recipe to make for the Amherstburg Food and Fellowship Mission because I can prepare it in different ways to match so many preferences, helping everyone feel included and cared for.
Seeing it become such a fan favourite makes me smile, knowing it began with my mom and now brings joy to so many others.
30 mins
30 mins
None
6
Crust:
Cheesecake Filling:
Crust:
Cheesecake Filling:
Feel free to get creative with different toppings. You may want to leave out the lemon zest in your filling if you are using candy bar toppings.
I love to make these individually in the containers in the photo (Amazon) for the Amherstburg Mission. To have the correct quantities; the crust quantity stays the same, but I double the cheesecake. For best results put the cheesecake in a piping bag and cut off the end (no tip required). Do a layer of cheesecake, then sprinkle a rounded teaspoons of crumbs mixture, layer of fruit, repeat.
This is a collection of my favourite recipes gathered from 1989 to 2022.


Jill's Top 10 Dessert Recipes

Jill Kanwischer

Kaitlin Kirk