Veronika's Colour Party
Recipes from our Monthly Ladies Group

Recipes from our Monthly Ladies Group

This cookbook is lovingly dedicated to Veronika Bottos, the heart and soul of our monthly ladies' dinner group. Veronika has an incredible gift for bringing people together. Each month, she not only organizes who will host but also inspires us with her creative themes, ensuring everyone feels welcome and encouraged to participate. Her passion for maintaining our close-knit bond shines through, especially during our cherished Christmas dinners, where spouses and significant others are invited to share in the celebration.
Veronika has a unique way of making sure her friends remain a priority, always recognizing the importance of staying connected. Through the highs and lows of life—whether it’s the joys of raising children, the pain of divorce, or supporting each other in sickness and health—she has been there, leading our group with grace and love. This cookbook is a tribute to the enduring friendships she has nurtured, and to the memories we continue to create around the dinner table.


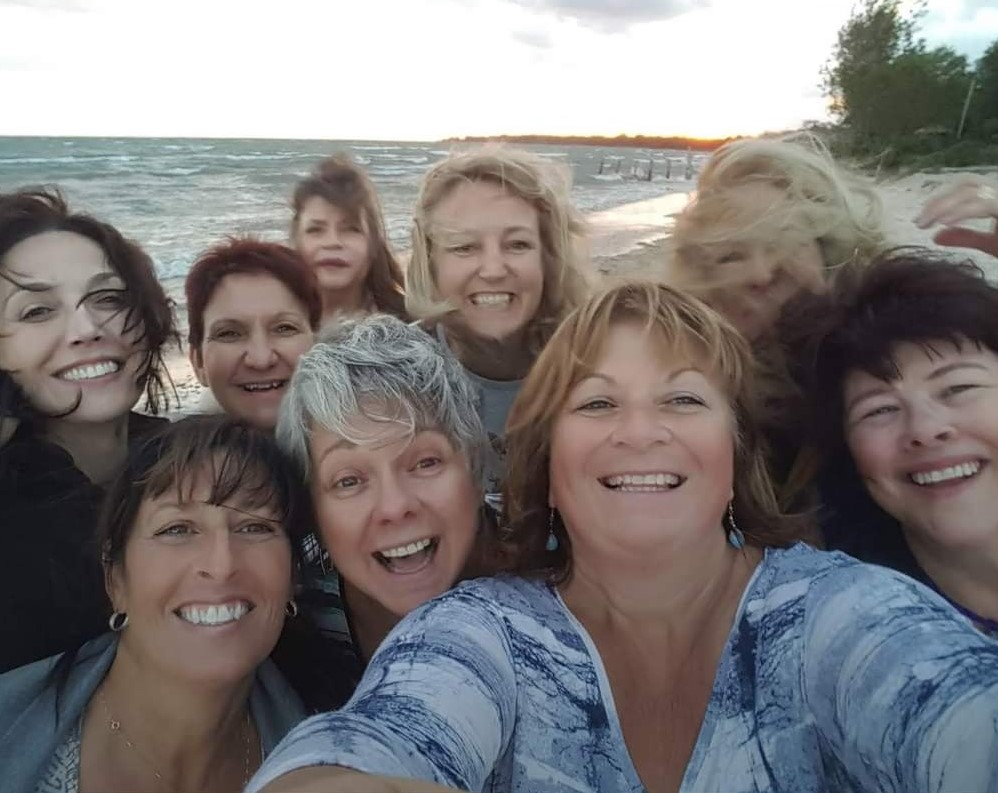

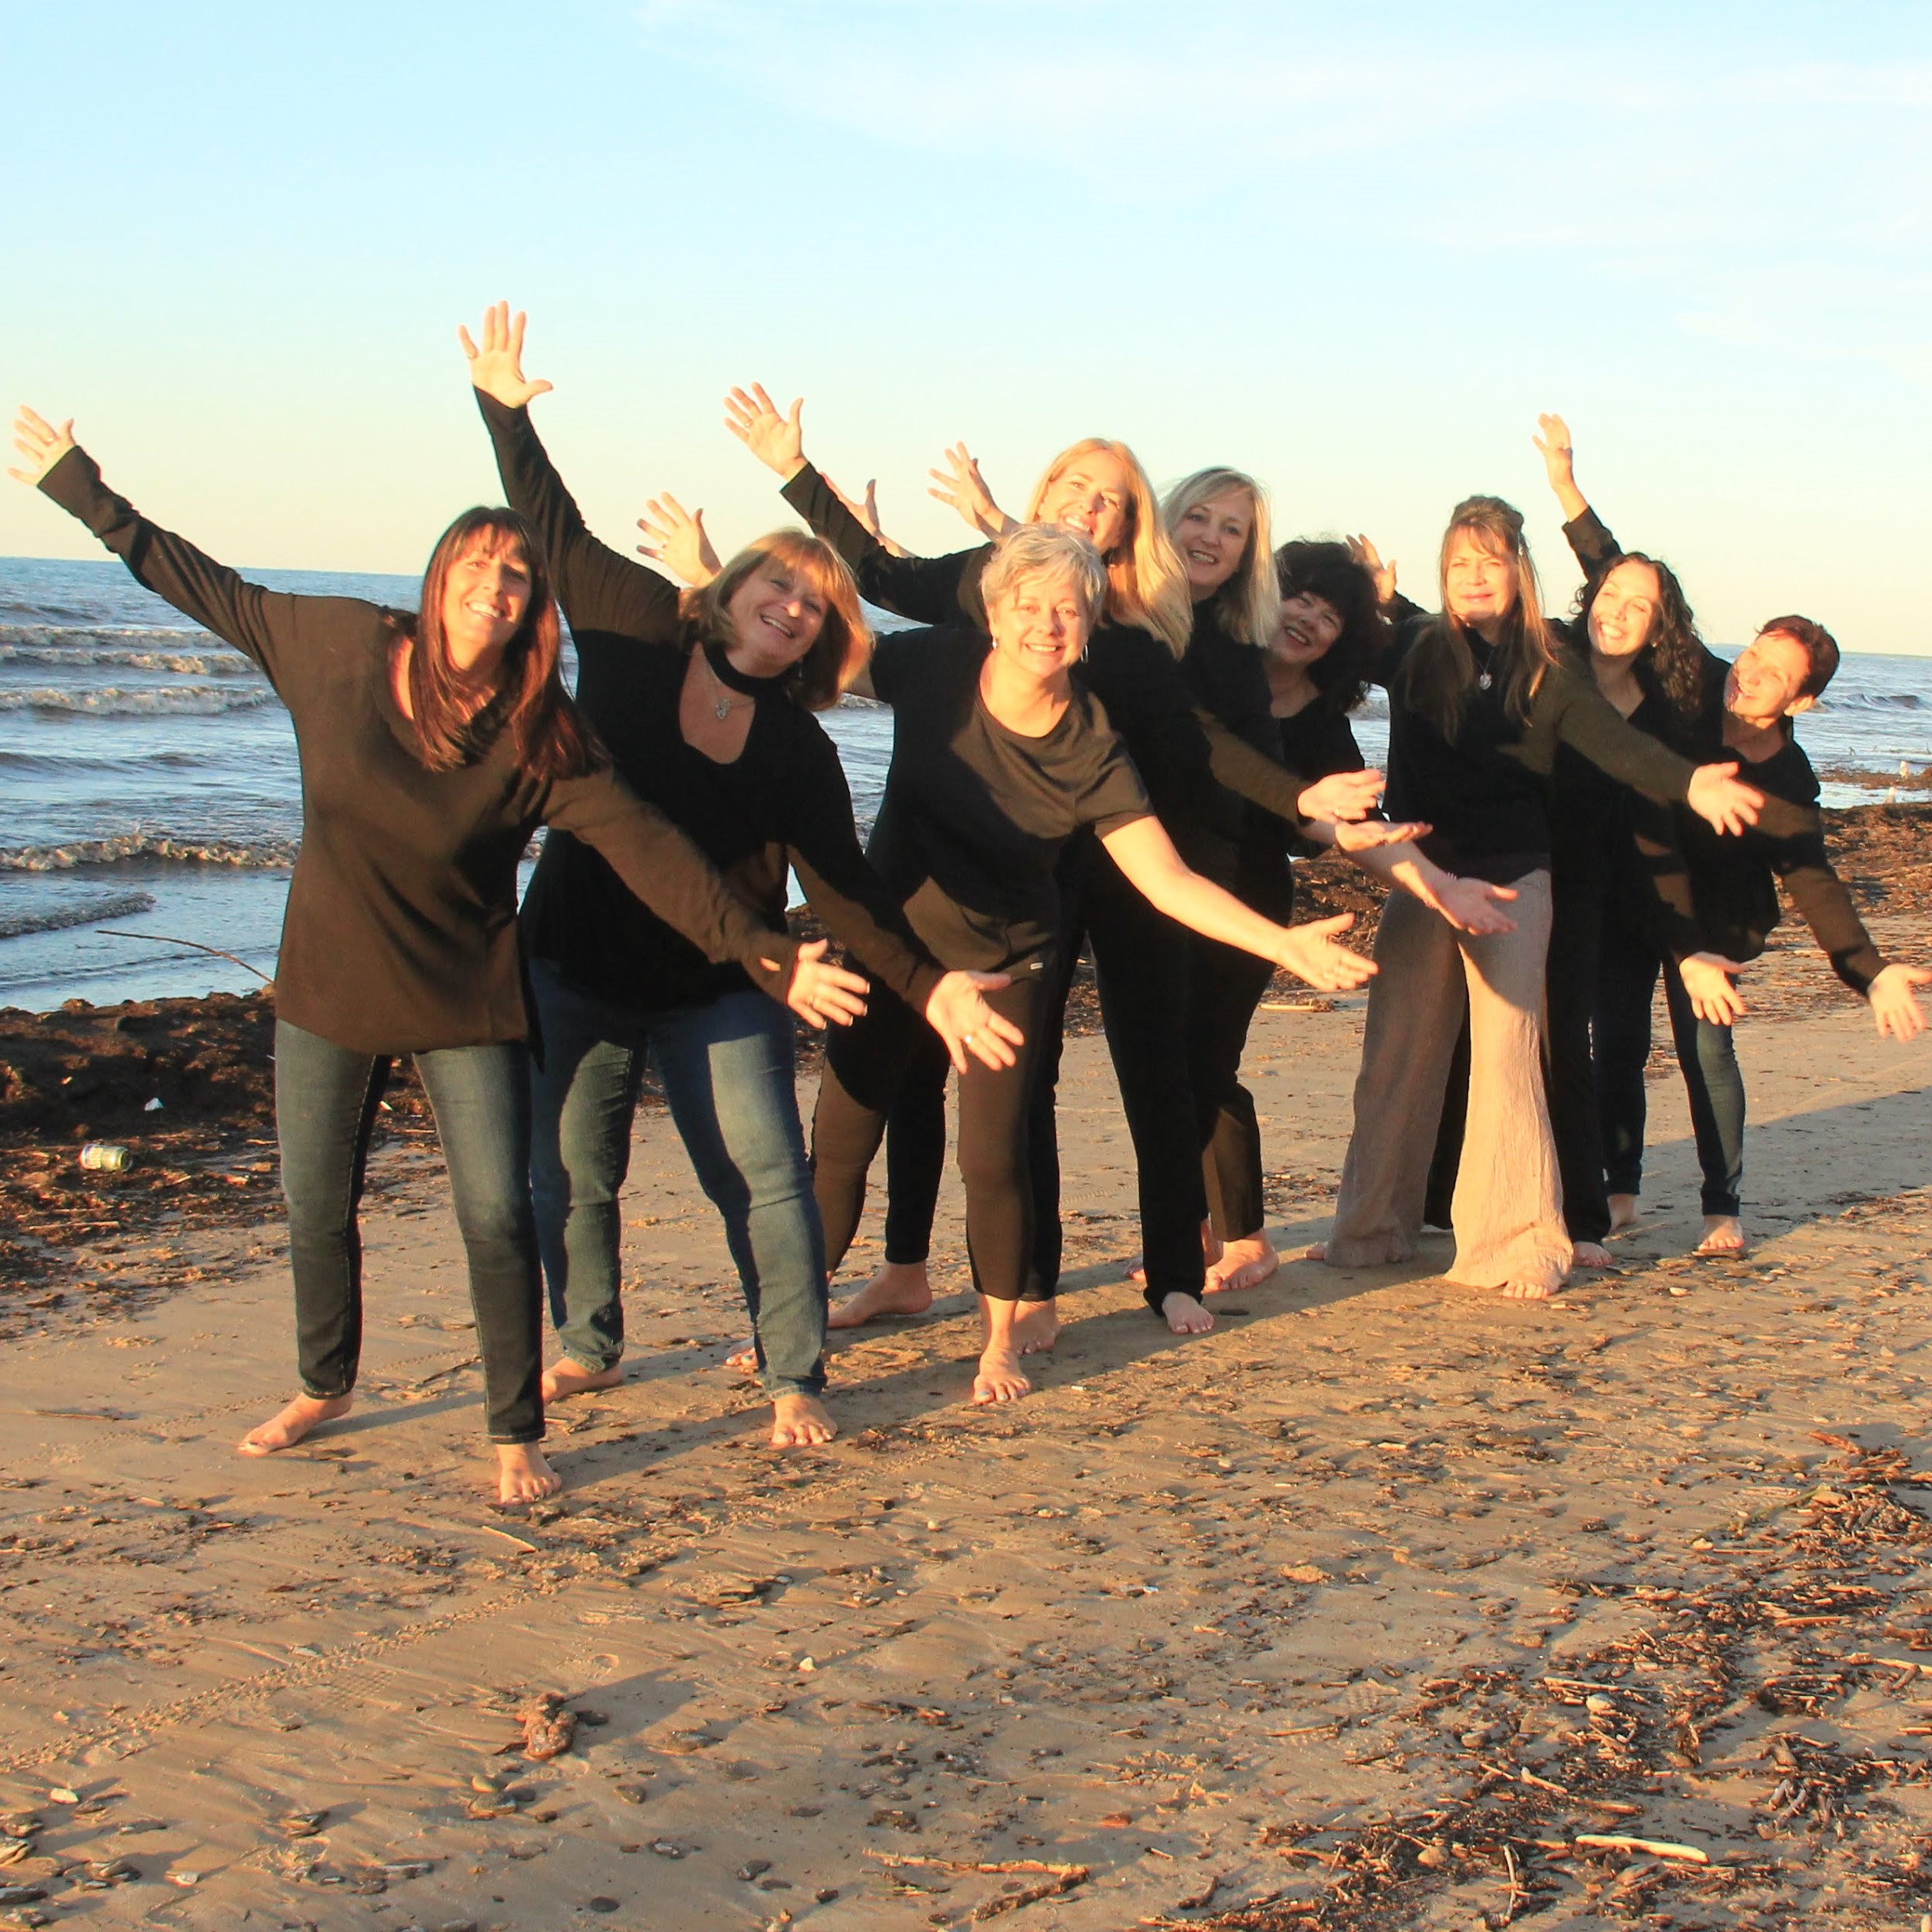
In 1992, Veronika Bottos and her close-knit group of friends found themselves navigating the challenges of raising young children. They naturally became a strong support system for one another during those early years. By the summer of 1994, Veronika recognized that amidst the chaos of motherhood, they needed consistent "girlfriend" time. She took the initiative and started organizing monthly dinners out.
The original group—Veronika Bottos, Barbara Dettlinger, Danielle Emon, Debbie Emon, and Diana O'Connor—became the foundation of what has grown into a beloved tradition. As of 2022, these "OGs" are still part of the gathering, now joined by an additional 10 ladies who take turns planning the dates and locations. Veronika, however, continues to take the lead, managing the schedule and sending reminders, ensuring that this cherished group remains connected through the years.


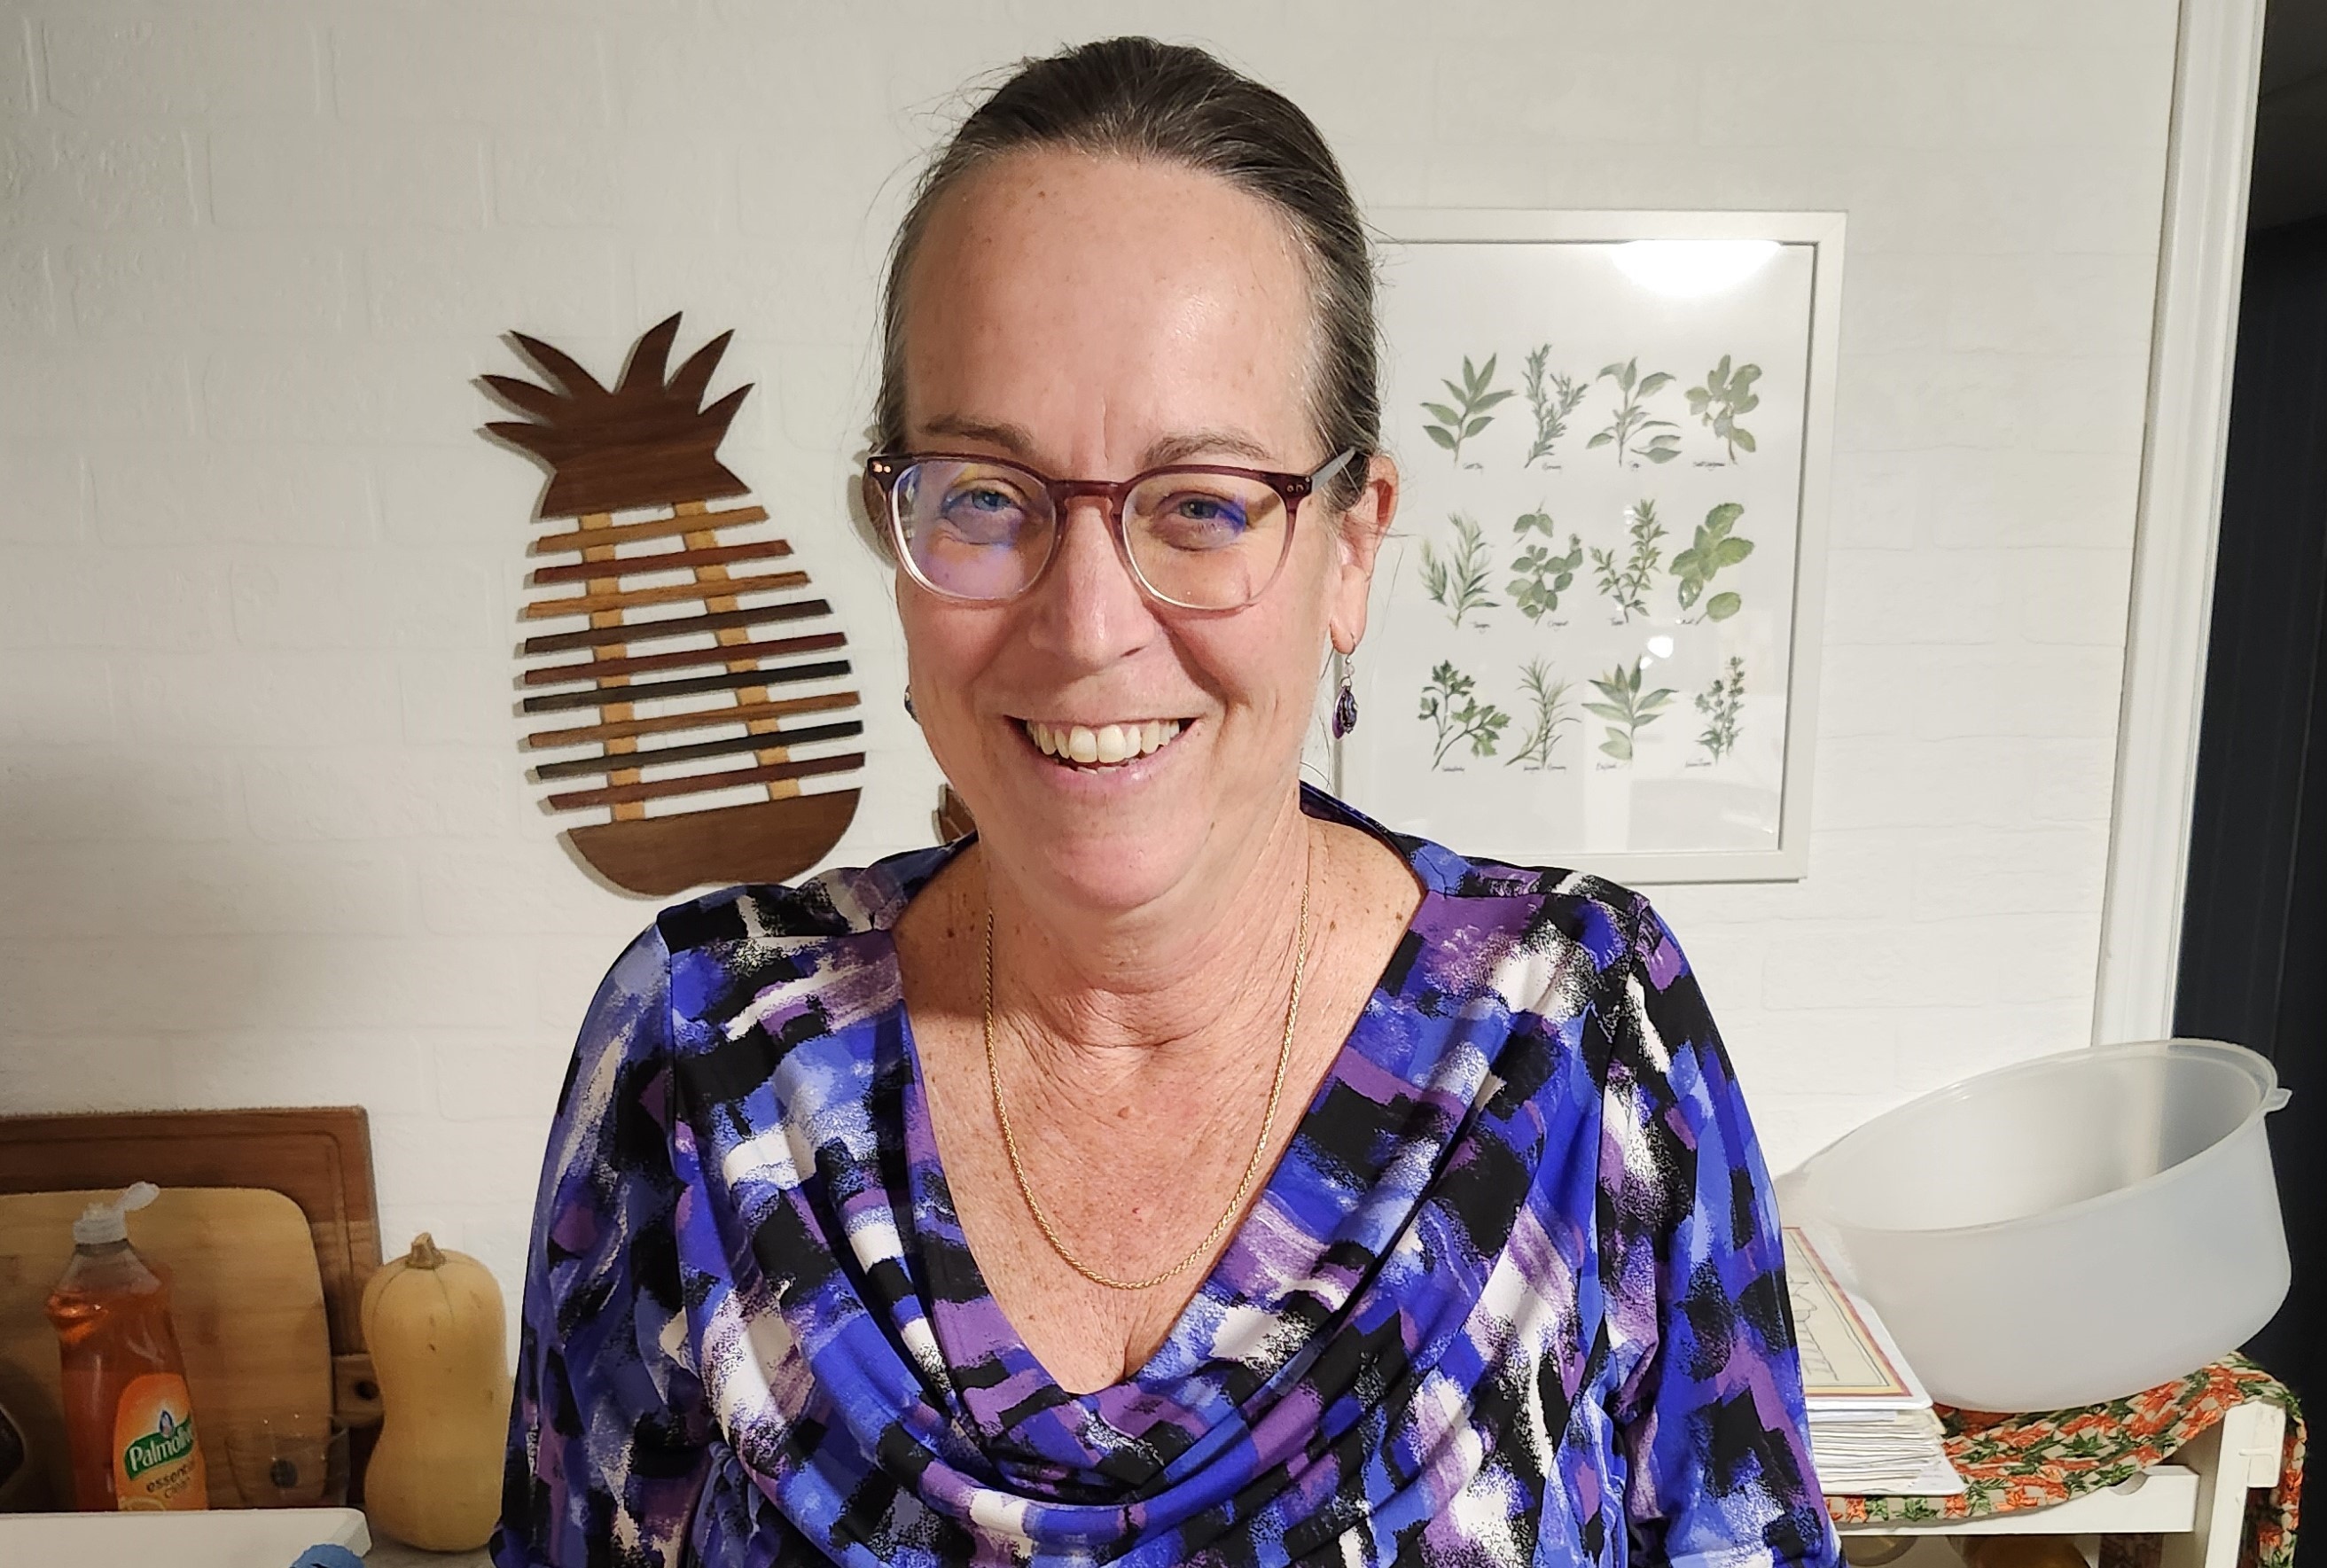
Sue Swiatoschik, a long-time member of our ladies' dinner group, has known Veronika for over 25 years, ever since their kids first crossed paths at FLCA.
When Veronika introduced the colour-themed party, Sue was eager to embrace the challenge and went on the hunt for a recipe to match her assigned color—purple. After some online searching, she found a recipe that not only looked visually stunning but also healthy and refreshing.

5 minutes

5 minutes

Not Mentioned

1 - 2 servings


Barbara Dettlinger chose a mocktail with a Mexican flair for Veronika’s colour-themed party.
Much like the values in Mexican culture, Barbara is deeply family-oriented and sees this group, especially Veronika, as her extended family. She is always caring and thoughtful, looking out for the well-being of everyone in the group. Her mocktail reflected not just the green theme, but also her nurturing nature and the strong bonds that connect them all.
Not Mentioned
Not Mentioned
Not Mentioned
Not Mentioned

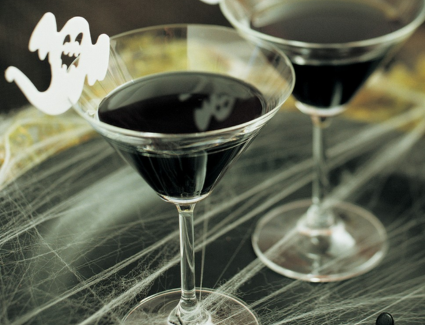
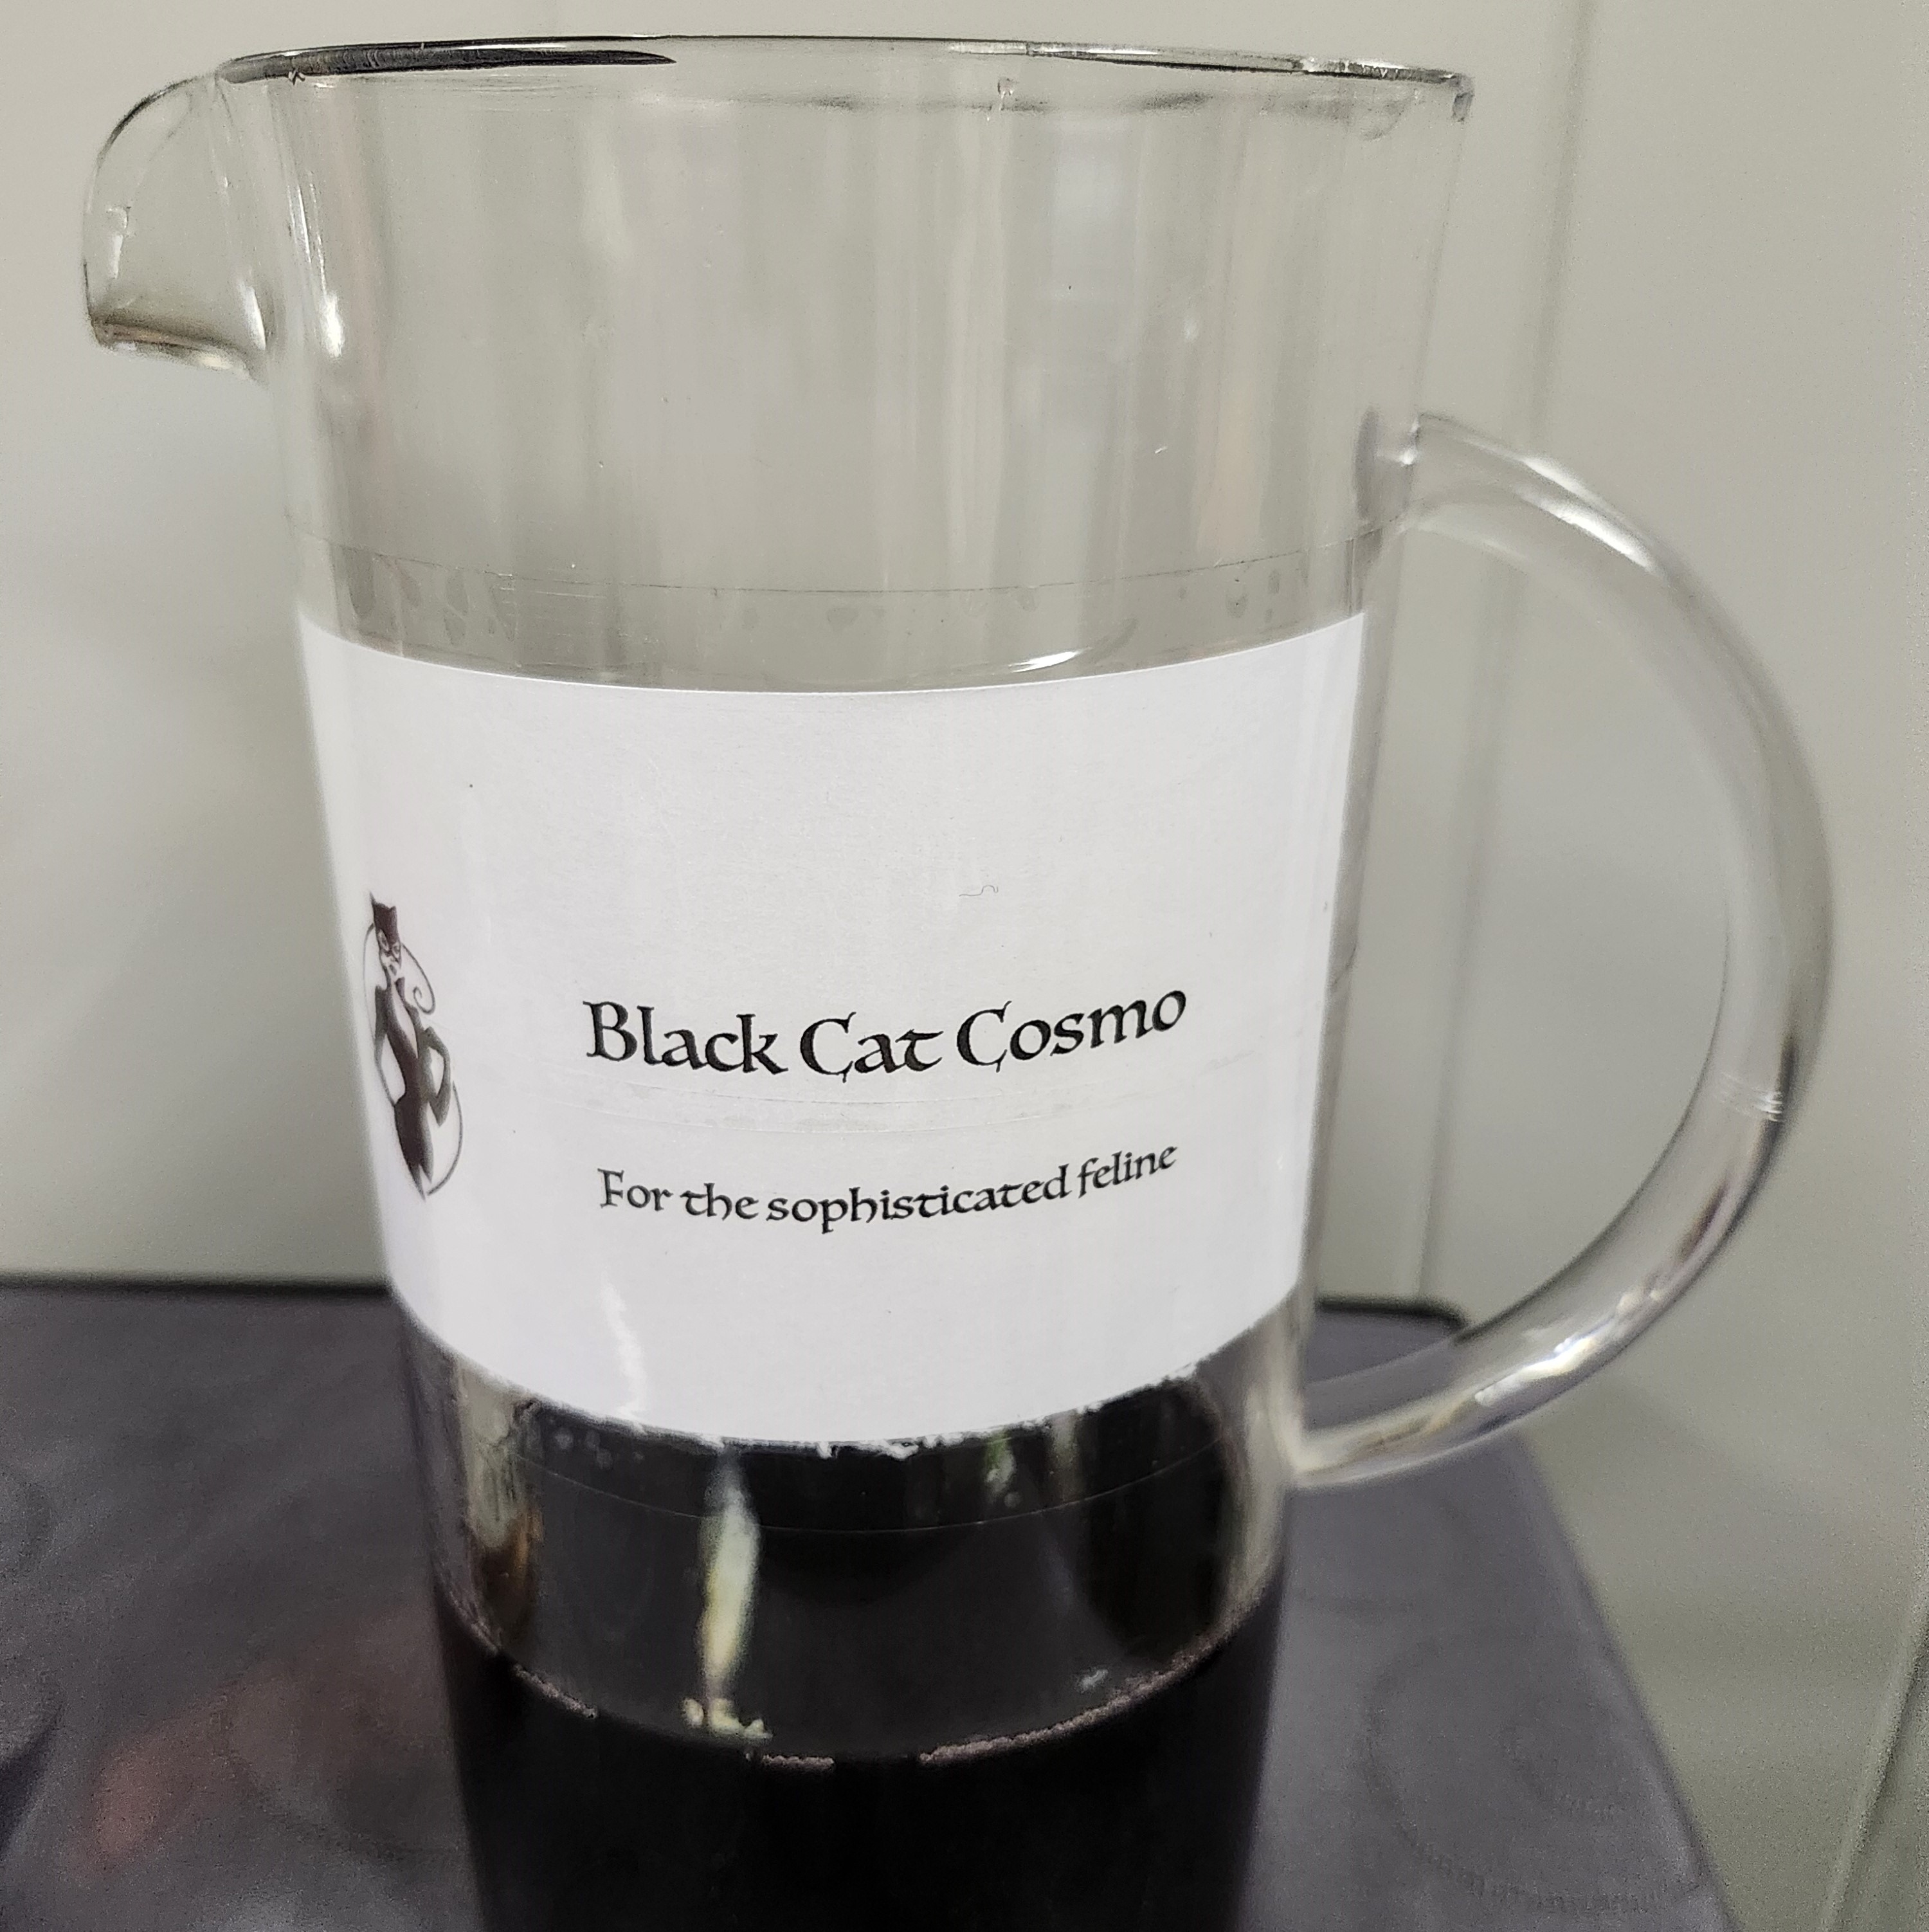
Danielle Emon, always sleek and stylish like a black cat, found the perfect drink to complement her assigned colour for Veronika’s themed party—a Black Cat Cosmo.
It was a fitting choice, given her love for a classic Cosmo and her gracefully feline charm. Known for embracing a good theme, if I'm not mistaken, Danielle even came to one of our Halloween parties dressed as Catwoman. So, when it came to the potluck, the Black Cat Cosmo seemed like a natural pick—delicious, chic, and totally her vibe.
Not Mentioned
Not Mentioned
Not Mentioned
1


My friend Veronika had the fun idea of hosting a color-themed party for our monthly ladies' dinner group. Each of us was assigned a color and asked to dress in that color, while also bringing a cocktail and a dish for the potluck, all matching the colour theme.
I was a little concerned that everyone might opt for alcoholic drinks, and we'd all be tipsy by the end of the night! So, I decided to play it safe and whipped up a delicious pink mocktail instead ... then I came to my senses and brought a bottle of Rose as well ; )
5 minutes
5 minutes
Not Mentioned
Single
By the Glass:
By the Pitcher:

Katie brought her rich frosted brownies to Veronika’s colour-themed party, but she didn’t stop there—she paired them with a bold classic B52 cocktail.
The drink, a mix of Kahlua and Baileys, perfectly matched Katie’s wild and free spirit. True to her "you only live once" philosophy, the B52 was served straight up, a daring choice that only Katie could pull off. Just like her, the combination of sweet brownies and strong, layered flavours was a memorable hit.
Not Mentioned
Not Mentioned
Not Mentioned
1


Kathy Vincent, known for always going the extra mile, brought the most creative and adorable drink to Veronika’s colour-themed party—a Foamy Pina-BOO-lada, complete with marshmallow ghost skewers. Not only did she stay true to the white theme, but she also added a playful Halloween twist, knowing how much Veronika loves the holiday.
Since the party was on October 30th, Kathy’s spooky touch was the perfect nod to the season. Her drink was both festive and fun, reflecting her thoughtful attention to detail and her knack for making every event a little more special.
Not Mentioned
Not Mentioned
Not Mentioned
Not Mentioned

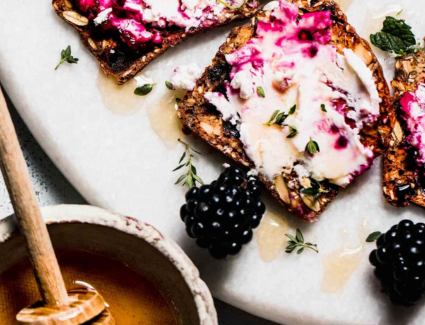
When it came time for Veronika’s color-themed party, Sue Swiatoschik knew she wanted to find a dish that would perfectly complement her assigned purple color.
After searching online, she discovered a delightful blackberry boat cheese appetizer that fit the theme beautifully. Made with fresh ingredients like blackberries, honey, lemon, thyme, and creamy goat cheese, the dish combined her love for light, flavorful bites with vibrant colors.
With so many rich dishes at the potluck, Sue decided a light appetizer would be the perfect way to start the evening, offering a refreshing and elegant option for the group.
10 minutes
5 minutes
5 minutes
8 people

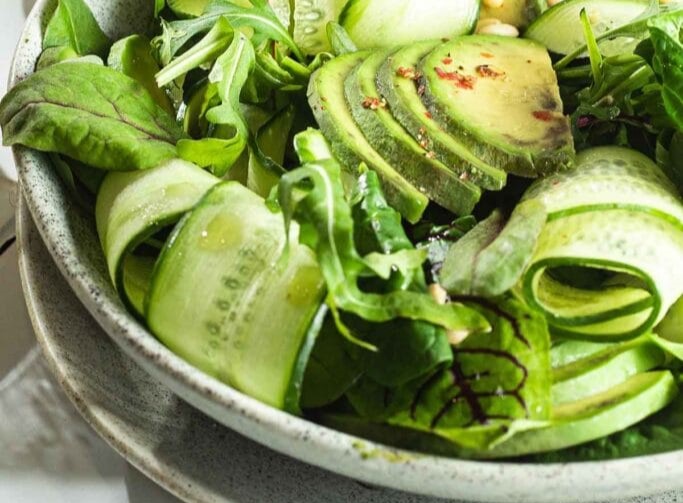
When Veronika announced the colour-themed party for our monthly ladies' dinner, Alison was assigned green and immediately knew she wanted to embrace the theme fully. For her contribution, she brought a simple yet vibrant green salad, where avocado and cucumber were the stars. With just seven ingredients, including fresh mixed greens, her dish was a refreshing and healthy option amid the colorful potluck spread.
But Alison didn’t stop there—she paired her salad with both alcoholic and non-alcoholic margaritas, keeping the green theme going from plate to glass. Her offerings were the perfect balance of fresh, easy, and festive, proving once again that delicious and healthy doesn't have to be complicated.
10 minutes
10 minutes
Not Mentioned
4
You can increase/decrease the mixed greens, cucumbers and the avocados depending on the size of your group.


Barbara Dettlinger, a lifelong friend of Veronika and one of the original members of the ladies' dinner group, was assigned the colour green for the party.
Naturally, she decided to make a dish close to her heart—Broccoli Salad. The recipe was one her mom used to make while catering for events, but Barb had her own twist. She always felt the original version had too much sugar, so she perfected a lighter version without the extra sweetness. Even her mom now prefers Barb’s healthier take, proving that you can make a classic even better with a fresh spin!
Not Mentioned
Not Mentioned
Not Mentioned
Not Mentioned
Broccoli Salad (dry ingredients)
Dressing


Carla Hope, who joined the ladies' dinner group alongside her best friend Kathy Laughland, brought a lot of joy and energy to Veronika’s colour-themed party. With her infectious laugh and vibrant personality, Carla made sure her contribution was just as lively. Assigned the colour red, she whipped up a delicious beet salad and paired it with refreshing cranberry juice.
Carla always adds a spark of fun to the group, making every gathering even more enjoyable.
Not Mentioned
20 minutes
Not Mentioned
6 - 8
Vinaigrette
Vinaigrette
If you'd like to roast your own beets, you'll need 1 bunch of medium beets (about 3). Preheat oven to 425°F and set an oven rack to the middle position. Wipe or scrub the beets clean, then trim stems down to one-inch (leave "tails" on). Place the beets on a large piece of aluminum foil, drizzle with 1 tablespoon olive oil, then wrap foil around the beets to form a neat packet. Roast directly on a rack in the middle of the oven until tender, about 1 hour. Test for doneness by piercing the largest beet with a knife. If it enters easily, it's done. Unwrap the beets and let sit until cool enough to handle. Use your hands or a paring knife to peel the skin, then cut into wedges. Make-Ahead Instructions: The vinaigrette can be made up to 4 days ahead and stored in the refrigerator. Before serving, let sit out at room temperature for about 30 minutes, and then shake to re-emulsify.

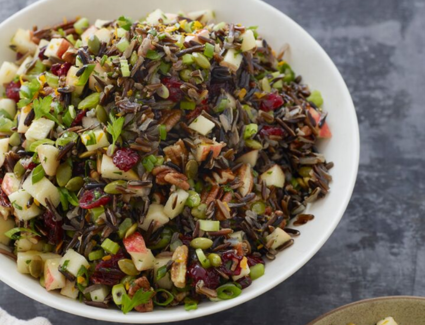
Danielle Emon, one of the original members of our ladies' dinner group, was thrilled to be assigned the colour black for Veronika’s colour-themed party—her favourite colour, which she often wears.
Eager to embrace the theme, Danielle found a Black Rice Salad recipe online that she had never tried before but was excited to make. Known for her incredible cooking and baking skills, Danielle’s dishes are always both beautiful and delicious, and although this was a new recipe for her, she had high hopes it would be another hit at the potluck. Her creativity and culinary expertise never fail to impress!
1 hour, 30 minutes
20 minutes
1 hour, 10 minutes
6
To toast the pecans, preheat the oven to 350°F and set an oven rack in the middle position. Arrange the pecans on a baking sheet and bake for 6 to 10 minutes, until toasted and fragrant.
This salad can be made a day ahead of time and refrigerated.

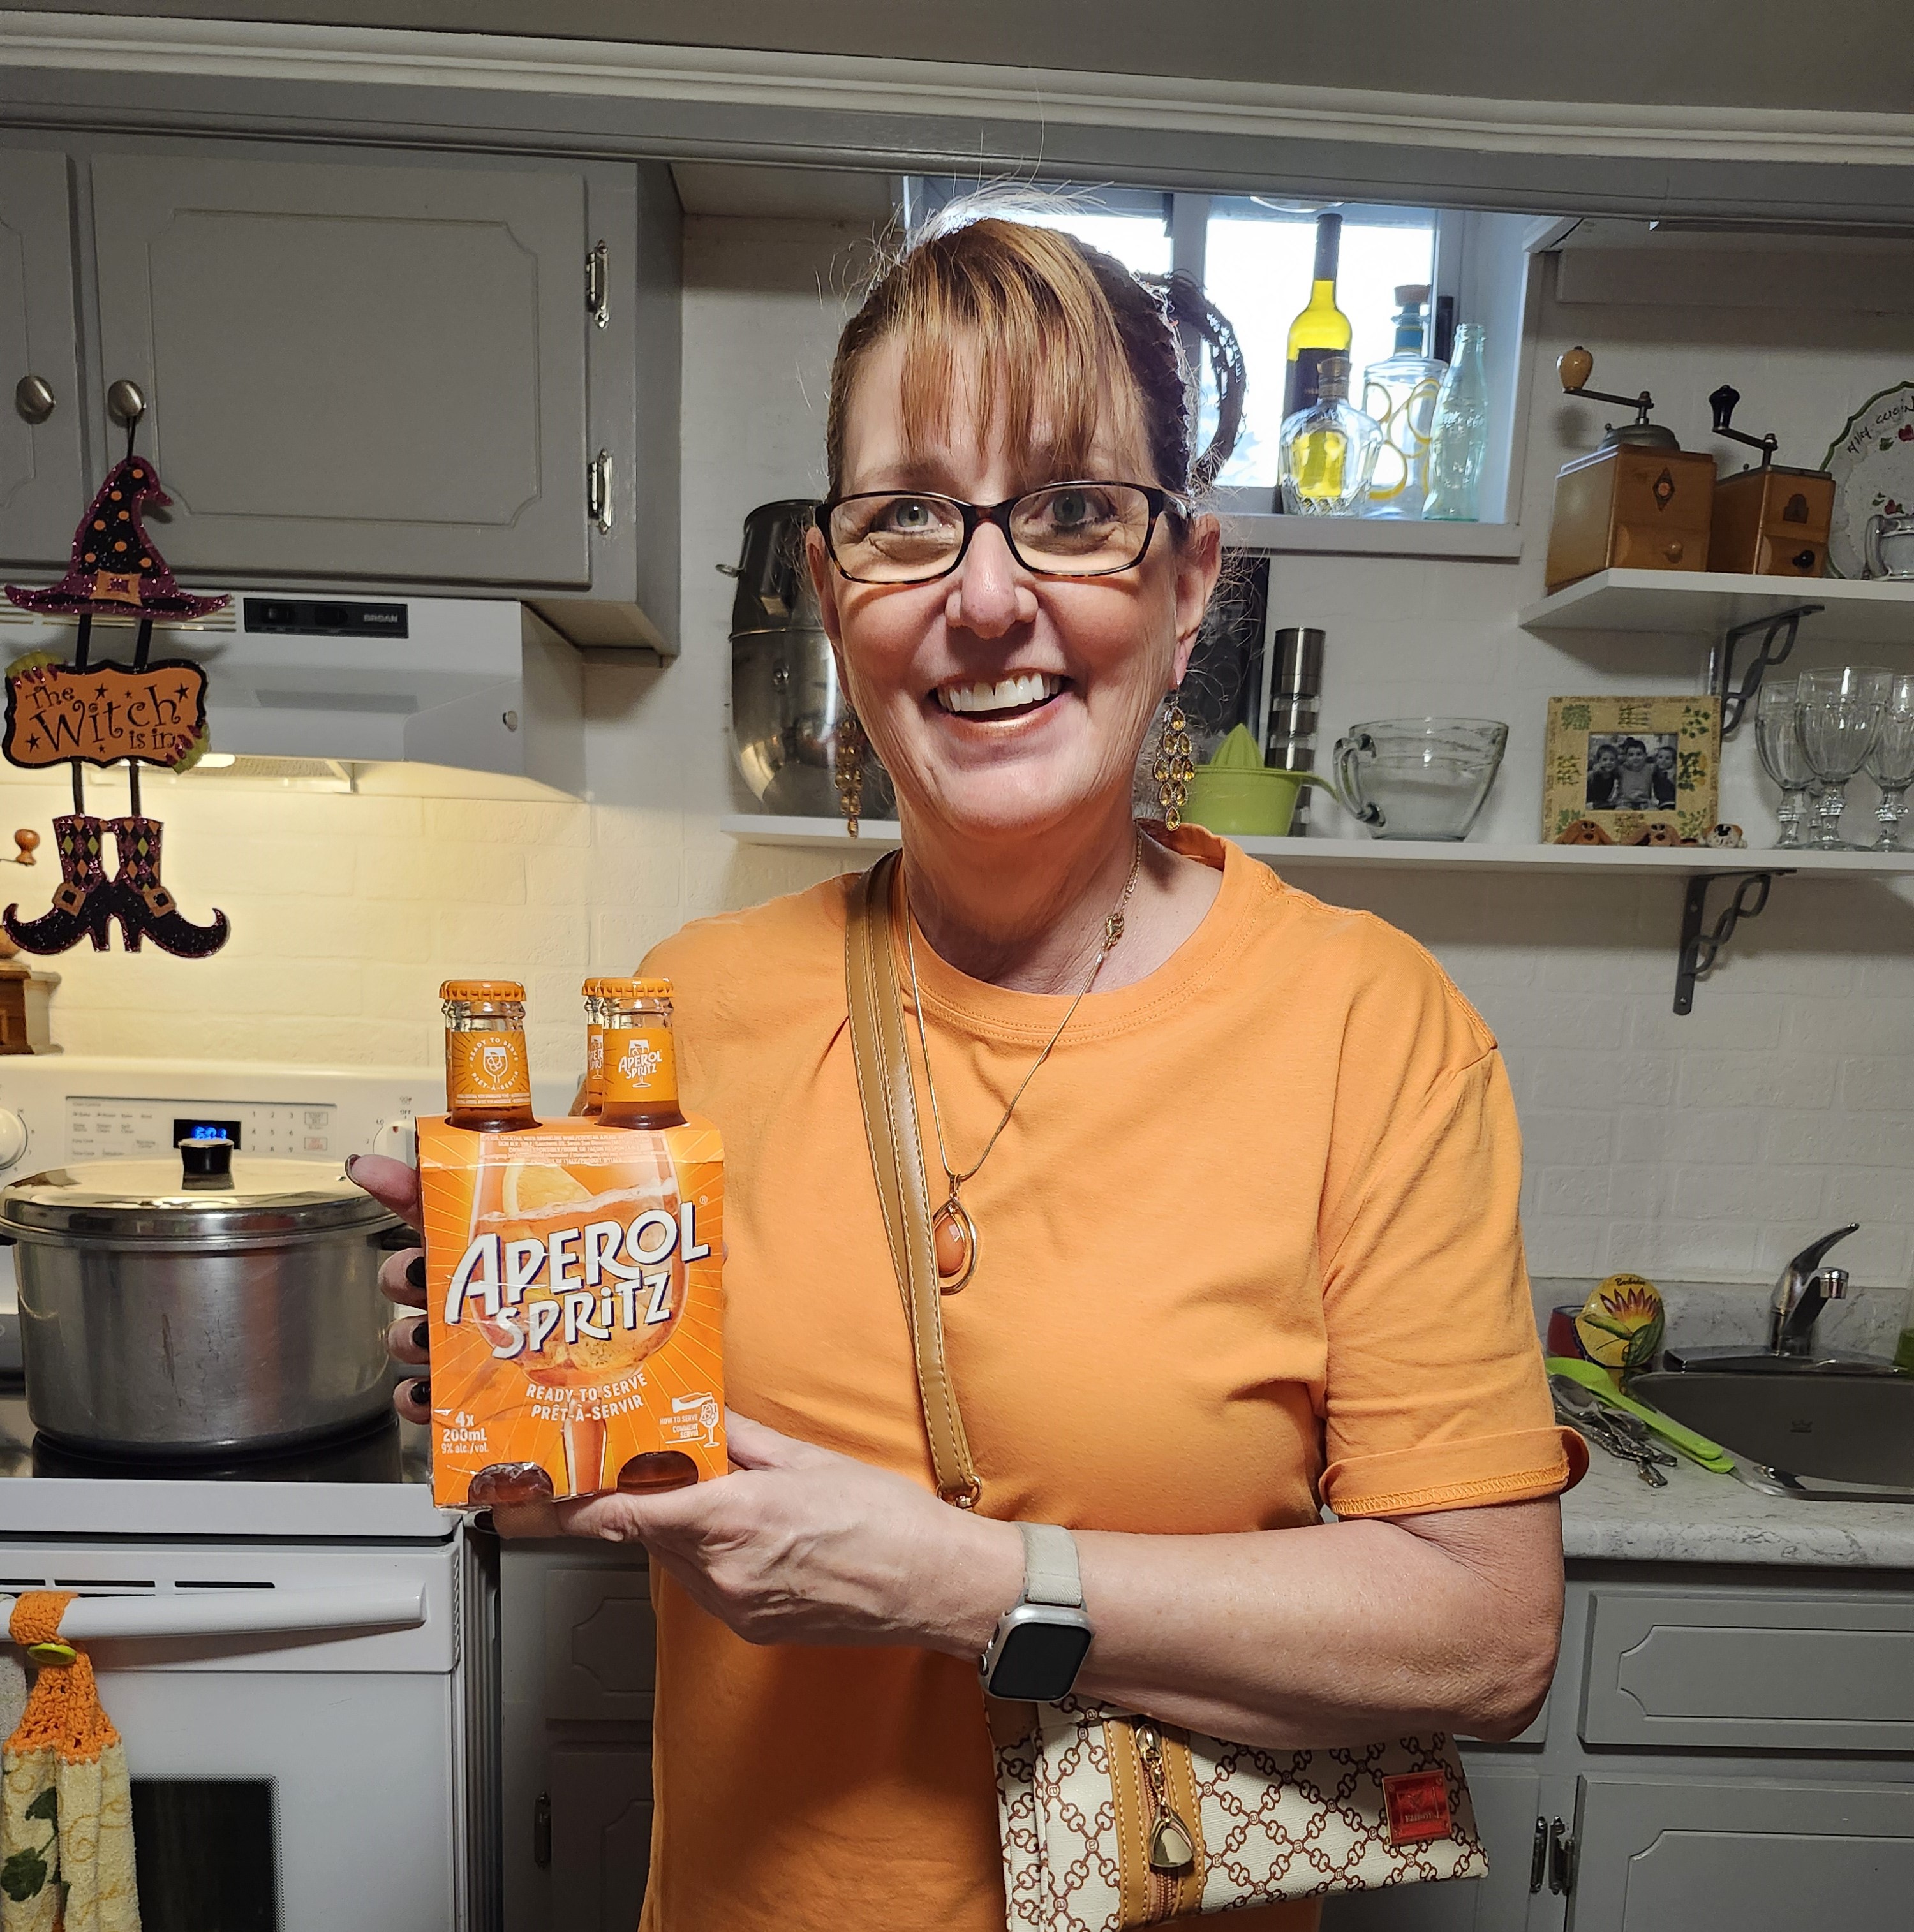
Kathy Laughland, whose favourite colour just happens to be orange, brought a heartwarming dish to Veronika’s colour-themed party—her signature butternut squash soup.
This recipe originally started as part of a friendly weight challenge between a few close friends, but over time, it morphed into a cherished "family fall favourite." One of the reasons it became such a staple is that it’s dairy-free, thoughtfully adapted to accommodate her best friend Carla and Kathy's son.
Rich in flavour and perfect for the season, Kathy’s soup has become a symbol of comfort and care, just like Kathy herself. Kathy paired this soup with a vibrant orange Aperol Spritz.
60 minutes
Not Mentioned
Not Mentioned
Not Mentioned
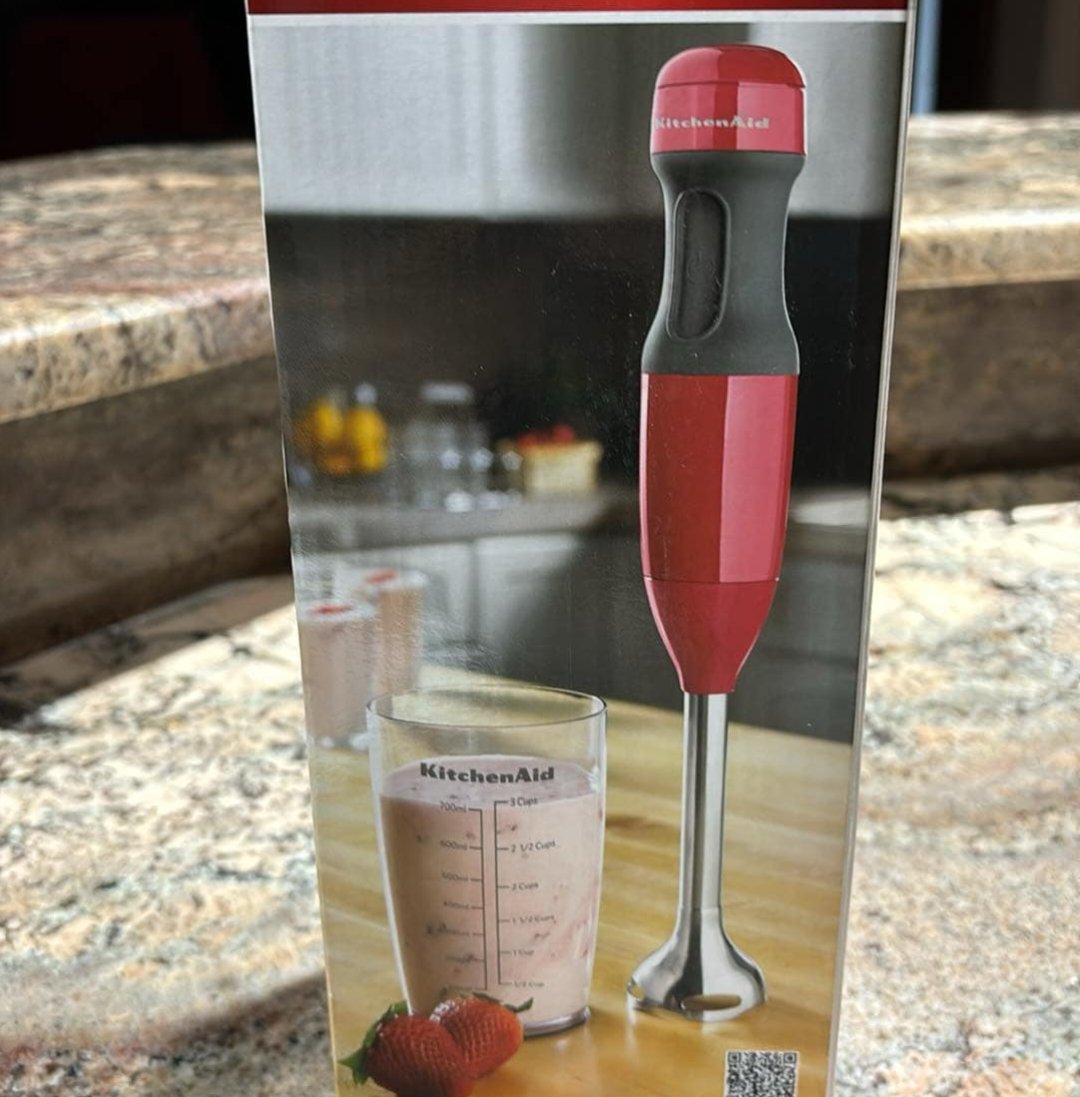
For less mess and to avoid burns use a hand mixer.


Betty Tait, one of the newest additions to the ladies' dinner group, made quite the impression at Veronika’s colour-themed party with her mouth-watering Manicotti. Her dish was so delicious that the ladies couldn’t wait to dig in, and by the time a photo was taken, it was nearly gone!
Paired with a bottle of red wine, Betty’s creation was the talk of the evening, and she deservedly earned the title of MVP that night. Her culinary skills were nothing short of outstanding, and the group couldn’t stop raving about it!
45 Minutes
15 Minutes
30 Minutes
10 Manicotti


Diana O'Connor, one of the original members of our ladies' dinner group, is a nurse and natural caregiver, always concerned about everyone’s health. Though she couldn’t attend Veronika's colour-themed party because she was working, this is the dish she would have brought. Assigned the colour white, Diana created her recipe when she decided her family needed to eat more vegetables and less meat. She found it online and tweaked it to suit her family’s tastes, just like she cares for everyone with thoughtful attention.
Not Mentioned
Not Mentioned
20 - 40 Minutes
Not Mentioned
Cauliflower:
Lime Crema:
Taco Slaw:
Cauliflower:
Lime Crema:
Taco Slaw:
Serve cauliflower, taco slaw and lime crema in warmed flour or corn tortilla.
You can also add onions & cilantro to Taco Slaw.

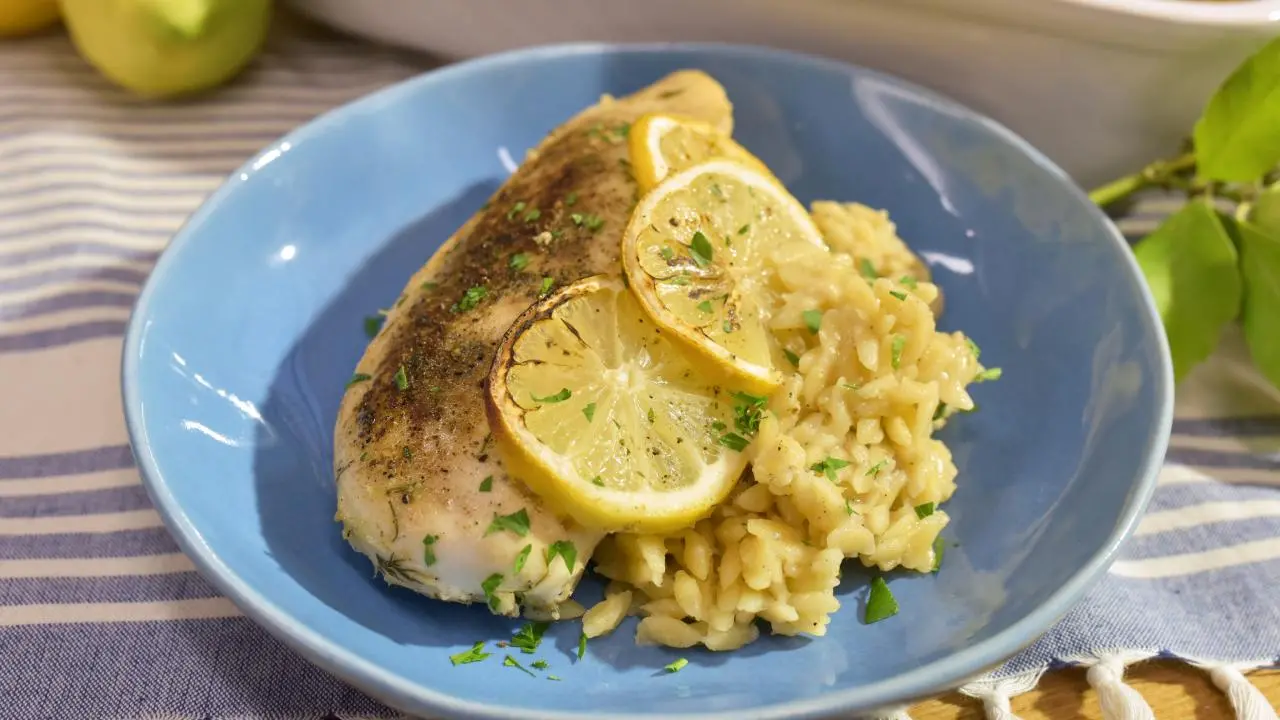
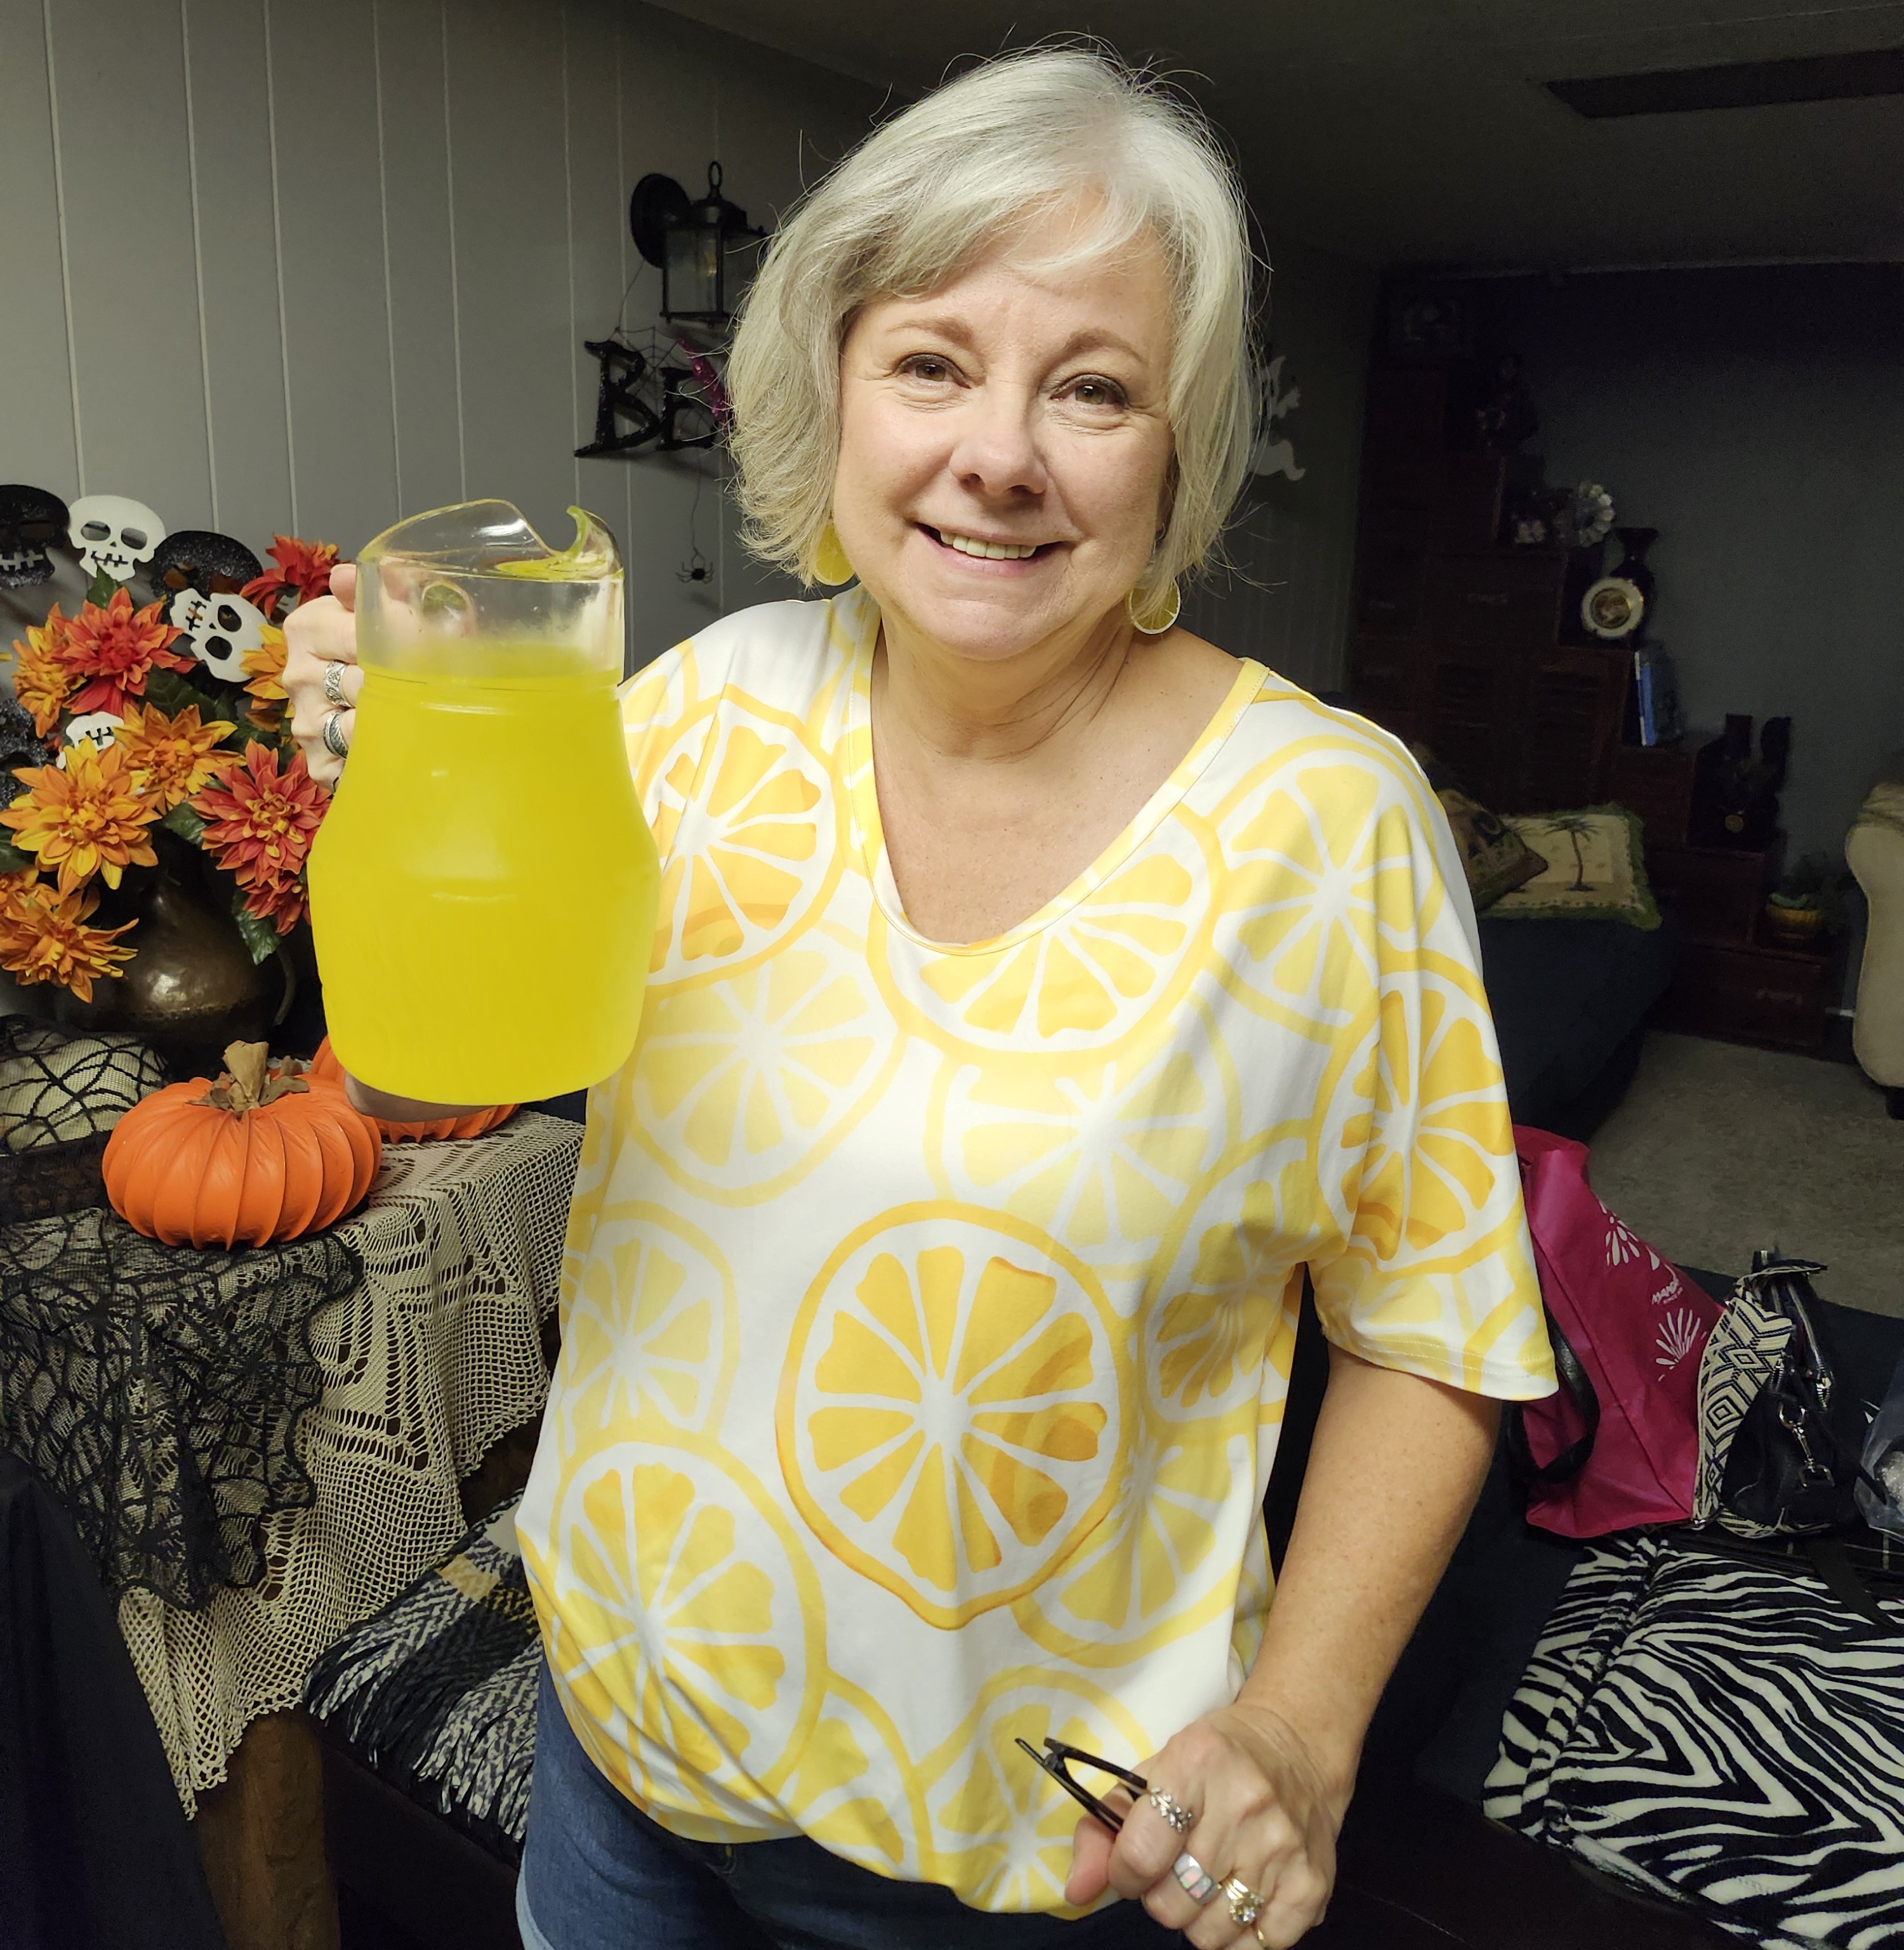
Veronika Bottos, our ever-creative ladies' group organizer, is known for pulling off fun themes and pushing the culinary envelope.
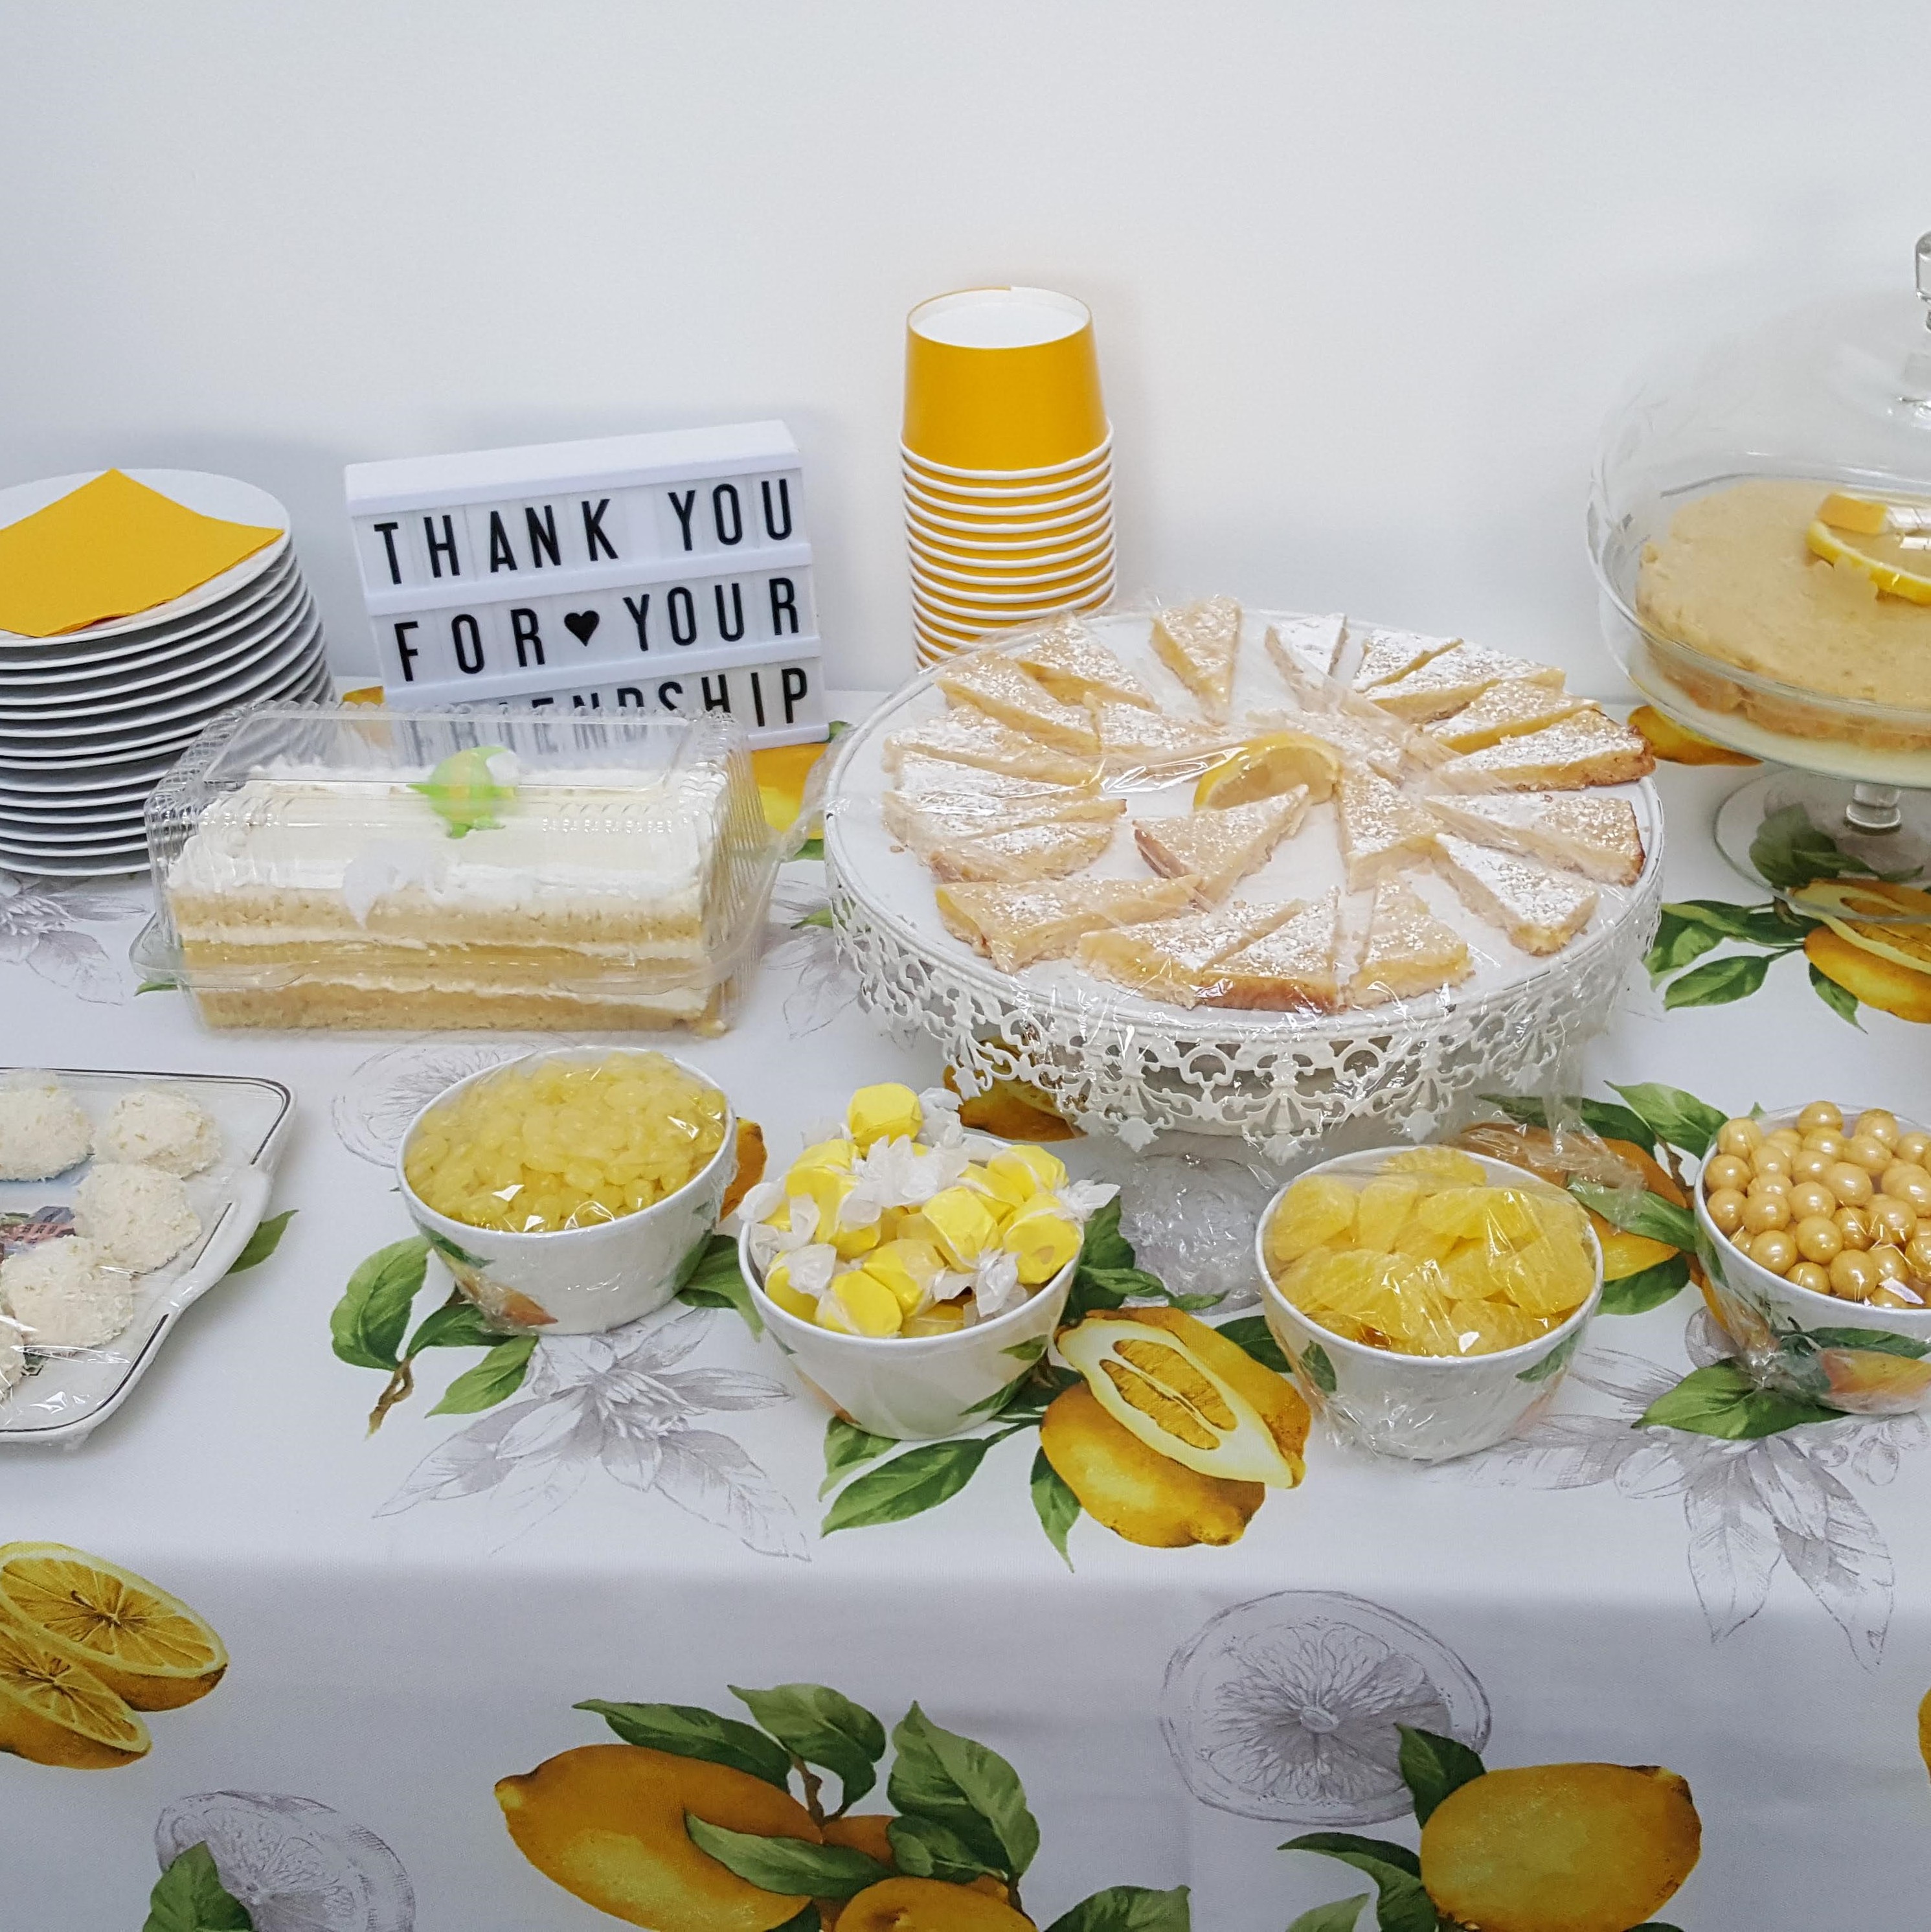
For the colour-themed party, she took on the challenge of a yellow dish and naturally gravitated towards lemons—her citrusy inspiration.
True to her adventurous spirit, Veronika once again decided to try out a new recipe, something her mom always finds a bit nuts. While her mom prefers sticking with foolproof dishes, Veronika loves the thrill of testing something new, and with a success rate of 9 out of 10, she has her mom impressed with her gutsiness! Fingers crossed that this lemon creation will be another winner.
55 minutes
Not Mentioned
Not Mentioned
6 - 8
Orzo:
Chicken:


Cathy Innocente, a long-time member of the ladies' dinner group, is known for her impeccable style, creativity, and thoughtful nature. She’s always curious and takes the time to get to know everyone, making each person feel special.
Although Cathy couldn’t attend the colour-themed dinner, she couldn’t be left out. In honour of the September birthdays, she made an incredible ice cream cake, representing her assigned colour—white. True to her sparkling personality, Cathy would have likely paired it with a glass of Champagne, adding a little extra celebration to the occasion.
Not Mentioned
Not Mentioned
Not Mentioned
Not Mentioned


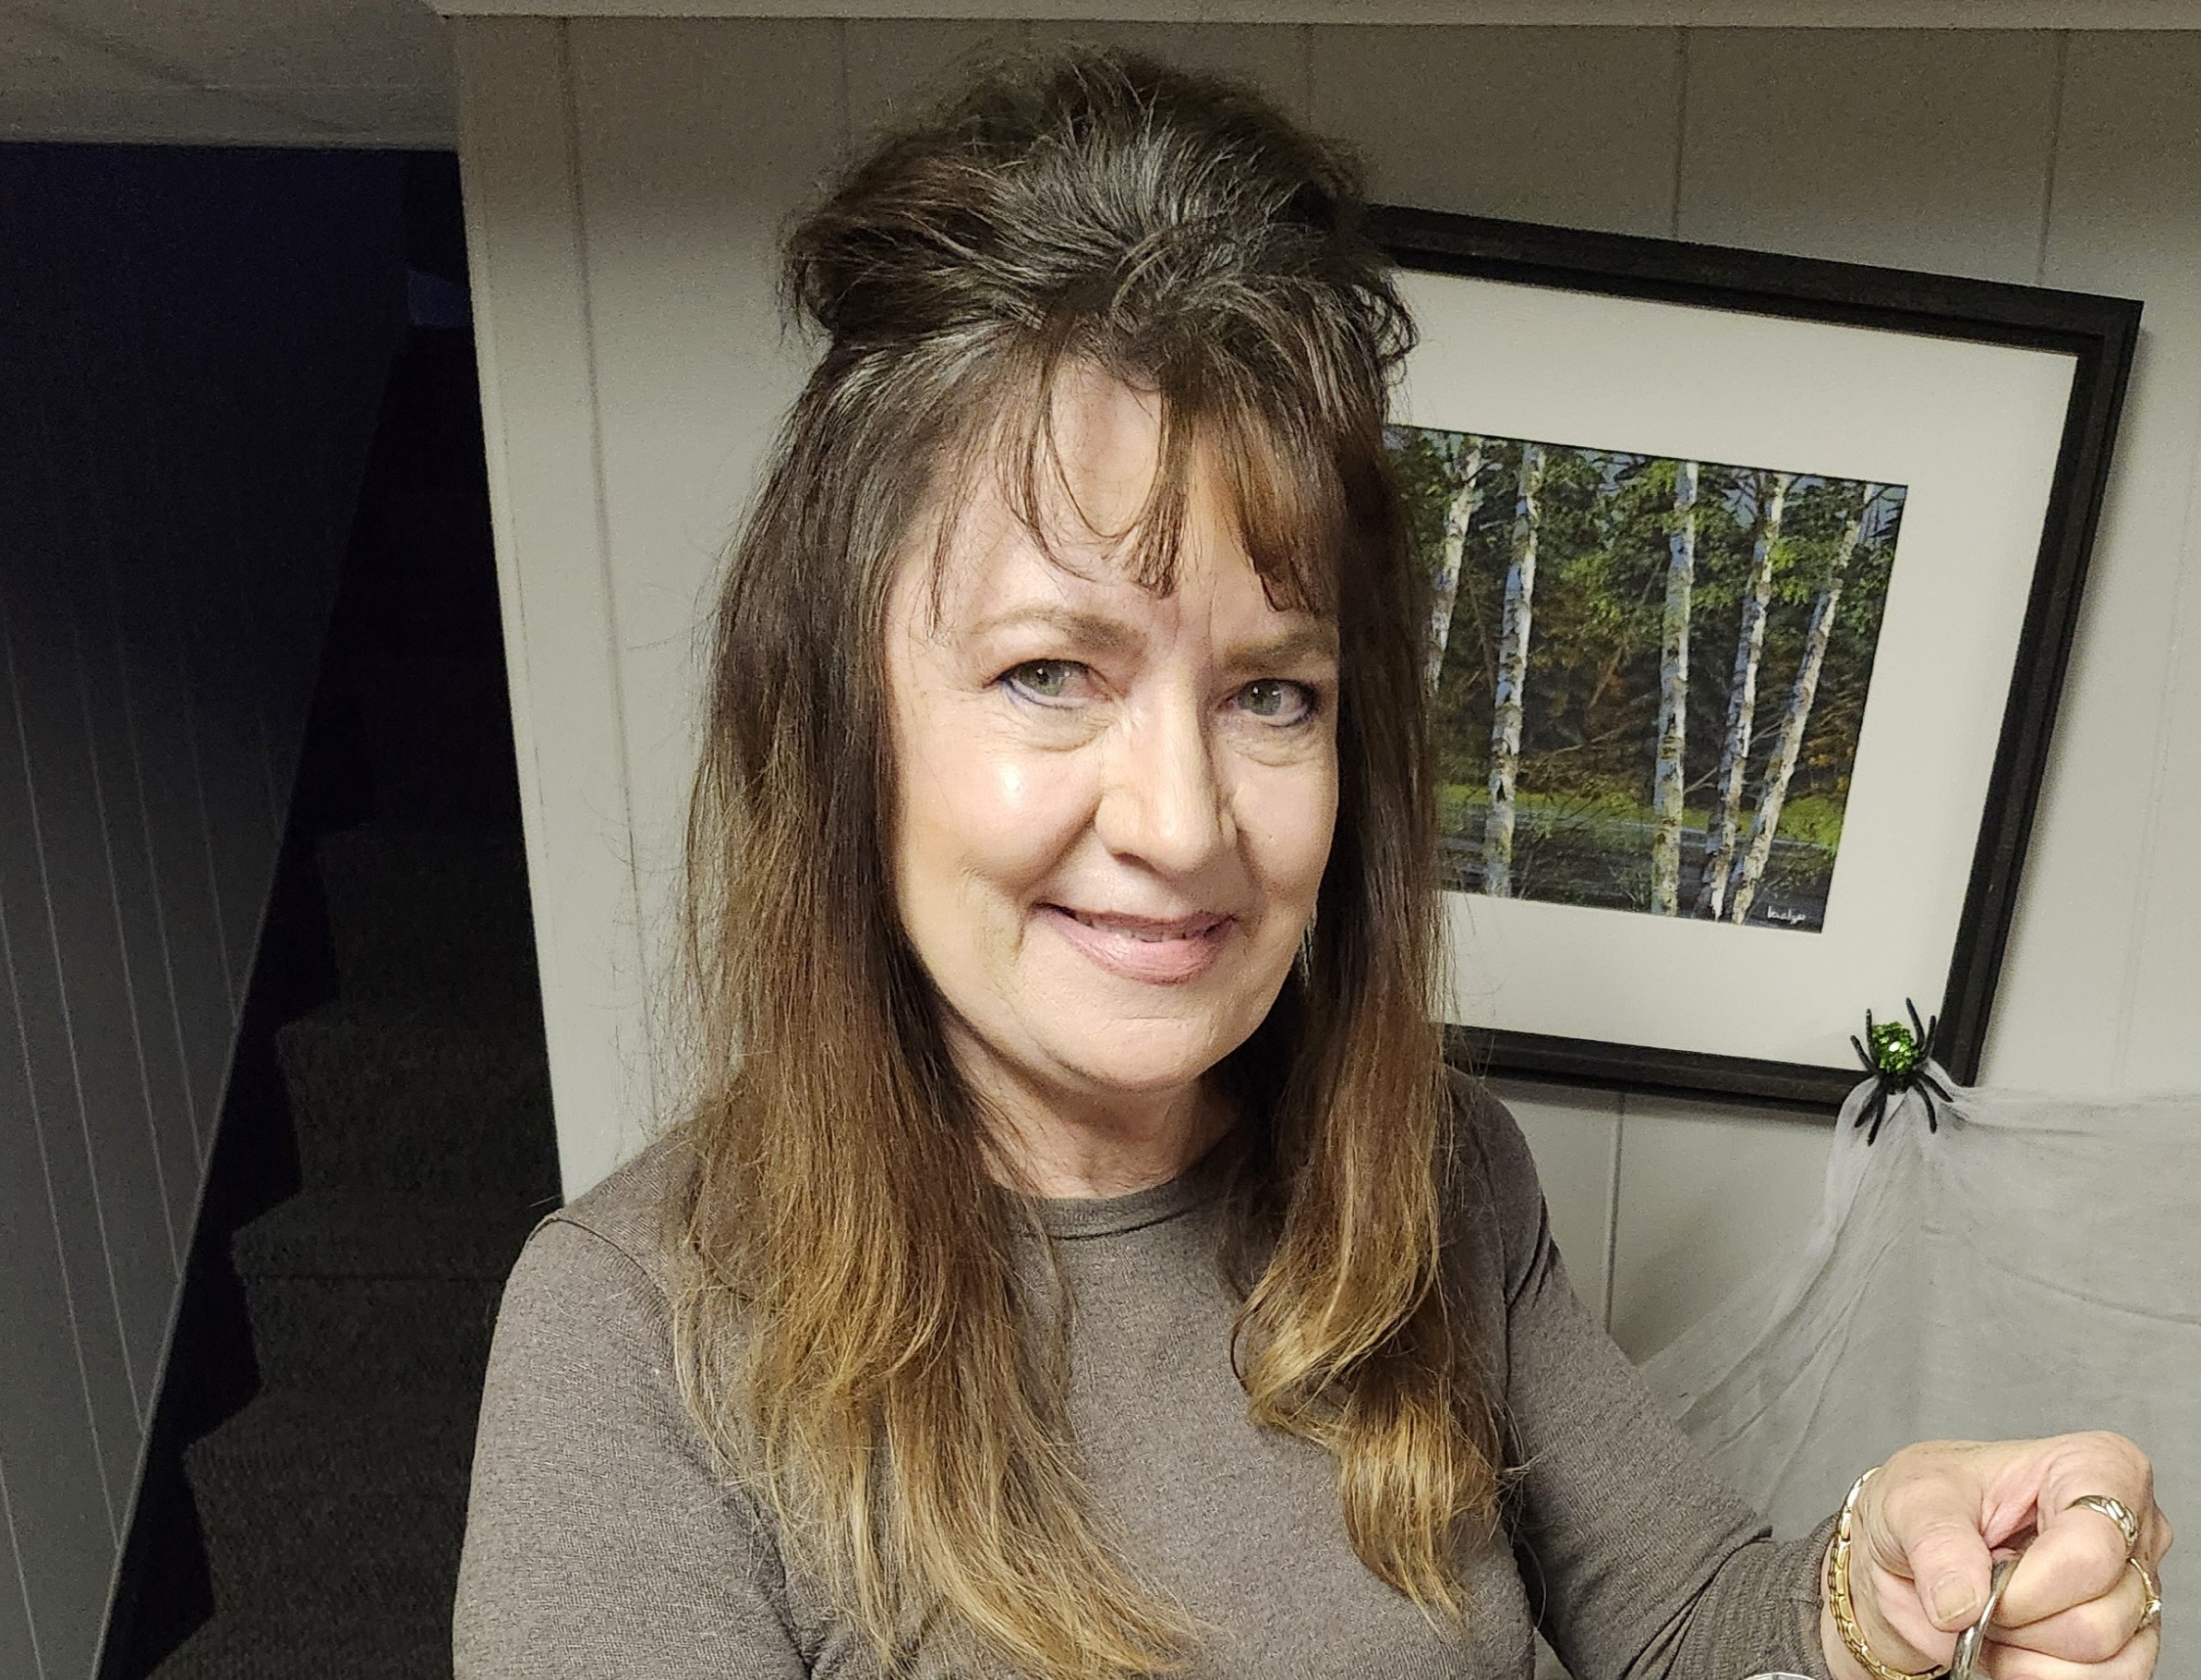
Debbie Emon, one of the original members of our ladies' dinner group, is known for her fun-loving nature and incredible memory for details about people. She’s the kind of friend who listens and genuinely cares.
For Veronika’s colour-themed party, Debbie, a self-proclaimed picky eater, carefully chose Lemon Blueberry Streusel Muffins after considering several "blue" dessert options. As expected, her muffins were a hit—just as thoughtful and delightful as she is. And to top it off, Debbie got the party started with blue Jello shots!
45 minutes
25 minutes
20 minutes
12
Streusel Topping
Lemon Blueberry Muffins
STREUSEL TOPPING
LEMON BLUEBERRY MUFFINS


This is one of my son Karl’s favourite desserts—and one of mine too. It’s not the quickest to make, and I sometimes wish I’d chosen something simpler, but the first bite always makes it worth it.
If you’re short on time, you can use a store-bought angel food cake and build from there—it still brings the same smiles.
One of my favourite memories with this recipe was making a pink version for a colour-themed Ladies Dinner night. Everything matched—from the food to the outfits—and it was an evening full of laughter, friendship, and delicious treats.
All damn day
loooong time
35 - 40 mins
8-10 slices
Cake:
Frosting:
Cake:
Filling:
Frosting:

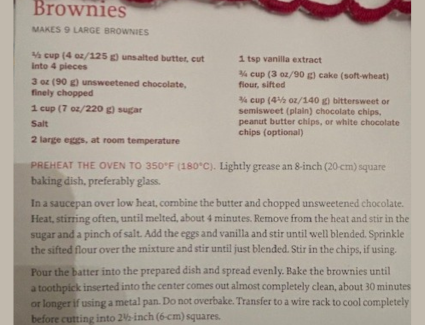
Katie’s love for baking began when she was just 12 or 13, tasked with watching her younger brothers while her mom worked on Saturdays. To pass the time, she started experimenting in the kitchen with simple, first-time recipes like peanut butter cookies and brownies with chocolate butter frosting. By grade 8, Katie had perfected her brownie recipe, and it’s been a go-to ever since.
With its rich, fudgy base and creamy chocolate butter frosting, this nostalgic treat has stood the test of time, becoming her reliable recipe for any occasion but especially for Veronika's colour party and her brown theme.
1 hour
30 minutes
30 minutes
9 large servings
Brownie:
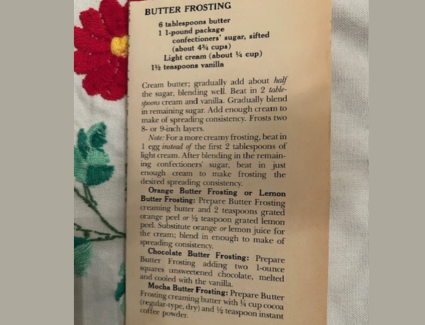
Chocolate Butter Frosting:
Brownies:
Chocolate Butter Frosting:

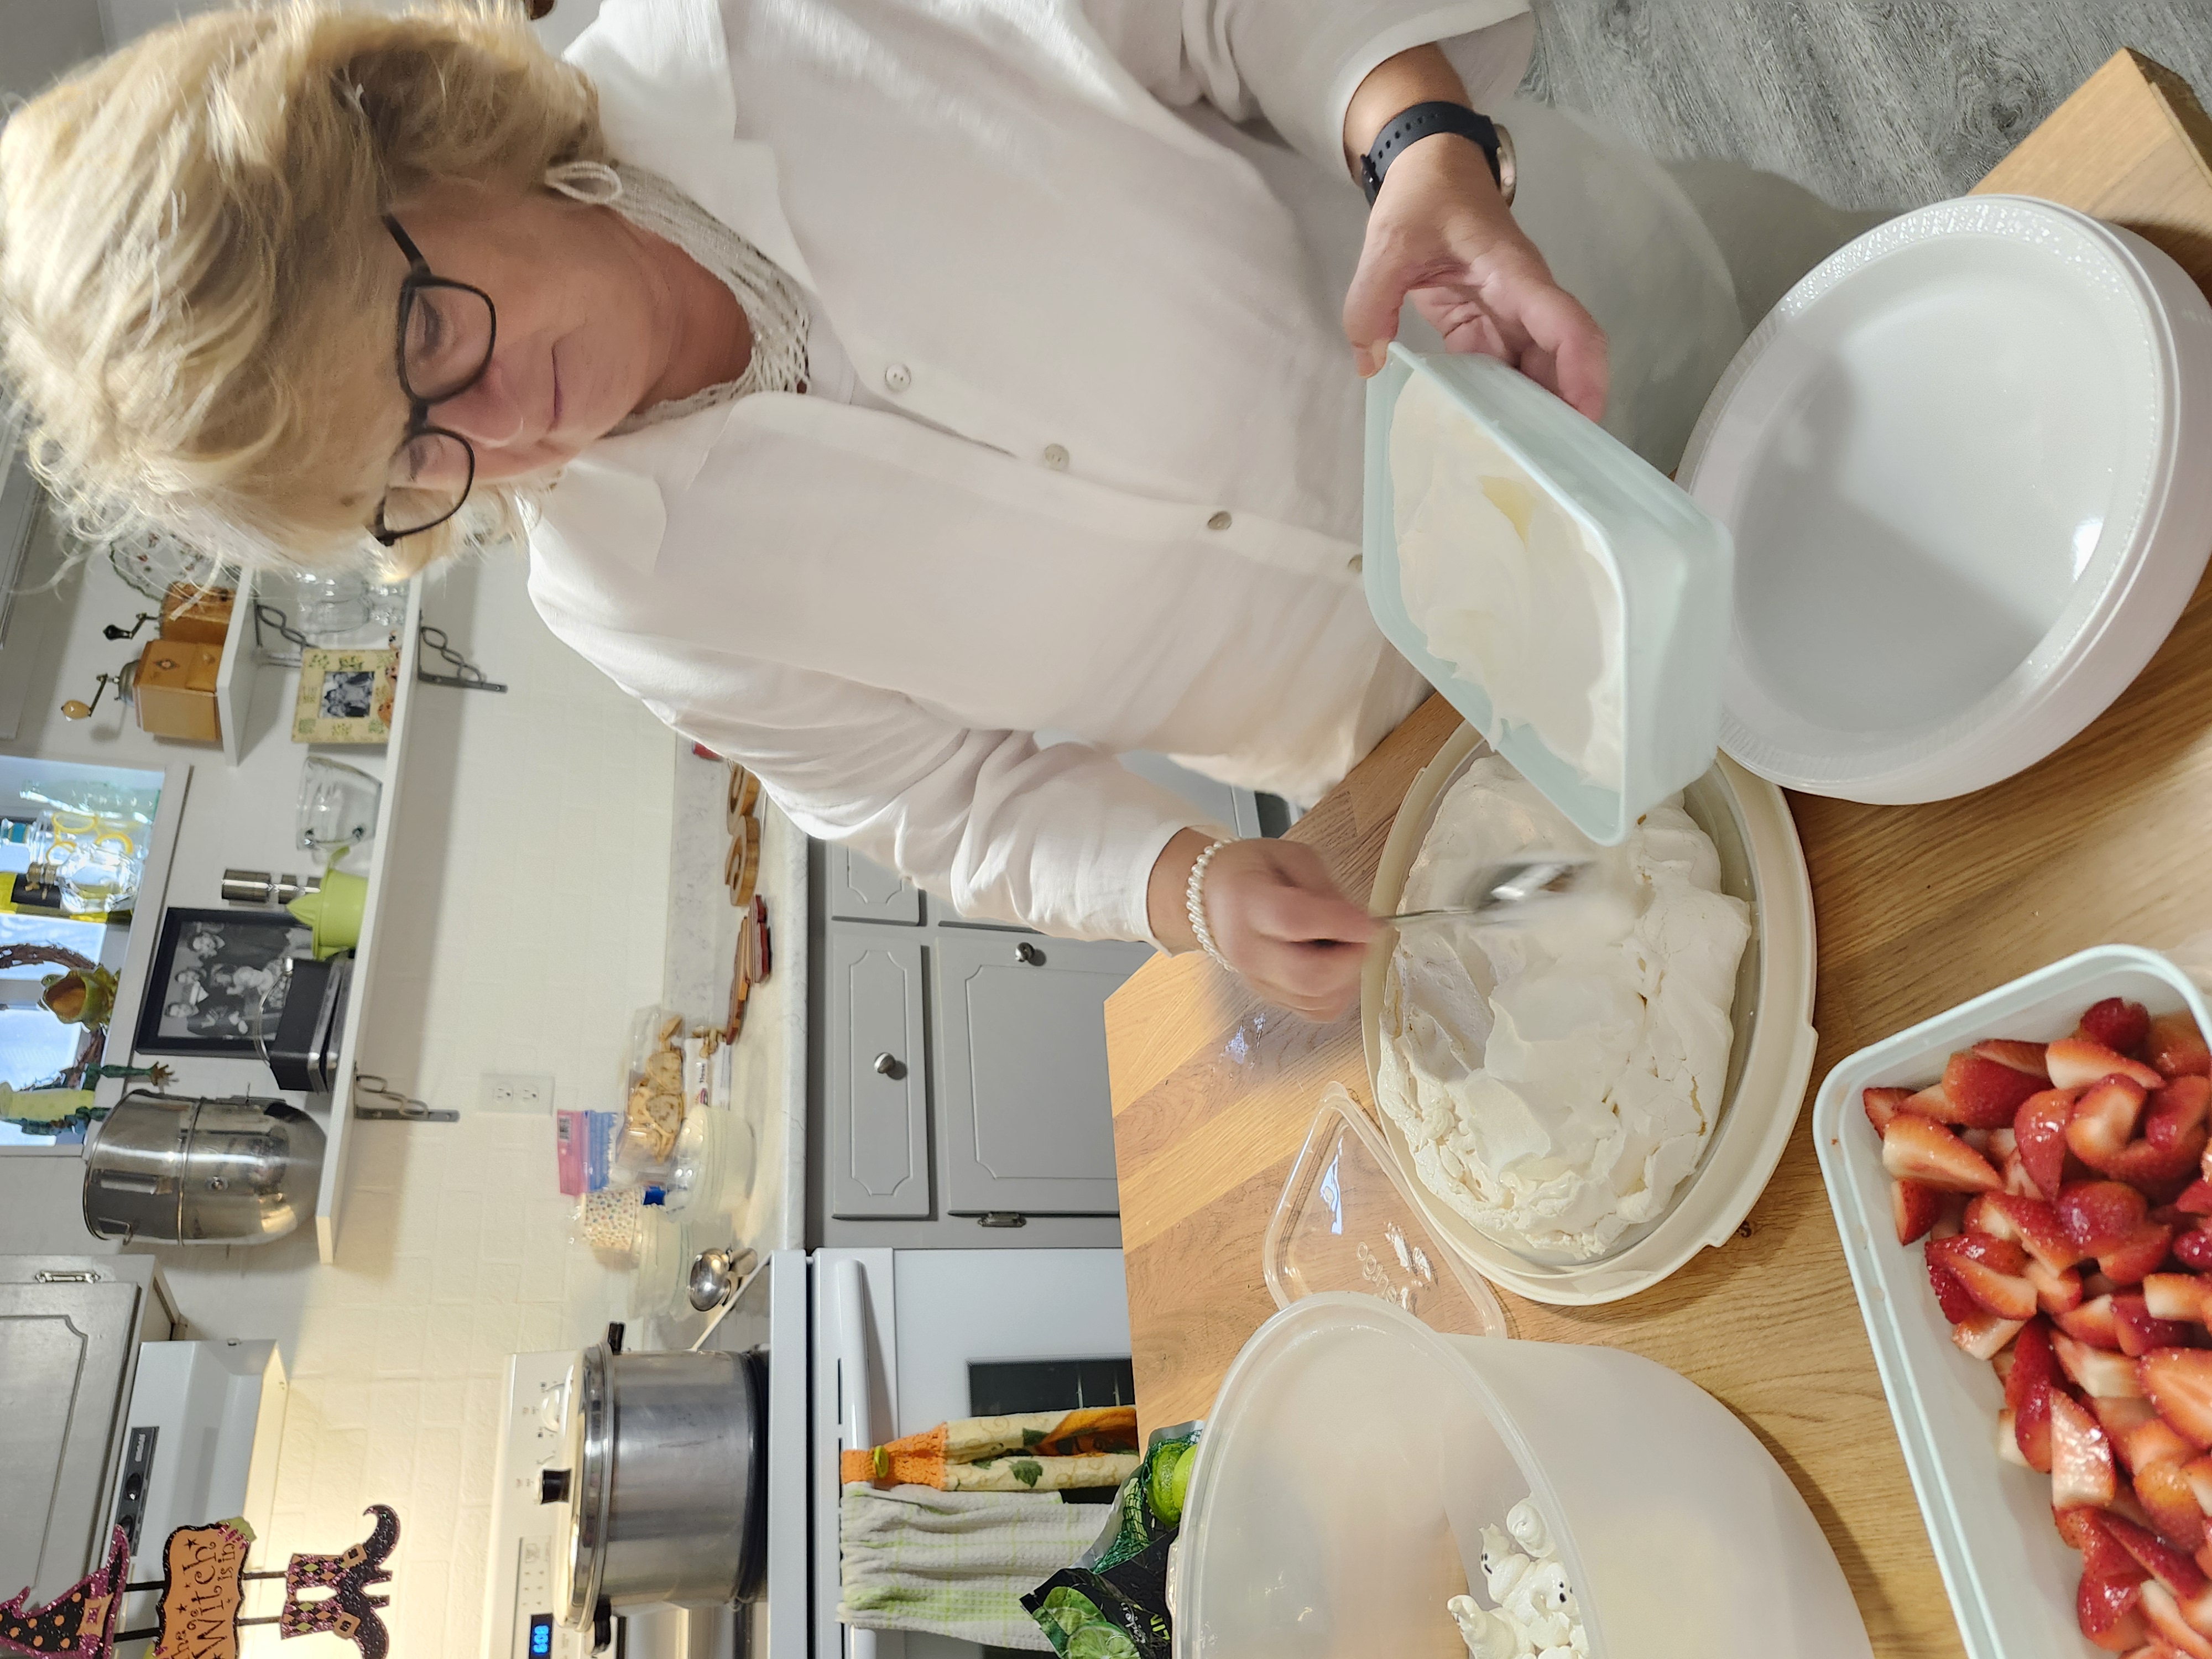
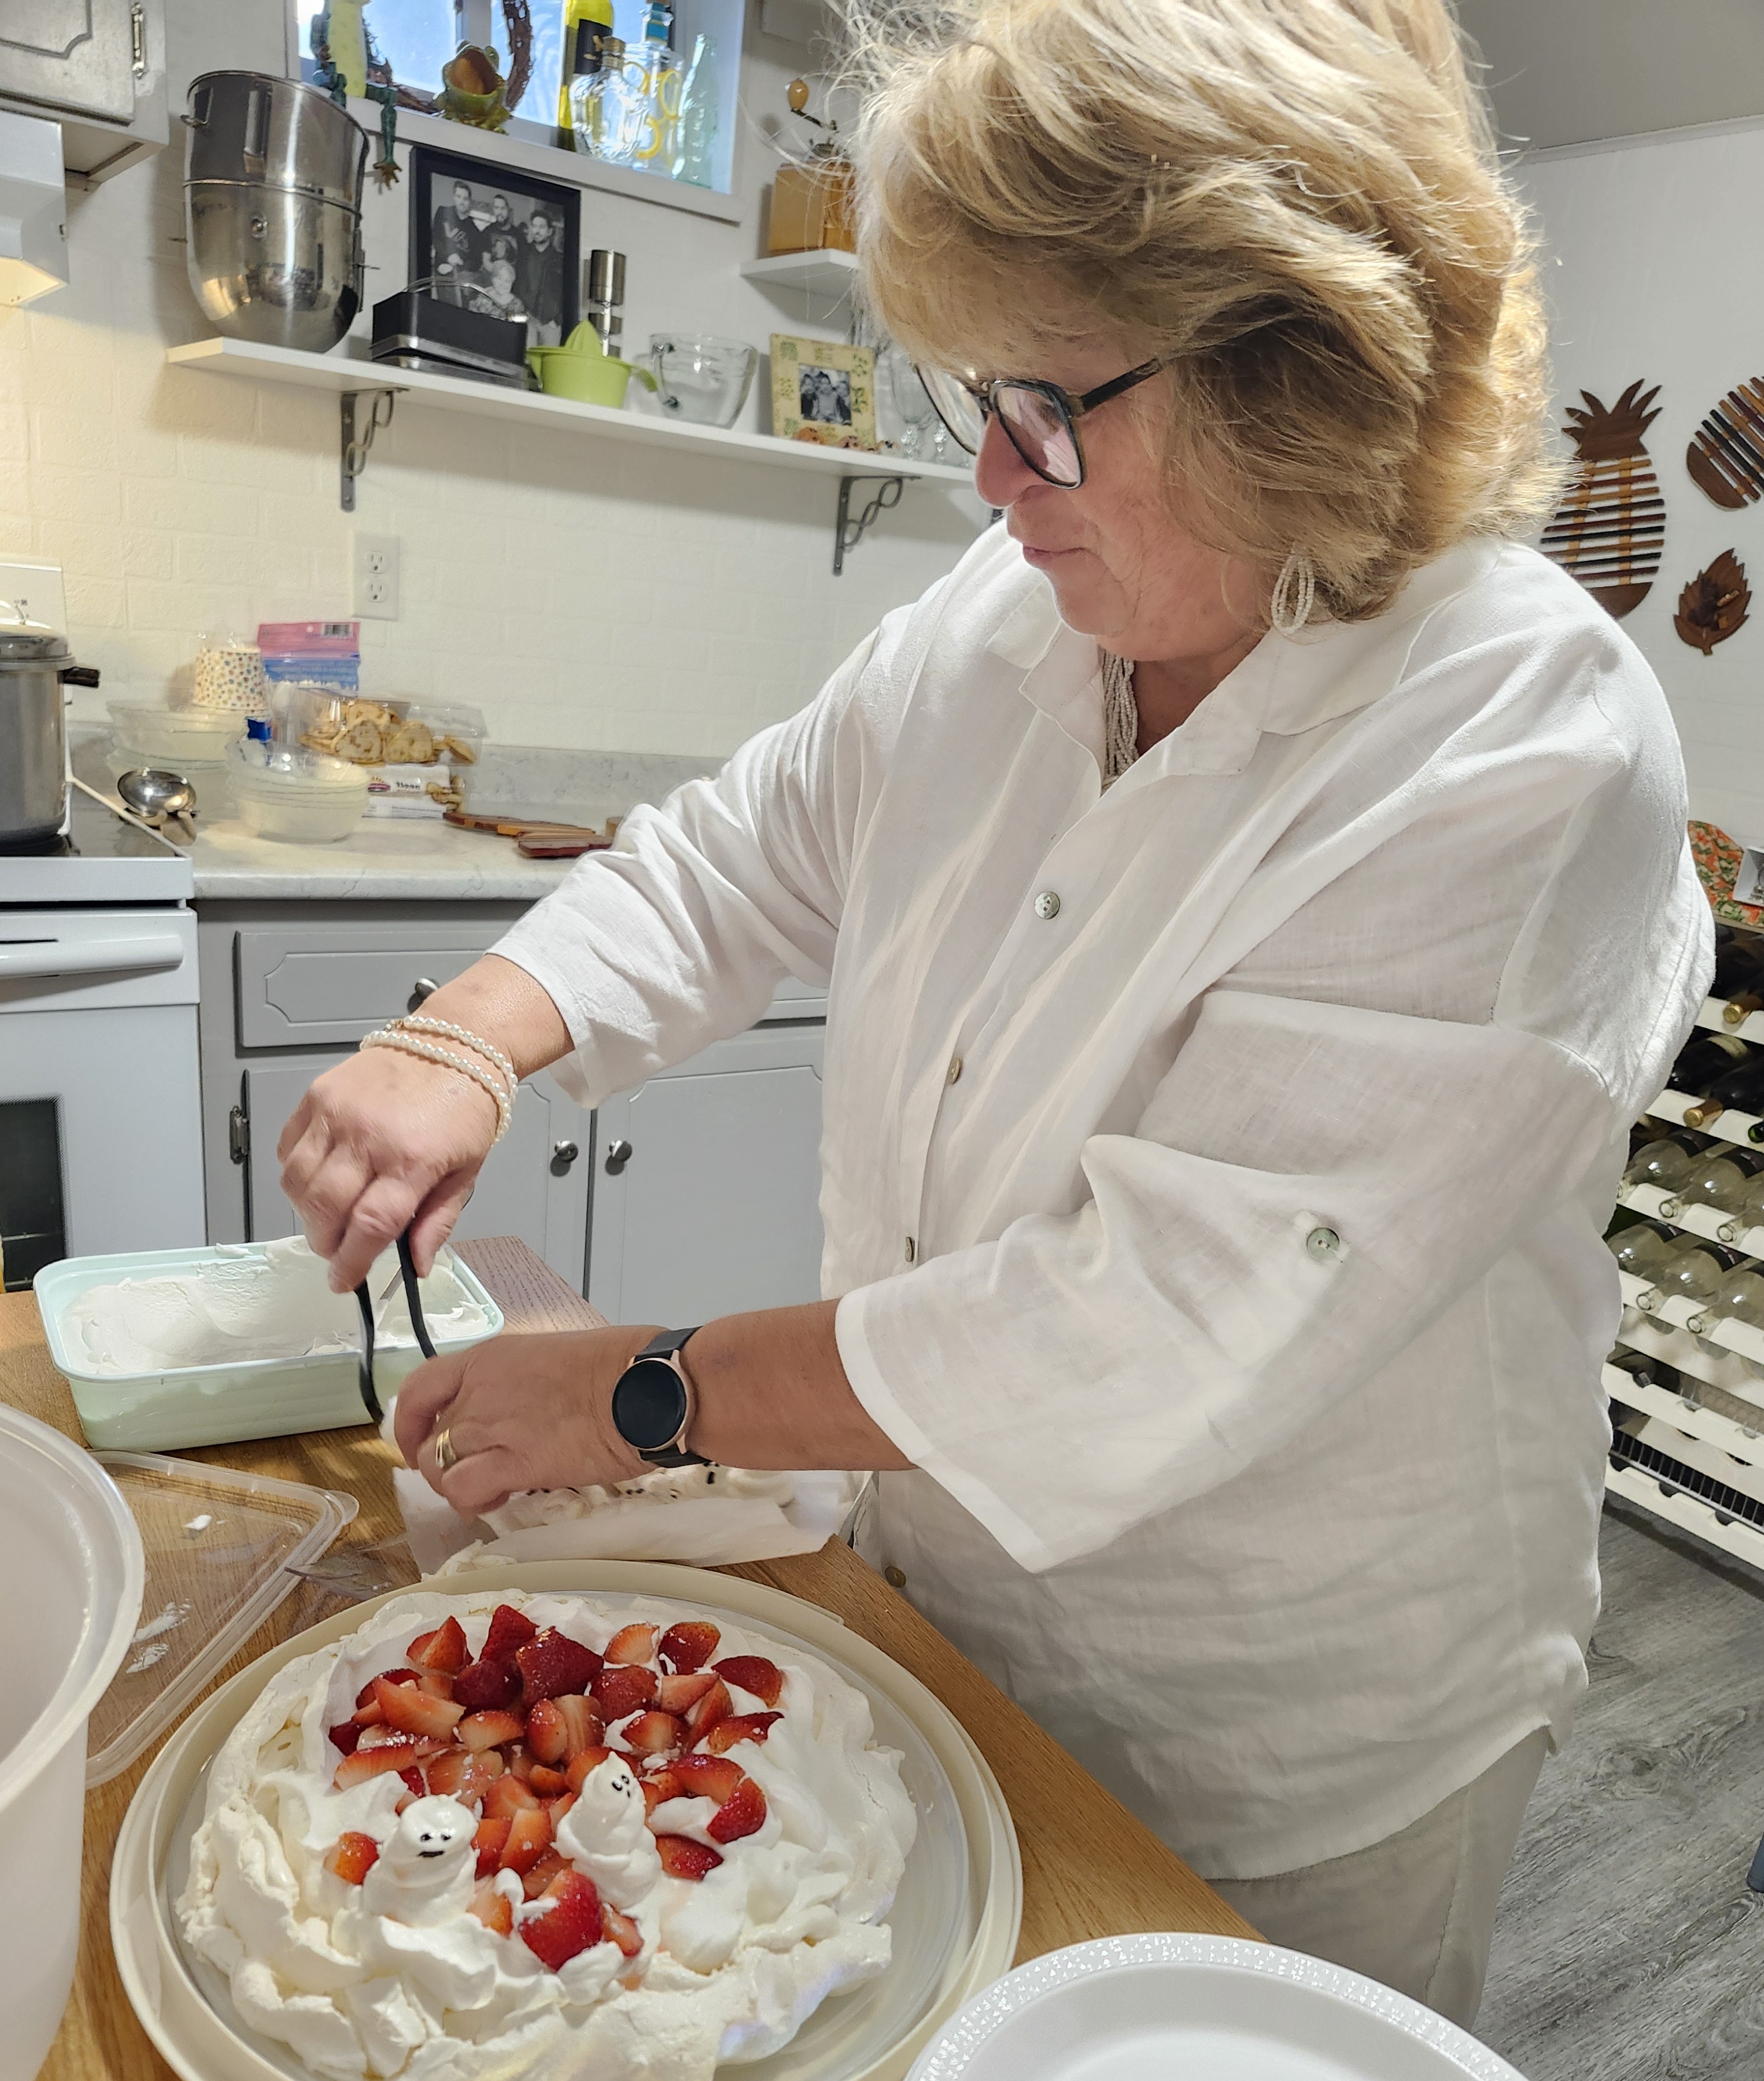
Kathy Vincent, known for her superb hosting skills, always brings warmth and generosity to every gathering. A true example of her hospitality was when she invited all the ladies to her cottage for a weekend of fun and adventure, creating memories that everyone cherishes.
For Veronika’s colour-themed party, Kathy was assigned the colour white and decided to make a Pavlova, a dessert she has perfected over time.
True to her creative nature, she gave it a special twist for the occasion. As always, Kathy’s thoughtful approach ensured her dish was as delightful as she is!
2 hours
30 minutes
1 hour, 30 minutes
10 - 12
For the meringue:
Option for topping:
For a shortcut, you can use Cool Whip instead of making your own whipped cream.
The pavlova and ghosts can be made up to a few days ahead and kept in an airtight container.

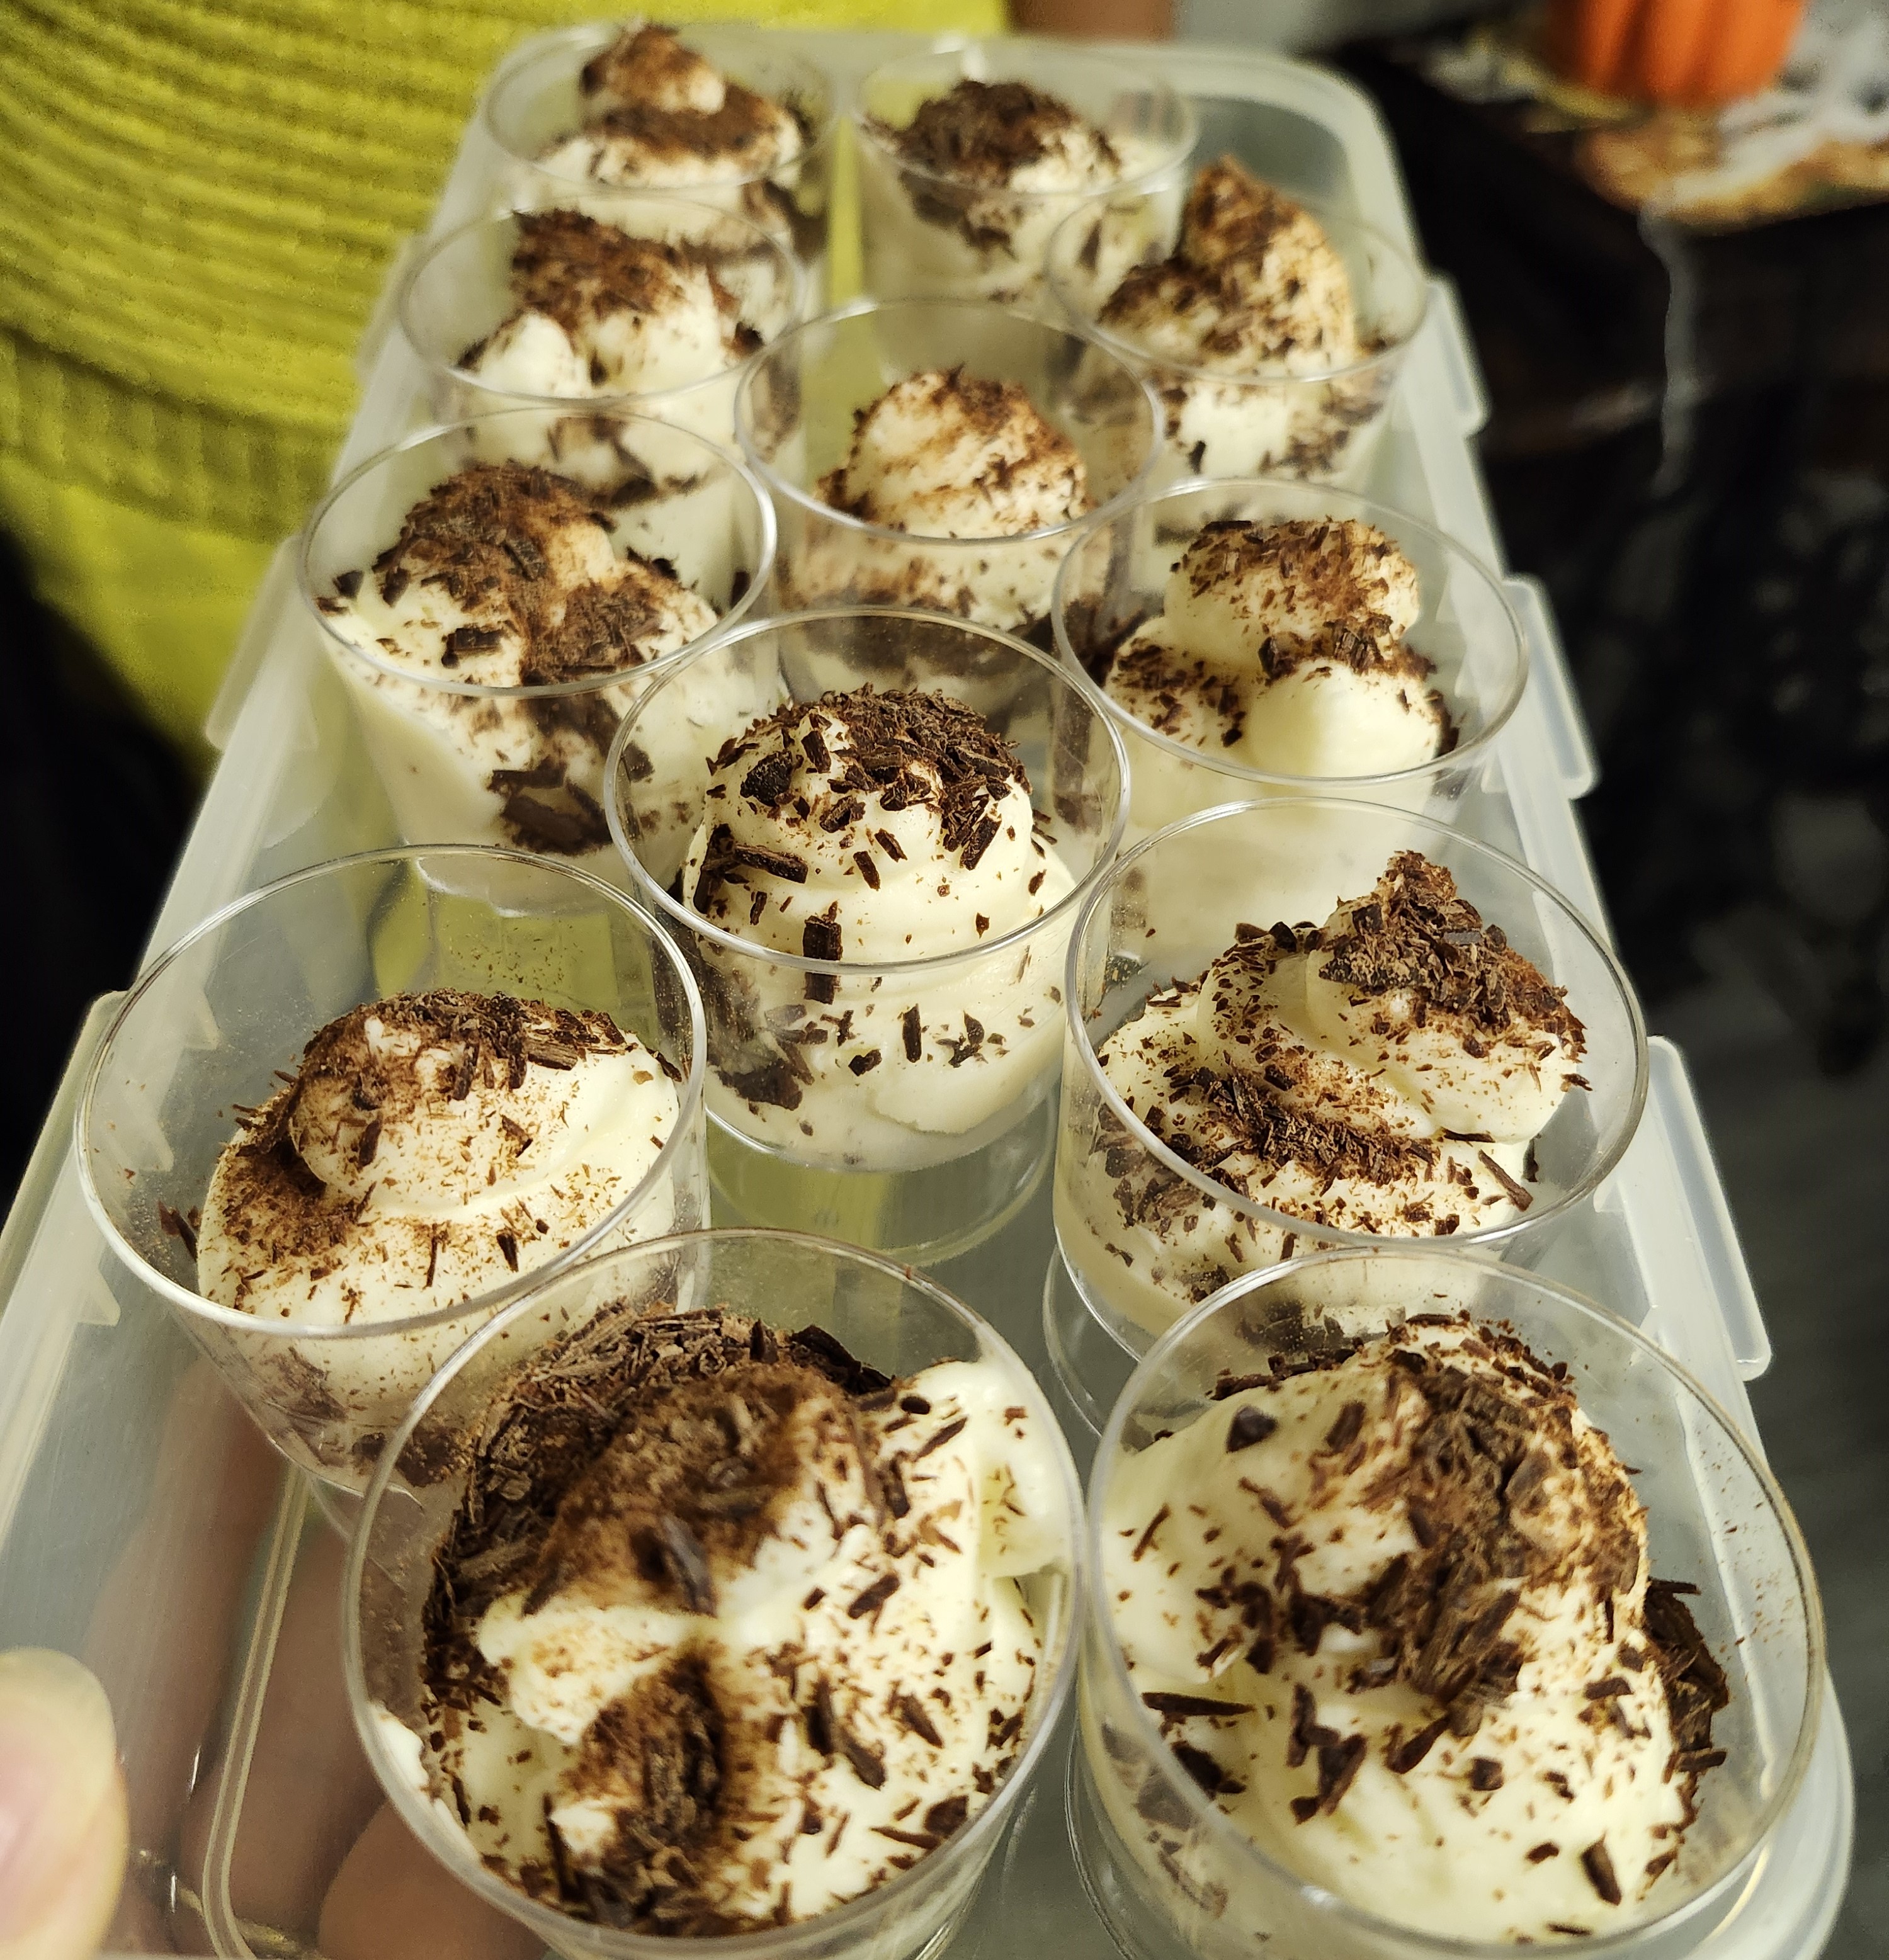
Lucia Mazzocca, a long-time friend of Veronika and member of the ladies group, was assigned the colour yellow for the party, sharing it with Veronika due to the size of the group. Embracing the sunny theme, Lucia prepared a tangy and creamy lemon mousse topped with chocolate shavings, which perfectly matched her vibrant personality.
To complement her dish, she brought a pineapple-flavoured sparkling wine, wrapped beautifully in bright yellow.
From her radiant outfit to her joyful spirit, Lucia truly embodied sunshine inside and out, lighting up the party with her warmth and cheerful energy!
Not Mentioned
Not Mentioned
Not Mentioned
Not Mentioned
1. Squeeze the lemons and strain the juice through a mesh sieve to remove any seeds or pulp for a smooth texture.
2. In a small saucepan, whisk together the lemon juice, sugar, and cornstarch until well combined and smooth.
3. Place the saucepan over medium heat and bring the mixture to a simmer, stirring constantly. Cook for 2-3 minutes, or until it thickens into a creamy consistency.
4. Remove the mixture from heat and let it cool slightly. Then, transfer to the fridge to chill for about 30 minutes to 1 hour, or completely cold.
5. In a large bowl, whip the cream until peaks form.
6. Stir about 1/4 of the whipped cream into the chilled lemon mixture to lighten it, using the electric whisks.
7. Fold the rest of the whipped cream into the lemon mixture gently until fully combined and smooth.
8. Spoon or pipe the mousse into serving dishes and refrigerate for about 30 minutes to firm up, or enjoy right away for a softer, airier mousse.
Recipes from our Monthly Ladies Group

Ladies Dinner Group