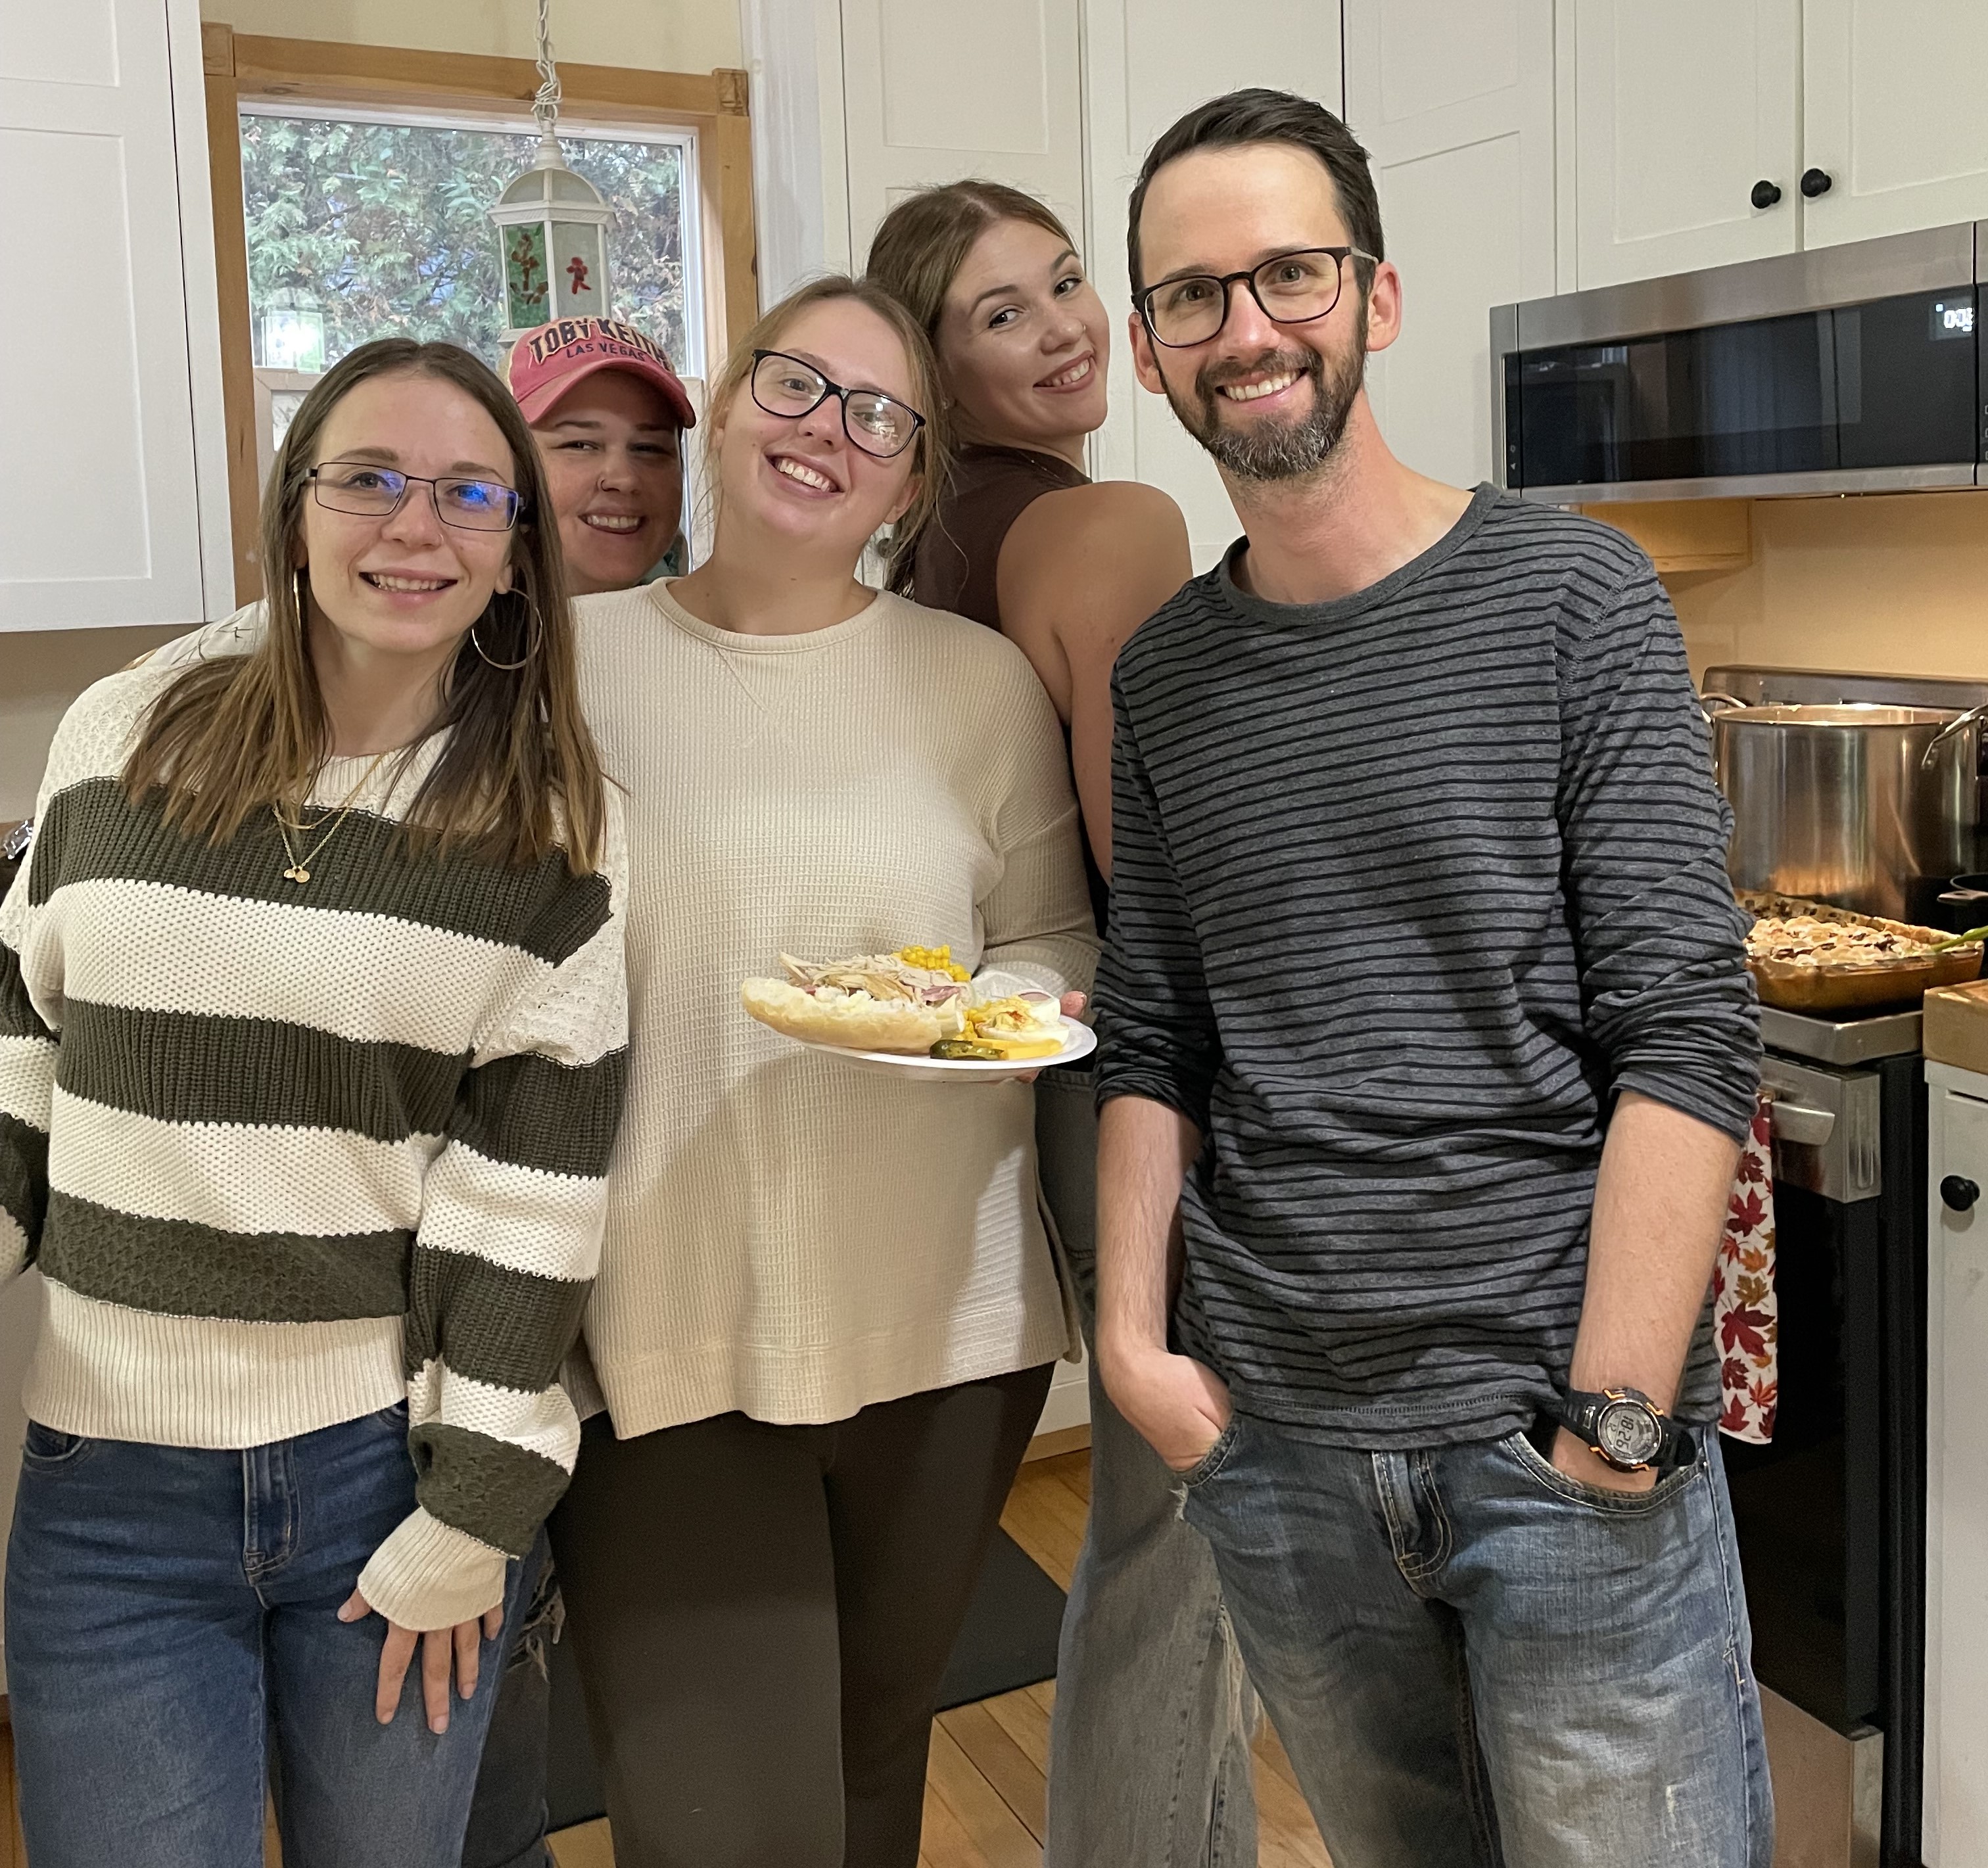
Jeremy & Kristina
A Delicious Love Story!

A Delicious Love Story!
This cookbook is dedicated to Jeremy & Kristina Caron, on their wedding day, June 15, 2024.
As you embark on this delicious journey of marriage, may your days be filled with shared laughter, love, and the joy of cooking together. This cookbook is a symbol of the many flavours of life you'll discover side by side. From the simplest of meals to the most elaborate feasts, may each recipe you try enrich your lives and bring you closer.
Together with your parents, Jane has compiled a collection of what they believe to be your favourite recipes and has also included some of her top recipes in the mix.
With each page turned, and every dish savoured, remember that the secret ingredient is always love. Here's to a lifetime of happiness and culinary adventures.
Bon appétit and congratulations on your wedding!


This pair first met 5 years ago through Kristina's mother, Cheryl, who worked with Jeremy at McDonalds. This introduction occurred shortly after Jeremy's girlfriend had broken up with him. Kristina's mother arranged the meeting because she believed Jeremy was the perfect match for her daughter. The pair decided to go bowling on their first date. Kristina's entire family showed up. Can you feel the awkwardness? Later on that date, the couple had to pick up Kristina's mother from a family party, who was a little tipsy. Jeremy claims they didn't just pick her up but had to wait many hours before accompanying the tipsy mother home. Again, can you feel the awkwardness?
After date number one, the couple talked for about two months, but Jeremy decided not to date Kristina, so they remained friends for the time being. Jeremy was hesitant to date following a recent breakup. Jeremy dated around for a few years while Kristina remained hung up on him. (Jeremy’s words, not mine 😉) The couple tried dating again for approximately a month before Jeremy broke it off again. One may argue that the concept of commitment terrified him at that time.
At Kristina's sister's wedding, the sparks were reignited, and they decided to give it another try. This union lasted about a month before Jeremy again broke it off. You can imagine Kristina's frustration which led to the couple not speaking for a time.
Kristina met a man from Calgary and began a long-distance relationship. That got Jeremy's attention! Jeremy went through all the reasons Kristina's relationship was a horrible decision before moving on to the reasons she should give him another chance. That was a huge ask! Nine months later Kristina was still with her Calgary boyfriend when Jeremy had a traumatic event unfolding in his life. Once again, Kristina was his faithful companion, supporting him through all the challenges following the death of his mother Kelly. After a year or so, Kristina's long-distance relationship came to an end, allowing her to pursue other relationships. Kristina began spending time at Jeremy’s new bachelor pad, which didn’t remain a bachelor pad for long. After about 3 weeks of dating, while not officially moving in, Kristina brought her toothbrush and never really left.
Jeremy is no longer pumping the brakes on their relationship. The couple began dating in October 2022, then engaged in June 2023 and married June 2024. It’s safe to say Jeremy has moved his foot from the brake to the accelerator and Kristina couldn’t be happier!
The best is yet to come ...

Sliders are great for dinners, potlucks or as an appetizers. They are so much fun at parties for people to create their own style of burger. Offer many toppings and be sure not to overcook the meat!

40 mins

30 mins

6-8 mins

12-16 Patties
For venison sliders be sure to retain all the excess grease from the bacon to add to the venison meat when cooled. Venison is extremely lean and needs all that extra fat so it doesn’t come out dry.
This recipe was modified to incorporate the "Cowboy Candy"Jane cans every year. What is "Cowboy Candy" you ask? Well it's a sliced jalapeño pepper that is canned in a sweet syrup. Cowboy Candy is sweet yet spicy. Kind of similar in flavour to jalapeño jelly. The peppers are the star and add amazing flavour even though it doesn't seem like there are a lot of them in there.
45 mins
15 mins
0 mins
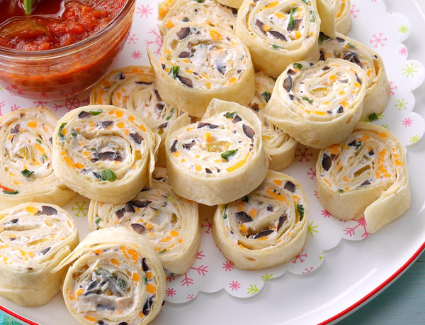
4-5 tortillas
Although many people like this recipe with chicken, I find the black beans add a lot of flavour to the roll up.
.png)
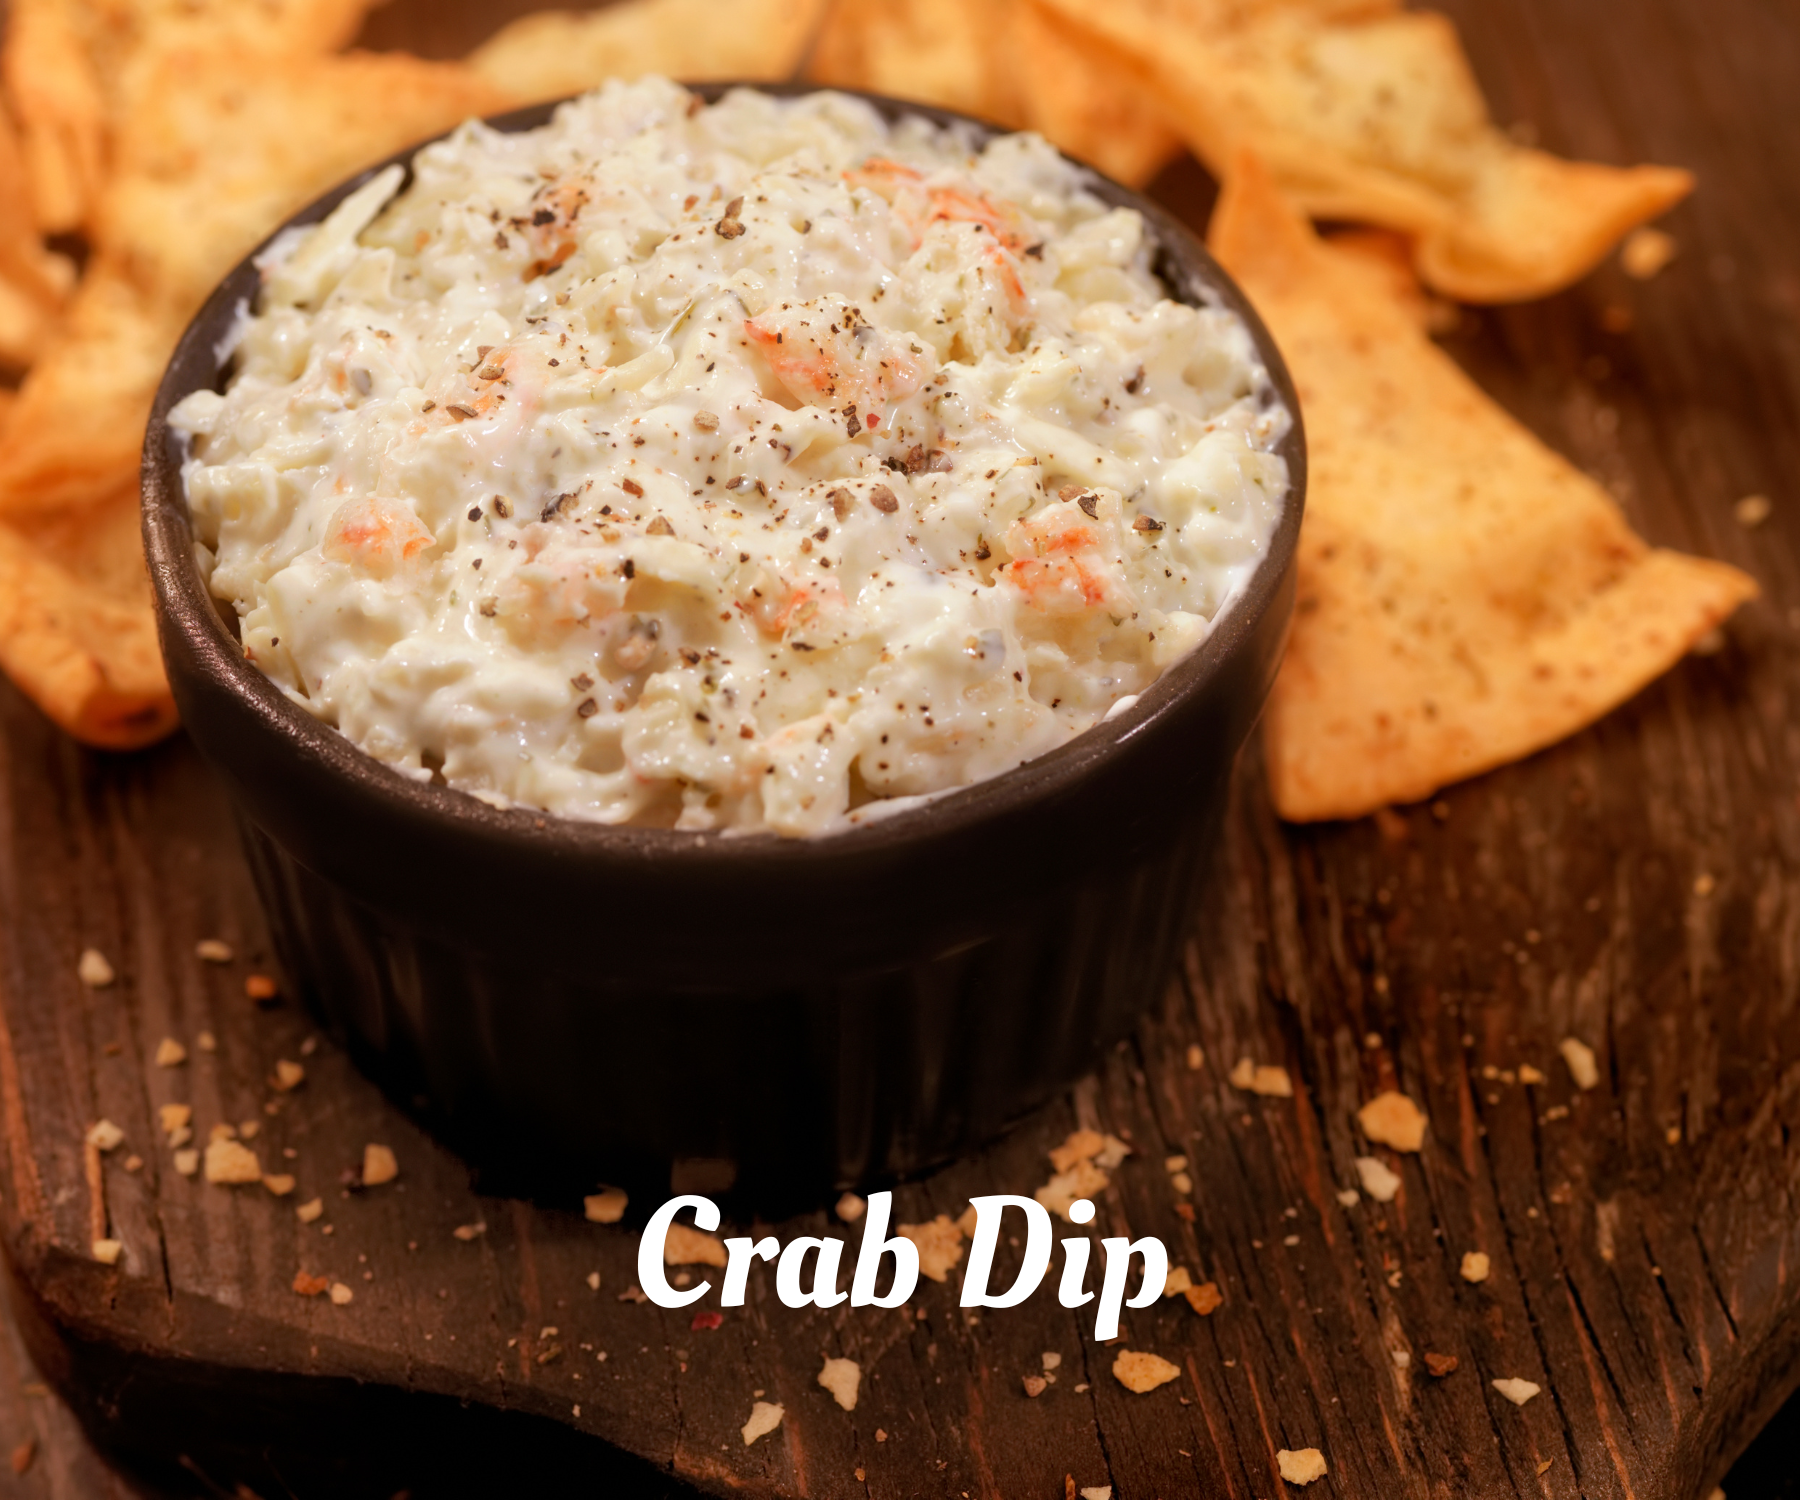
Crab dip is a party favourite at the Boundy household. It is easy and tasty, win-win!
50 mins
10 mins
30-40 mins
1 bowl

Who doesn't love a really good deviled egg, and this is a really good deviled egg! Especially when you're using farm fresh ingredients like the eggs our chickens lay.
45 mins
30 mins
15 mins
24


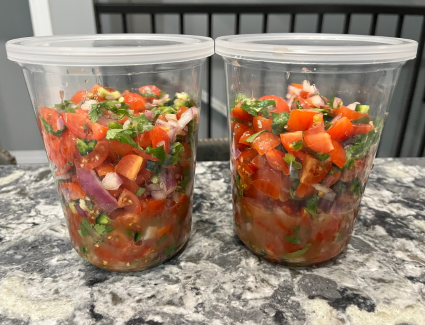
Every bite of this Pico de Gallo is a burst of pure garden freshness—because nearly every ingredient comes straight from Jane’s own backyard. But the story of this recipe starts a little further from home.
Jane first discovered it at Old World Garden Farms in Ohio, making a special trip all the way from her hometown of Leamington, Ontario, to see their incredible gardens firsthand. Inspired by what she saw, she came back determined to recreate the same abundance on her own land. Over time, she not only emulated their garden but added her own improvements and twists, tailoring it to the rich soil and growing season in Leamington.
20 mins
20 mins
0 mins
1 Bowl
It is best if you cover and let rest for a few hours in the fridge to blend the flavours. (but it isn't necessary)


These are a fan favourite at any summer party! As you can see from the photo Jane and Phil harvest many a watermelon on the farm. Mint grows wild by the chicken coop and we think everything is better with feta on top!
20 mins
20 mins
Not Mentioned
24 Skewers
If you're out of mint, you can substitute it with basil. Both herbs offer a fresh and invigorating flavour.


Love this simple way to get naturally flavoured coffee without adding syrups. If you are a fan of Christmas spices, I think you'll love this coffee. My friend Kristina Boundy (soon to be Caron) made this coffee into Christmas gifts in 2023 and I couldn't get enough. She put the coffee into cute little cans with a little spoon attached. Who doesn't love a homemade gift?!
Not Mentioned
Not Mentioned
Not Mentioned
Not Mentioned


With so many jalapeño plants in the garden, we have to find many interesting recipes to use them up in. This is a SonFlower Farms (the name of our little 2 acre farm) favourite! It is super easy to make this bread. We don't really use it for sandwiches but I can see it would be good that way too. We just slather butter on it and eat it as is, especially when it's hot from the oven.
1 hr 5 mins
15 mins
50 mins
10 Slices
Use excellent quality bacon and cheddar. Look for younger jalapeno peppers that are smooth and green all over with no striations or blemishes. These young green peppers are less stressed and more mild. Use any non light beer. Stay away from the flavored micro brews unless the flavor complements the bread. Do not over mix the dough. The bread loaf is done when set and lightly browned. You can use the toothpick test on this bread but it may come out with a little cheese on it and still be done. Remove the cooked bread from the pan as soon as possible and let it cool for 15-20 minutes. Store leftovers in a storage bag or airtight container in the fridge for up to 3 days. To freeze wrap in plastic wrap, then aluminum foil, then place in a freezer bag. Freeze for up to 2 months. Thaw in the refrigerator overnight.

What a great way to use zucchini and hide the veggies in this recipe! This biscuit is savoury and packed with flavour. It is a lot more moist than a tea biscuit and is great as a snack with butter or along side your meal. Jane discovered this recipe when researching how to use up all the zucchini growing in the garden.
42 mins
20 mins
22 mins
12 Biscuits

On Jane’s farm, the berry patch is a rainbow of flavors, but nothing grows with quite the same wild enthusiasm as her blackberries. Every summer, the canes bend under the weight of plump, sun-warmed fruit, their deep purple juice staining fingers and smiles alike.
This jam is Jane’s pride—a jewel-toned spread that bursts with sweet-tart flavor. But here’s her little secret: while it’s delicious on toast, it’s downright irresistible when spooned over a wheel of warm, gooey brie. Pair it with a crusty baguette, and you’ve got an appetizer that will have guests hovering by the serving table until the last drop is gone.
Best of all? It’s simple enough to whip up in an afternoon, yet special enough to make you the hero of your next gathering. Just one bite, and you’ll see why Jane’s blackberry jam isn’t just a recipe—it’s a celebration in a jar.
1 hr 15 mins
45 mins
20-30 mins
6 250ml Jars

Cowboy Candy: The Sweet Heat That Steals the Show
This isn’t just a condiment—it’s a revelation. Cowboy Candy takes humble jalapeños and transforms them into golden rings of sweet heat, preserved in a syrupy brine that somehow makes everything better. From burgers and brisket to pizza and cheese boards, these fiery little gems add a kick of flavor and a burst of memory to every bite.
We found this recipe on OldWorldGardenFarms.com and it quickly became a staple in our family kitchen. In fact, we now grow an entire row of jalapeño plants just to keep up with our craving. It’s that good.
Whether you’re slathering it on a sandwich or spooning it over cream cheese and crackers for a crowd-pleasing snack, Cowboy Candy is one of those recipes that turns into a tradition overnight. Also check out our Cowboy Candy Rollups!
3 hrs
1hr
Not Mentioned
8-10 250ml Jars
If you want to do the small gift size jars, this is how many they will make. 18-24 125ml Jars

Jane grows massive beets in her garden so this is a great way to preserve them!
Not Mentioned
Not Mentioned
Not Mentioned
7-8 1L Jars
You may become a bit hot, sweaty, and irritable during this process, but it's all worth it in the end! If doing 500ml jars you can expect to make about 15 jars.
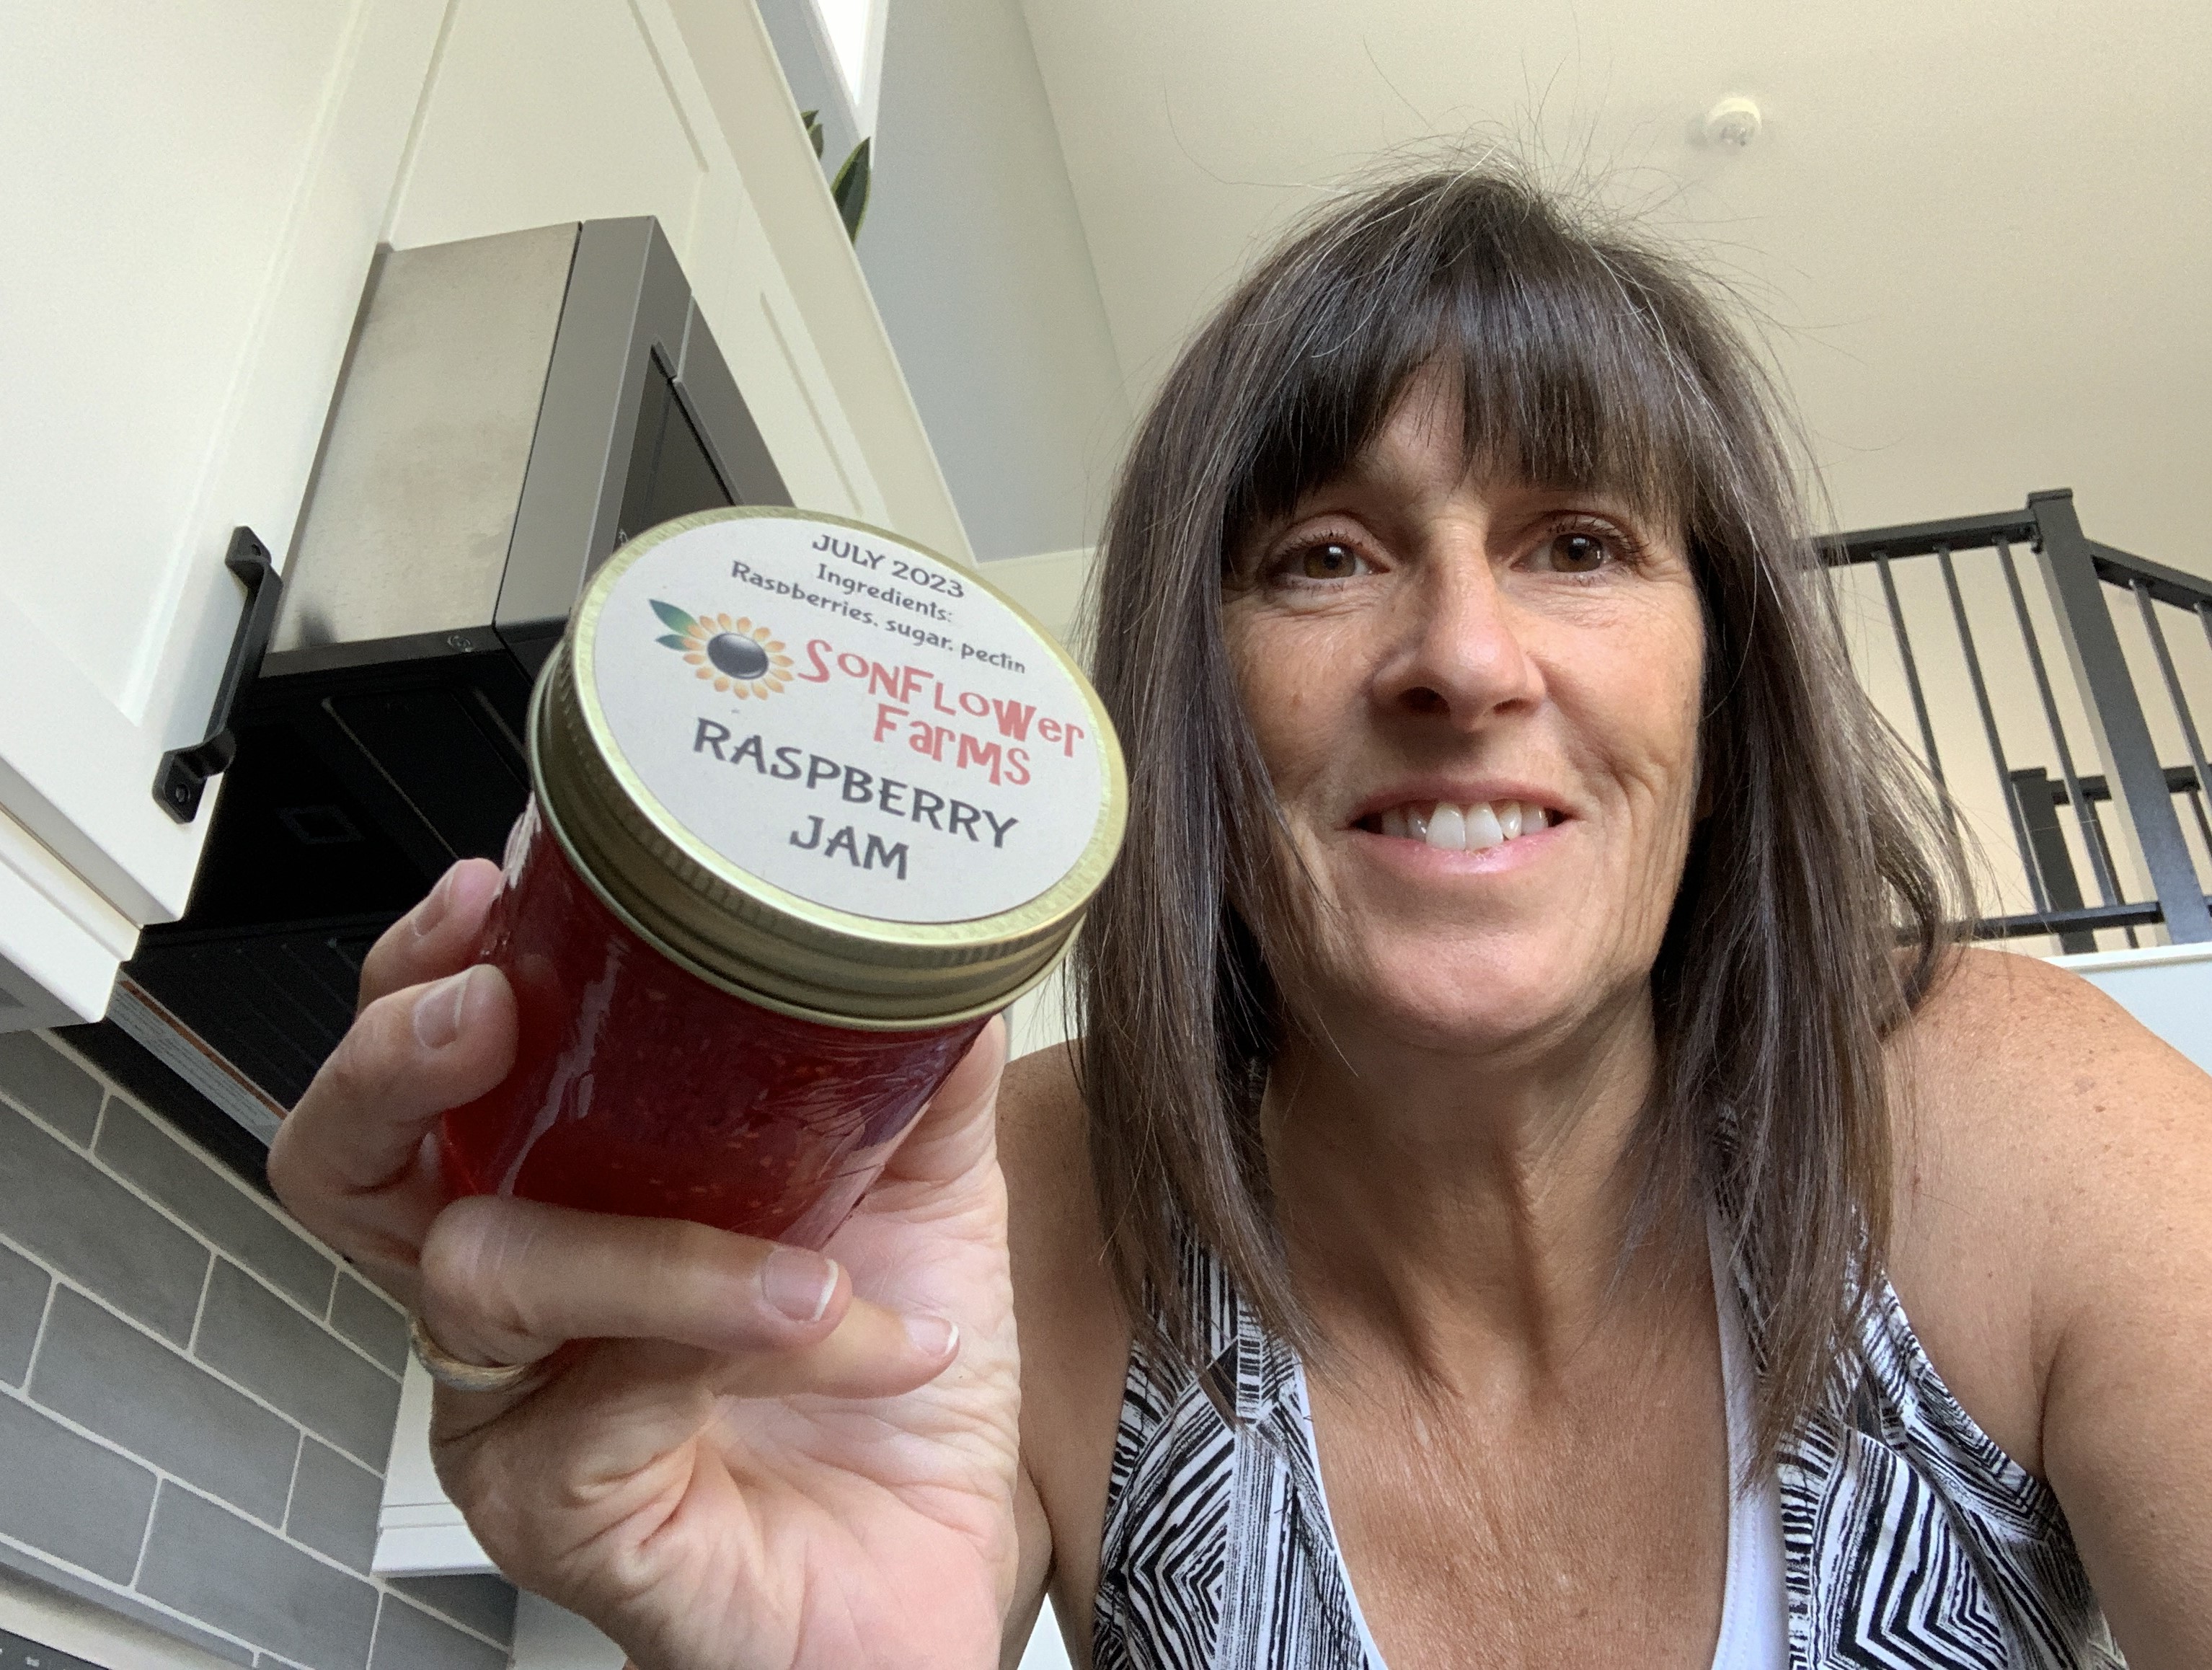
All kinds of jams are canned at Jane's little 2 acre farm. Raspberry is one of them. This recipe provides instructions for a small batch and a double batch depending how many raspberries you have picked.
Not Mentioned
Not Mentioned
Not Mentioned
4 - 250ml Jars
FULL BATCH RECIPE (makes approximately 4 - 250ml and 1 to 2 - 125 ml jars OR 9 - 125ml jars)
SMALL BATCH (makes approximately 5, 125ml jars)

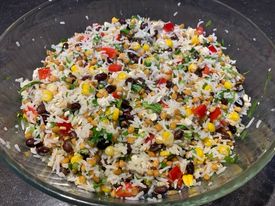
Some recipes earn their spot in the family hall of fame from the very first taste—and this salsa is one of them. It’s fresh, zesty, and just the right amount of addictive. In fact, Jill Kanwischer swears it’s so good, she once literally licked the bowl clean.
It’s the kind of salsa that makes tortilla chips disappear in record time, adds a burst of brightness to tacos, and has a way of showing up at every family gathering. The recipe itself carries a bit of history—passed to me by Normand Bourque, who lived in the Neilson family home when he first moved to the Windsor area. Normand has a gift for flavor, and this salsa is just one of several stellar dishes he’s shared with us over the years.
One taste, and you’ll understand why this one’s a keeper.
1 hr
45 min
15 mins
14 - 250ml Jars
See video for details
If you are doing 500ml jars you will make 6 jars.
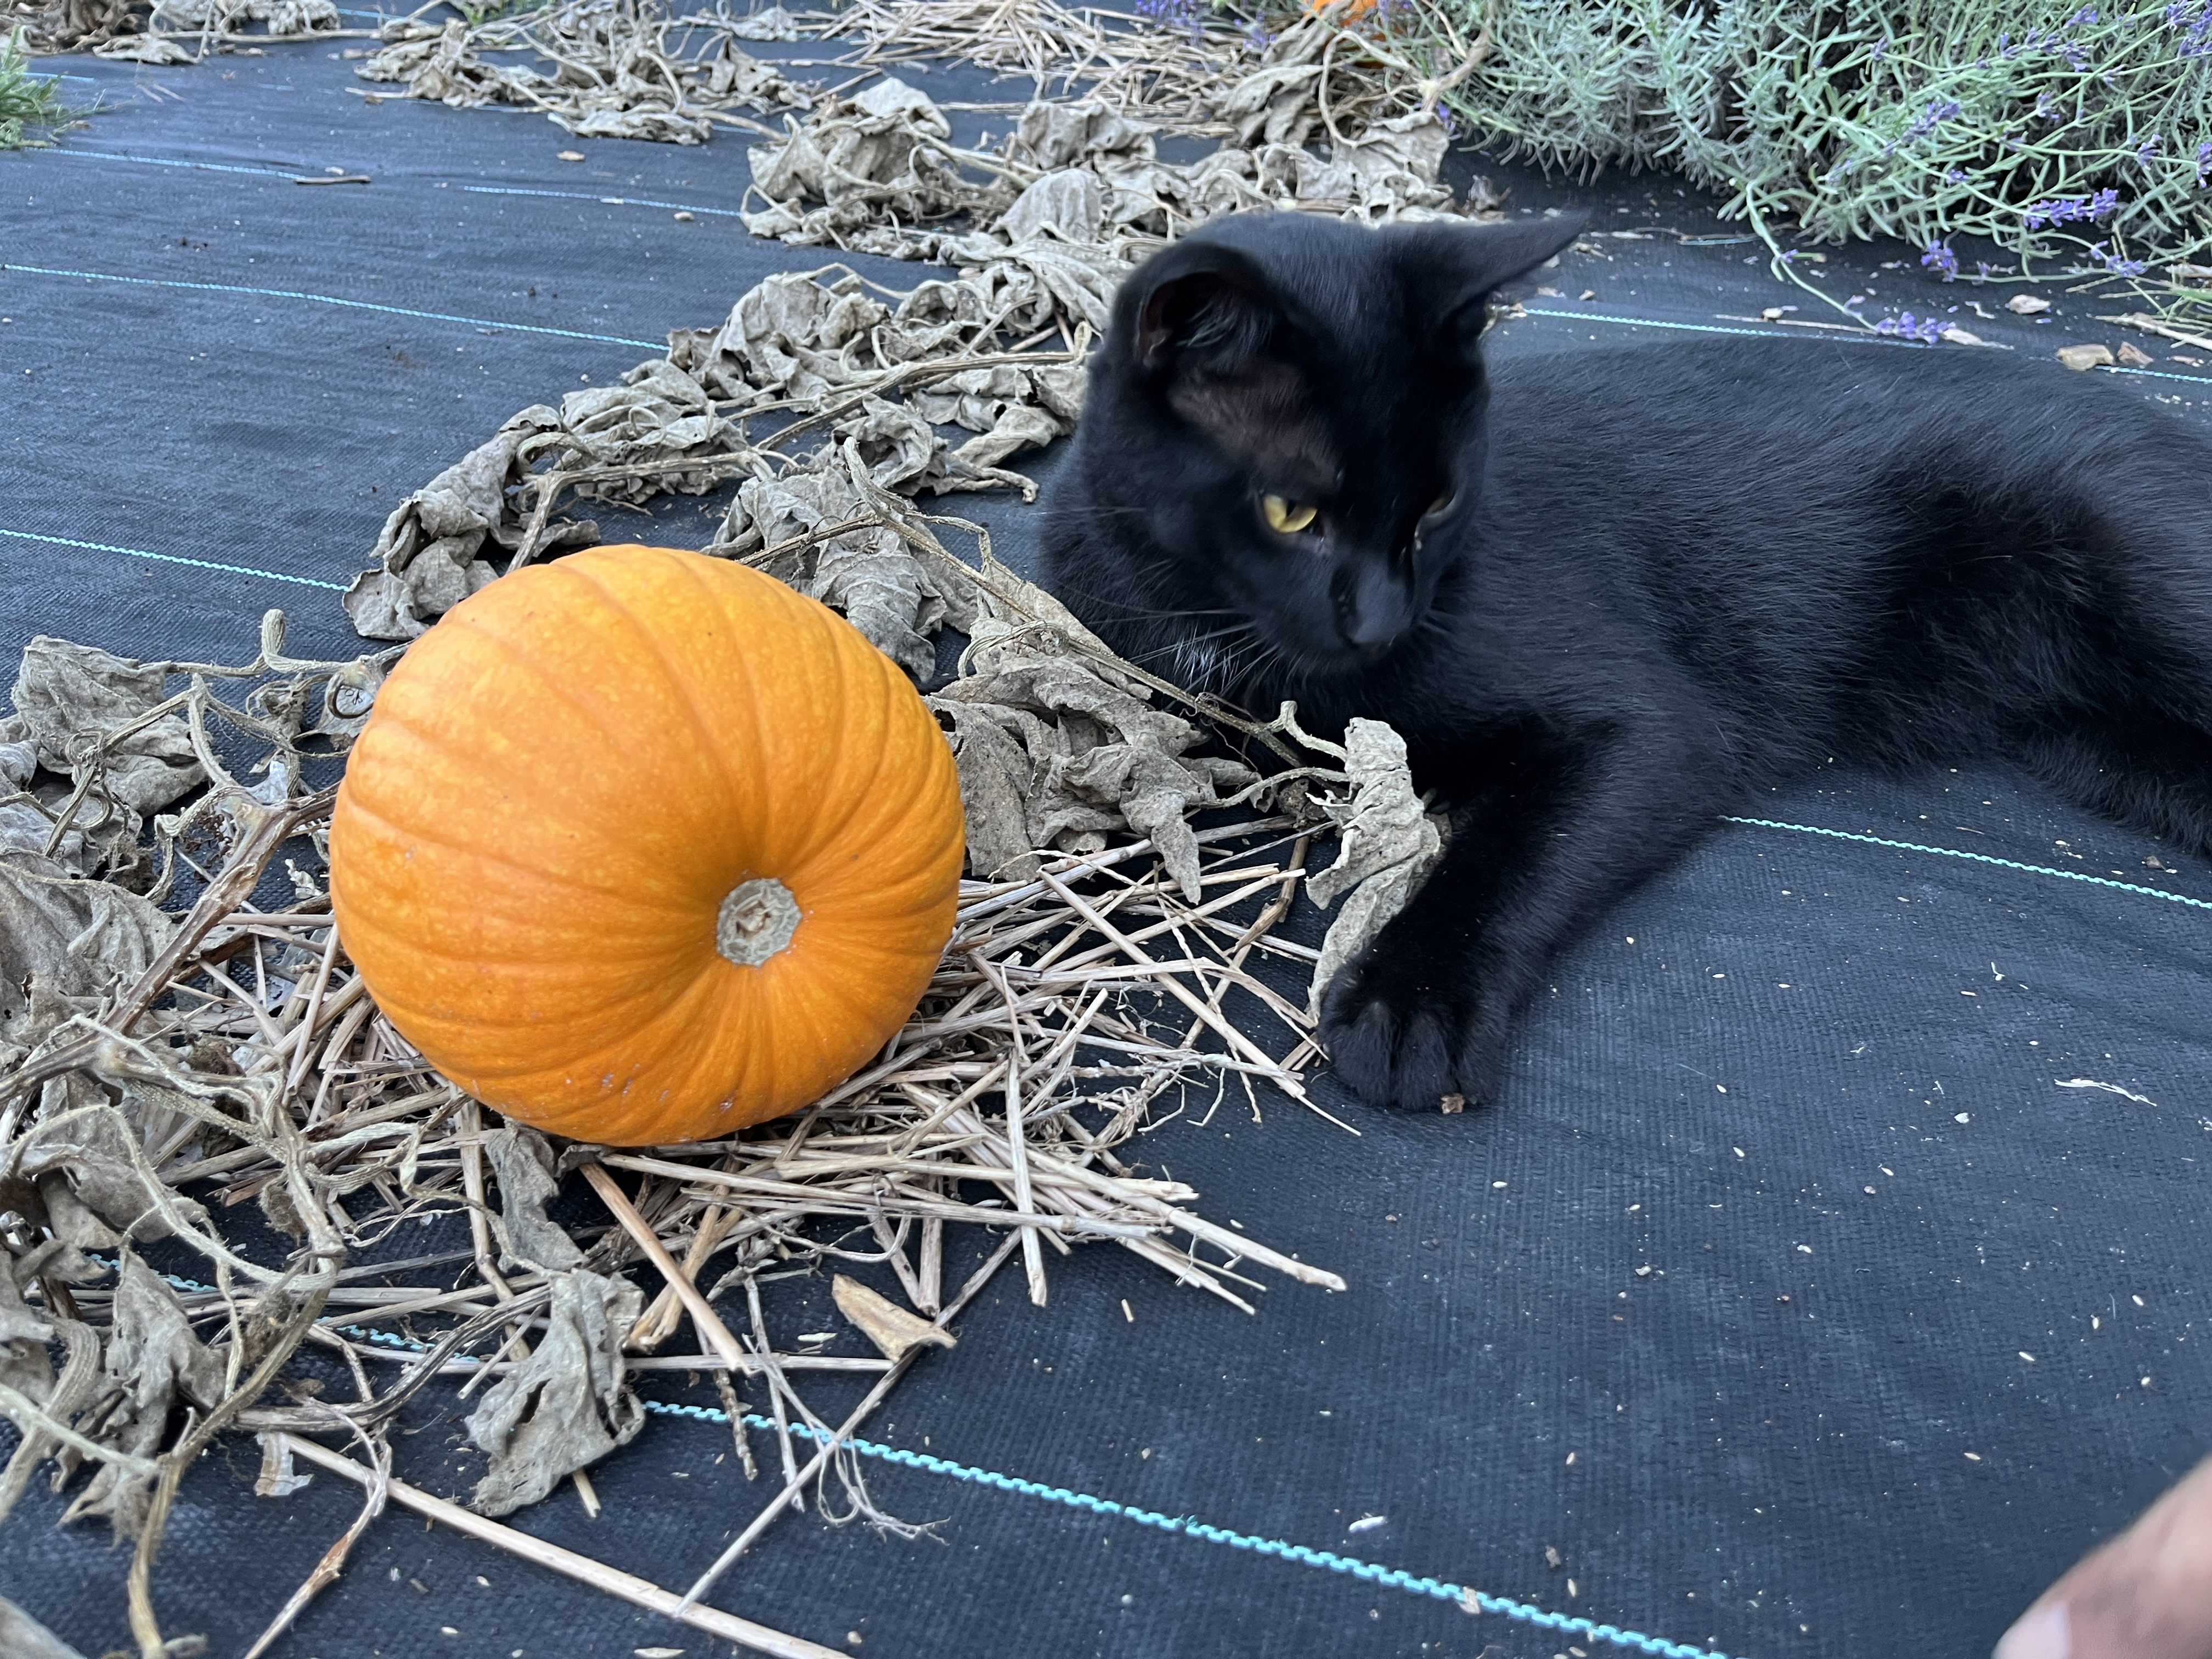

Jane has many recipes that use the sugar pumpkins from her garden so preserving it in a puree is key.
Not Mentioned
Not Mentioned
Not Mentioned
Approx 4 cups
See video for details.


Karly had to alter her mother's recipe to accommodate her boyfriend Adam's vegan diet. She fondly recalls baking in the kitchen with her brother Jeremy and their mother Kelly. While not every recipe turned out perfectly, the memories of those times are cherished.
30 mins
20 mins
8-12 mins
24-30 Cookies
.png)
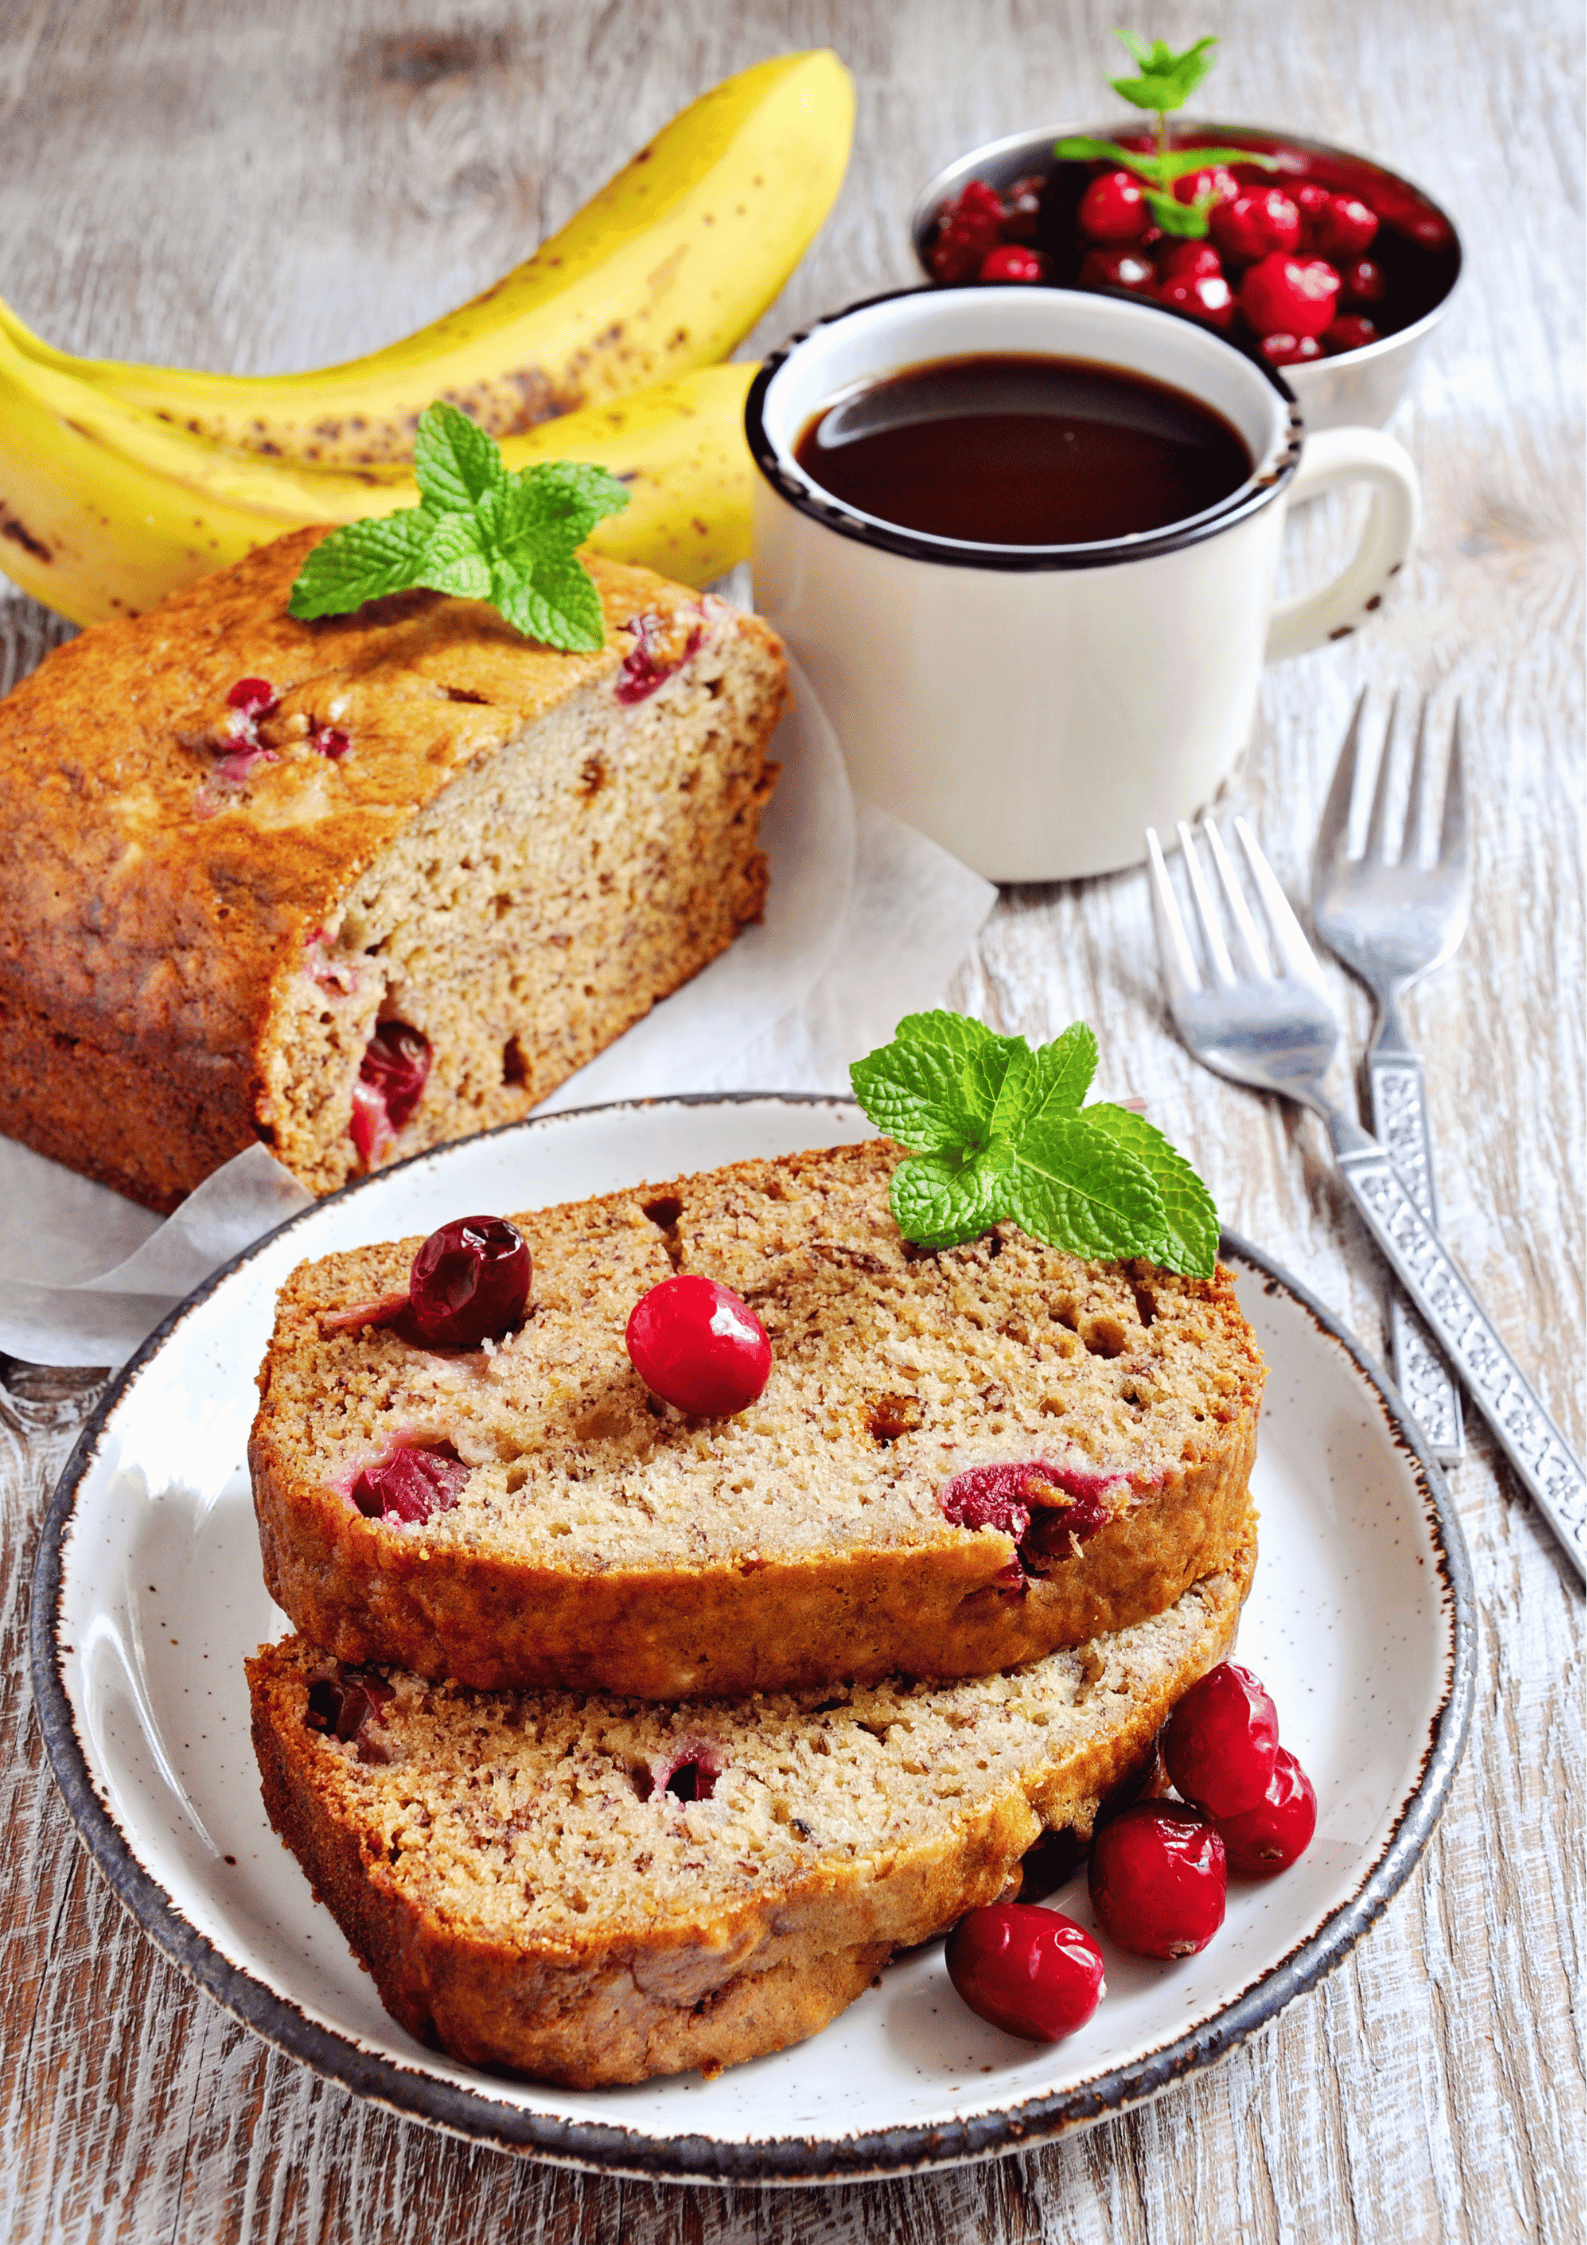

This is a family favourite. The cranberries add a nice surprise!
1 hr 20 mins
20 mins
1 hr
10 slices
You can add a mixture of brown sugar, cinnamon and nuts to the top for some added texture and sweetness.


Jane got this recipe from Kim Douglas who later became Kim McLean. Jane worked with Kim at her first job on Howard Ave at Toledo Scale in Windsor. They were both in the electronics department repairing printed circuit boards. Kim was a really good cook and prided herself on healthy recipes. Cute story, Kim married Wayne McLean who also worked at Toledo Scale and they all remained friends for many, many years. This recipe reminds me that it's time to get back in touch with old friends.
35 mins
15 mins
20 mins
12
Optional topping:
The topping makes more than you'll need but save it for next time or use it on top of hot cereal.

This recipe was given to Jane by Normand Bourque who lived in the upstairs apartment at the Morand homestead (Home of the Neilson's) when he first moved to Windsor for a teaching position. A tenant then and now a friend for life because that's how the Neilson's roll! This is a great way to use the massive amounts of zucchini that grow in the garden each year!
Not Mentioned
Not Mentioned
Not Mentioned
10-12 Muffins/1 Loaf
Muffins:
Preheat oven to 425°F (218°C) degrees and spray a 12-count pan with nonstick spray or line with cupcake liners. Prepare batter as directed above, fill each liner to the top with batter and bake the muffins for 5 minutes at 425°F (218°C). Then, keeping the muffins in the oven, lower the temperature to 350°F (177°C) and continue to bake for an additional 15 minutes (+2min) or until a toothpick inserted in the center comes out clean. Makes 10-12 muffins.
Loaf:
Bake for 45-55 minutes or until a toothpick inserted in the center comes out clean. My bread only took about 46 minutes, but do not be alarmed if yours takes longer. All ovens are different. Allow bread to cool completely in the pan set on a wire rack. Slice and serve when bread has completely cooled. Store leftover bread in an airtight container at room temperature for up to 5 days.
.png)


Carrot Cake is Jake's go to dessert. Making this since the late 80s. Family is always asking him to bring this to their potlucks!
3 hrs
15 mins
45 mins
12-24 pieces
Dry Ingredients:
Wet Ingredients:
Cream Cheese Frosting Ingredients:
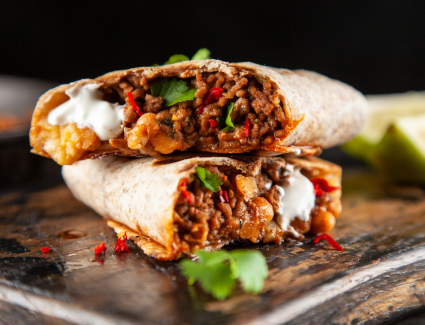
This recipe comes from a special chapter in my life — my time volunteering at The Bridge, a drop-in center for teens in Leamington. The cook there made it as a hearty casserole: warm, filling, and made to nourish a room full of hungry hearts.
But when my sister and I got our hands on it, we had a thought: what if we wrapped this up in a tortilla, added some crisp lettuce, sharp cheddar, maybe a splash of lime? Suddenly, it wasn’t just comfort food — it was customizable, cravable, and totally burrito-worthy.
It’s still the same base — beans, beef (or a plant-based twist), rice, and veggies — but now everyone gets to top it their own way. From teen center to family dinner table, it’s a recipe that reminds me food is about care, connection, and creativity.
50 mins
20 mins
30 mins
20+

Jane and her mom Emily Neilson used to watch a show called Wok With Yan and this is where a love for stir fry began. This recipe is stolen and modified to Jane's taste from a site called Natashas Kitchen which has many great recipes by the way.
45 mins
30 mins
15 mins
6 - 8
Beef and Broccoli Ingredients:
Stir Fry Sauce Ingredients:
Beef & Broccoli Stir Fry freezes well and makes great leftovers. This is a large batch so you will have leftovers.


This is a super easy recipe anyone can make. Great for novice cooks!
8 hrs 10 mins
10 mins
6-8 hrs
4

.png)
 (5 x 7 in).png)
Jake loves catching pickerel in Lake Erie on his fishing boat. It's always worth the price of gas when the sun is shining, you have a great partner by your side and the fish are biting! Be sure to watch the video as Jake guides you through the process to fry fish the right way. Crispy and delicious every time! This dish is one of Jeremy's (Jake's son) all time favourite meals, served with basmati rice and coleslaw.
33 mins
30 mins
3 mins
2 filets per serving
Tartar Sauce
Make tartar sauce
Tartar sauce is so simple to make, why not make it fresh?!


A simple and quick dinner for the busy couple on the go!
30 mins
15 mins
15 mins
2 -4
Sauce
.png)


This is Jake's variation of a deep dish pizza. Instead of the pizza having a thick crust, this pizza is thick with toppings! Be sure to check out the second video for reheating this pizza. It actually is better reheated, than fresh from the oven!
45 mins
20 mins
20 mins
2 large pizzas
To properly reheat pizza, place it in a covered pan over medium heat until the cheese is bubbling and has melted. This method ensures the bottom becomes nicely crispy. Be careful not to set the heat too high, as it may burn the bottom before the top is adequately heated.
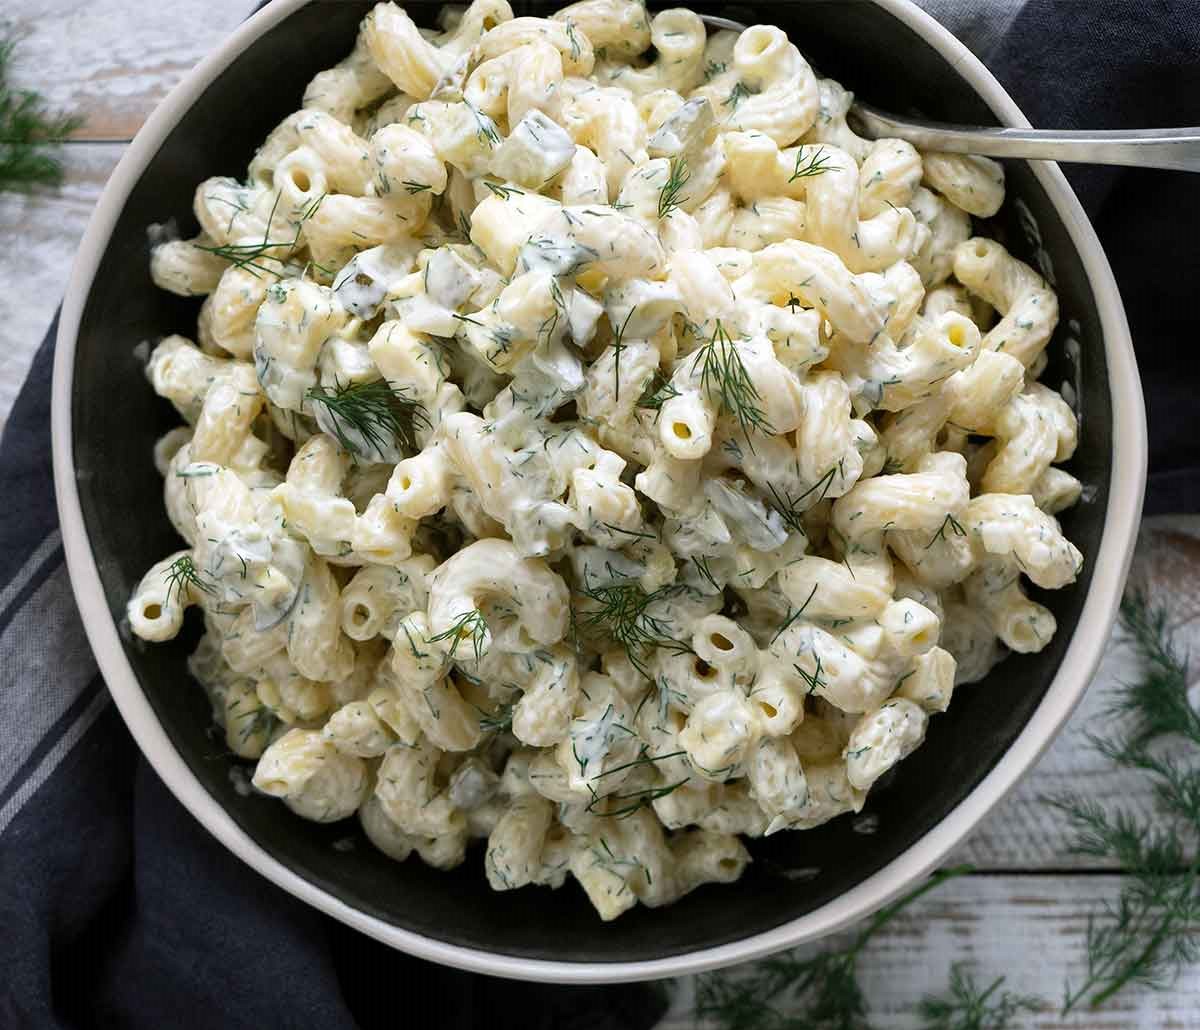
It sounded a little crazy to make a dill pickle salad but it tastes amazing! It's light and refreshing on a summer day. It makes a great side salad and something unique to bring to a BBQ.
45 mins
30 mins
15 mins
5
This recipe comes from someone at a Windsor Firehall but I'm notsure who's recipe it is. This was served along with fish tacos andcomplements many other sandwiches including burgers!
45 mins
30 mins
15 mins
8
Dressing:


These are better than anything you'll get in any store. I use pumpkin puree that I make from sugar pumpkins grown in my garden. This makes it an even healthier treat! With the price of dog treats, you'll love this option. I double the recipe as these snacks last a long time in the freezer. They are a favourite, high reward snack my son Nathan's King Corso Mastiff dog Charlie.
1 hr
20 mins
40 mins
12-24 Biscuits
Be sure to give this dough a good dusting of flour as it is very sticky!


